
User Guide

Accessing the CB-3102 via a Web Browser
January 14, 2019
Ariel CB-3102 User and Installation Guide
43
IPv6 Default Router Address – If you are using IPv6, enter the IPv6 default router
address.
Subnet Prefix Length – If you are using IPv6, enter the subnet prefix length (1-128
digits) for the IPv6 Default Router Address.
IPv6 DNS – If you are using IPv6, enter the IPv6 DNS address.
To configure the Wire Setting
1. In the Wire Setting section, from the Speed & Duplex drop-down list, select one of the following:
10 Mbps Half Duplex
10 Mbps Full Duplex
100 Mbps Half Duplex
100 Mbps Full Duplex
Auto (default setting)
To enable UPnP settings
1. In the UPnP section, from the Enable UPnP drop-down list, select ON. The default is ON. This
enables the camera to be detected by any unit on the LAN.
2. From the Mode drop-down list, select one of the following:
IP and Device Name – The camera connects to the UPnP server by using its
IP address and default device name. This is the default setting.
Device Name – The camera connects to the UPnP server by using the
default camera name.
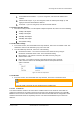
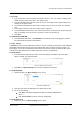
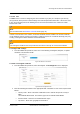
User Input – The camera connects to the UPnP server by using a friendly
name. Enter the name in the Friendly Name text box that opens when this
option is selected:
Figure 51: UPnP User Input Screen
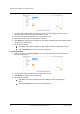
To enable SSL
1. In the SSL section, from the Enable SSL drop-down list, select ON. The default is OFF.
Note:
You must install or generate an SSL certificate before enabling SSL.
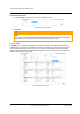
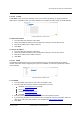
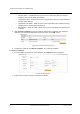
6.3.1.4.2 FTP Server
The camera includes a built-in FTP server which enables remote access to files of events that are
captured in snapshots or recorded on clips and are stored on the camera’s microSD card. The FTP
Server screen is used to enable remote access of the camera’s microSD card. No configuration of the
camera’s internal FTP server is required by the user. The camera’s IP address is ftp://<camera IP
address>.