
Owner's manual

37
CONTENTS
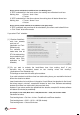
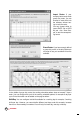
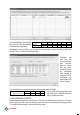
Step 7: In “Group Duty Roster”, click “Add Group” to add a new roster.
Step 8: Select a group from the checklist. It is recommended that you use a group that is at-
tached with the name of the predefined clocking schedule. Click “Okay” to continue.
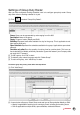
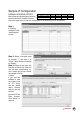
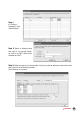
Step 9: In the new roster, click “Add Schedule” to start.
The software will automatically arrange the predefined weekly working schedule for example:
clocking schedule 1. Check the date range. By default clocking schedules always start on Sun-
day. Please make sure you always select Sunday as starting date in the Date Range column.
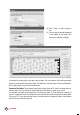
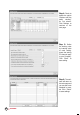
If Friday is selected as first day of a week, you must define Friday as a starting date in Date
Range column.
Click “Okay” to save settings. Click “Save” to save settings.
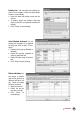
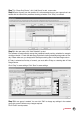
Step 10: A new group is created. You can click “Edit” to change any settings in the created
group duty roster if there are any changes required.
Click “Close” to end process.