D I G I TA L V I D E O R E C O R D E R 1901 Carnegie Avenue, Santa Ana, CA 92705, USA Phone: (949)852-8404 FAX: (949)852-1226 http://www.ffv.com The design of the Omega HD Deck and Omega HD Deck Manual is proprietary. he written consent of Fast Forward Video, Inc., printed in the U.S.A. Revision 6.
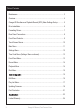
Table of Contents Maintenance ............................................................................................................. 3 Overview................................................................................................................... 4 Omega HD Simultaneous Playback/Record (SPR) Menu Settings Set-up .............. 5 Drive Installation ....................................................................................................... 6 Formatting Drives ...................
Maintenance PRECAUTIONS: The Omega HD Deck has been built to meet the demands of a studio environment; however, the hardware is subject to the same dangers from static as any other electronic device. Use care when connecting or disconnecting cables. IMPORTANT: Take care not to introduce any moisture into the unit. Electronic assemblies are sensitive to static electricity, due to the electrostatically sensitive devices used within the circuitry.
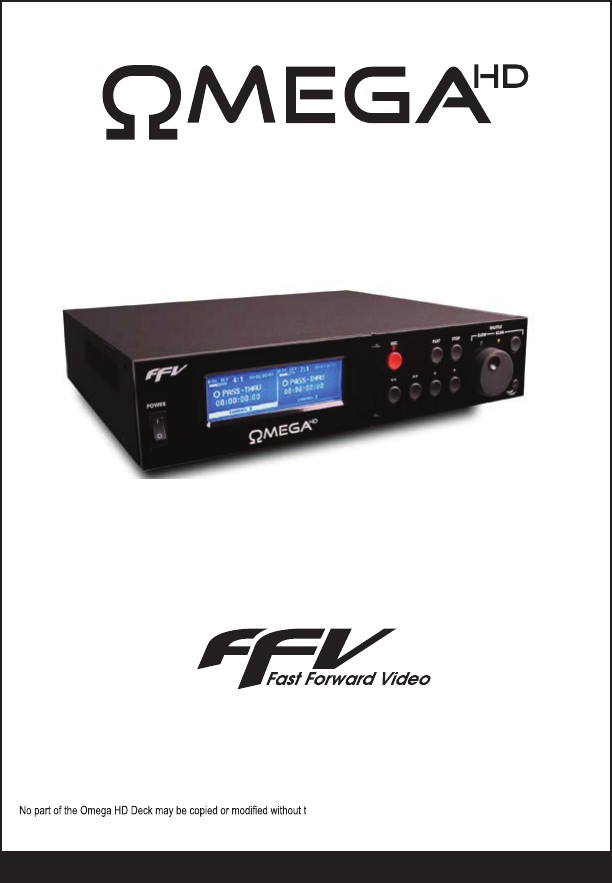
Overview delivers all the advantages of HD images and the random access Single and dual channel units offer removable, hot swappable 2.5” SATA drives compatible with Elite HD and features a USB port for video download. action without missing an second. It is capable of up to 18 hours of record time based on two 500 GB drives and it includes analog tape decks.
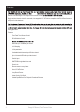
Omega HD Simultaneous Playback/Record (SPR) Menu Settings Set-up Time Delay application w/out QuickTime Files: SETTING MENU – Both Channel 1 & 2 Standard = change to video format needed TIME CODE MENU – Both Channel 1 & 2 Output = SOURCE TO SMPTE Format = DROP RECORD MENU – Channel 1 Only Loop Record = OFF PLAYBACK MENU – Both Channel 1 & 2 Loop Play = OFF Play Speed = 30 FPS DISK CONFIGURATION – Channel 1 Only Disk Format = NATIVE MOE Time Delay application w/ QuickTime Files: SETTING MENU – Both Cha
Drive Installation We recommend that you have the drives installed, formatted and tested by Fast Forward Video. However, you may install 2.5” Drive Removal/Replacement Procedure: 1. Open the front panel door by rotating the ¼ turn knob counter-clockwise on the lower left corner of the door. 2. Each tray has a black push button drive release located on the right of the drive bay. 3. To install a drive remove the two screws from the rear panel of the drive enclosure. 4.
Formatting Drives Formatting Drives (Dual Channel or SPR): 1. Install the drives (see page 5) 2. Turn on power and wait for the deck to recognize drives %. 3. 4. Touch “Disk” within the Main Menu. 5. Touch “Clear Disk” within the Disk Menu. 6. Touch “Yes” to Clear Disk. 7. 8. Repeat process for channel two.
Rear Panel Connections VIDEO Ch 1 and VIDEO Ch 2 IN = SD/HD-SDI input BNC connectors. OUT = SD/HD-SDI output BNC connectors. RS:422 Ch 1 and RS:422 Ch 2 = Machine Control (DB9 CONNECTOR) - This connector is for controlling the deck or the RS-422 with a controller it is recommended to lock the front panel (see page 11 Settings – Front Panel). TIME CODE 1 and TIME CODE 2 IN = Input BNC connectors for longitudinal time code. OUT = Output BNC connectors for longitudinal time code. REFERENCE INPUT 170 for NTSC.
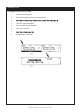
Front Panel Controls POWER: Switch that turns the unit on / off. Please allow at least 30 seconds after turning the unit on for it to boot-up and recognize the disk. PASS-THRU (in the Touch Screen): The red LED above the record button will light up indicating that it is in digital pass-thru mode, which indicates it is record ready. A corresponding message will be displayed in the mode indicator area located in the center of the LCD touch-screen panel.
Touch Screen Menus An LCD touch-screen panel with a menu of options and a variety of parameters used to operate the Omega HD Deck’s functions. To lock both channels together for simultaneous control, simply touch the vertical line that separates the two channels, until they are both highlighted. Either channel is selectable by touching “Channel 1/2” at the bottom of the LCD touch screen. 1. TIME CODE DISPLAY: Displays the assigned Time Code for the frame in use. 2.
MAIN MENU: (Dual Channel and SPR (Dual Channel Only) PLAYLIST PLAYLIST
STANDARD:
TIME CODE OUTPUT: SMPTE FORMAT: FRONT PANEL: CONTROL: CONTRAST: TITLE DISPLAY: CALIBRATION:
COMPRESSION LEVEL: MIN.
CLEAR DISK: ERASE – CLIP/FRAMES: ERASE – PLAY LISTS: DISK FORMAT: FILE FORMAT: **PLEASE NOTE: MUST
(Available on Dual Channel Model only)
PLAY LIST: SET APLAY/CLEAR APLAY: LOAD/UNLOAD: ACTIVE SAVE: STORING MULTIPLE PLAY LISTS: DELETING A CLIP AND / OR A PLAY LIST:
HYPER TERMINAL
ZTERM
Viewing JPEG 2000 with computers QuickTime Component for Windows QuickTime Component for OS X (Intel based Macs only) Moving Clips to NLE System 20
SATA 21
Limited Warranty 12 – MONTH LIMITED WARRANTY FFV System LLC. warrants to the original purchaser that the product (Hardware and components) shall be free from defects in material and workmanship for a period of 1 year from the date of purchase. If a defect covered by this warranty occurs during this 1 year period, FFV Systems LLC. will repair or replace the defective product or component, at its option, free of charge.