
User's Manual
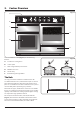
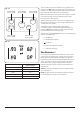
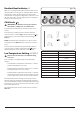
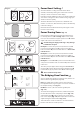
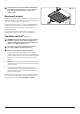
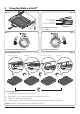
Table Of Contents
- 1. Before You Start...
- 2. Cooker Overview
- 3. Using the Glide-out Grill™
- 4. The Multifunction Oven
- 5. The Steam Cavity
- 6. Cleaning Your Cooker
- 7. Troubleshooting
- 8. Installation
- Dear Installer
- Safety Requirements and Regulations
- Provision of Ventilation
- Location of Cooker
- Positioning the Cooker
- Moving the Cooker
- Lowering the Two Rear Rollers
- Completing the Move
- Fitting the Stability Bracket
- Repositioning the Cooker Following Connection
- Levelling
- Electrical Connection
- Connection in New Zealand
- Fixed Wiring
- Final Checks
- Final Fitting
- Customer Care
- 9. Servicing
- 10. Circuit Diagram
- 11. Technical Data
9
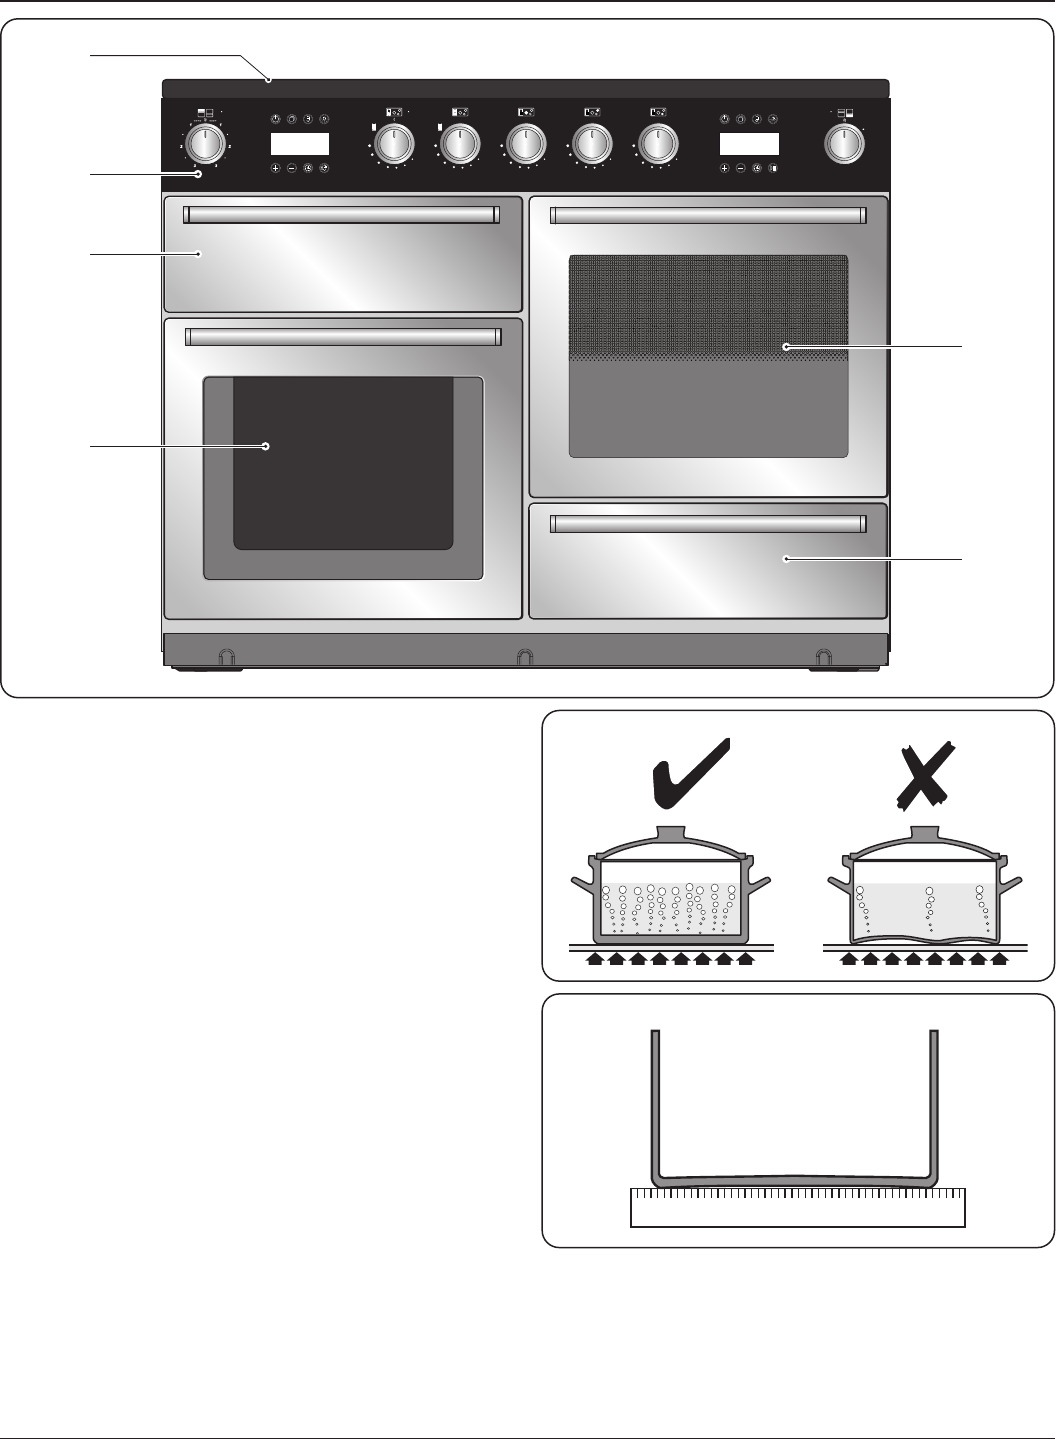
Your 110 induction cooker (Fig. 2.1) has the following
features:
A. 5 induction cooking zones
B. Control panel
C. Glide-out grill with 4 position trivet
D. Multifunction oven
E. Steam cavity
F. Bread Proving/Storage Drawer
The Hob
Use only pans that are suitable for induction hobs. We
recommend stainless steel, enamelled steel pans or cast iron
pans with enamelled bases. Note that some stainless steel
pans are not suitable for use with an induction hob so please
check carefully before purchasing any cookware.
Pans made of copper, aluminium or ceramic are not suitable
for use on an induction hob. The kind of pan you use and the
quantity of food aects the setting required. Higher settings
are required for larger quantities of food.
Pots and pans should have thick, smooth, at bottoms
(Fig. 2.2). This allows the maximum heat transfer from the
hob to the pan, making cooking quick and energy ecient.
Never use a round-bottomed wok, even with a stand.
L
1
L
2
9
9
1
0
0
L
3
M
L
1
L
2
9
9
1
0
0
L
3
L
1
L
2
9
9
1
0
0
L
3
L
1
L
2
9
9
1
0
0
L
3
L
1
L
2
9
9
1
0
0
L
3
A
B
C
D
E
F
2. Cooker Overview
Fig. 2.1
Fig. 2.2
Fig. 2.3