
Installation Guide


www.maddenmetals.com
1
Contents
Introduction 2
Tools You Will Need (not included) 3
Components and Assembly Instructions 4
Post Installation with Welded Base Plate 5
Post Installation with Separate Mounting Flange 6
Installation into wood/composite decking/concrete 7
Pre Sizing and Cutting Top and Bottom Rails (prior to assembly) 8
Railing Assembly and Installation 9
Mid Support Stabilizer 10
Stair Railing Assembly and Installation 13
Stair Railing Helpful Hints & Apps 14
Gate Instructions 15
Care and Maintenance BC
Please take a moment to read the instructions
before beginning your installation.
Introduction
Check the contents of box with these instructions to verify all parts are
present. This will allow you to become familiar with the components of
your new system.
• Inspect all component parts for familiarity
• Layout recommended tools
• Before cutting any component, know its use – “measure twice
and cut once.”
• The included wood fasteners (gray head) are ACQ treated lumber approved.
• The included concrete fasteners are for brick (Tapcon)
and concrete (Wedgebolt).
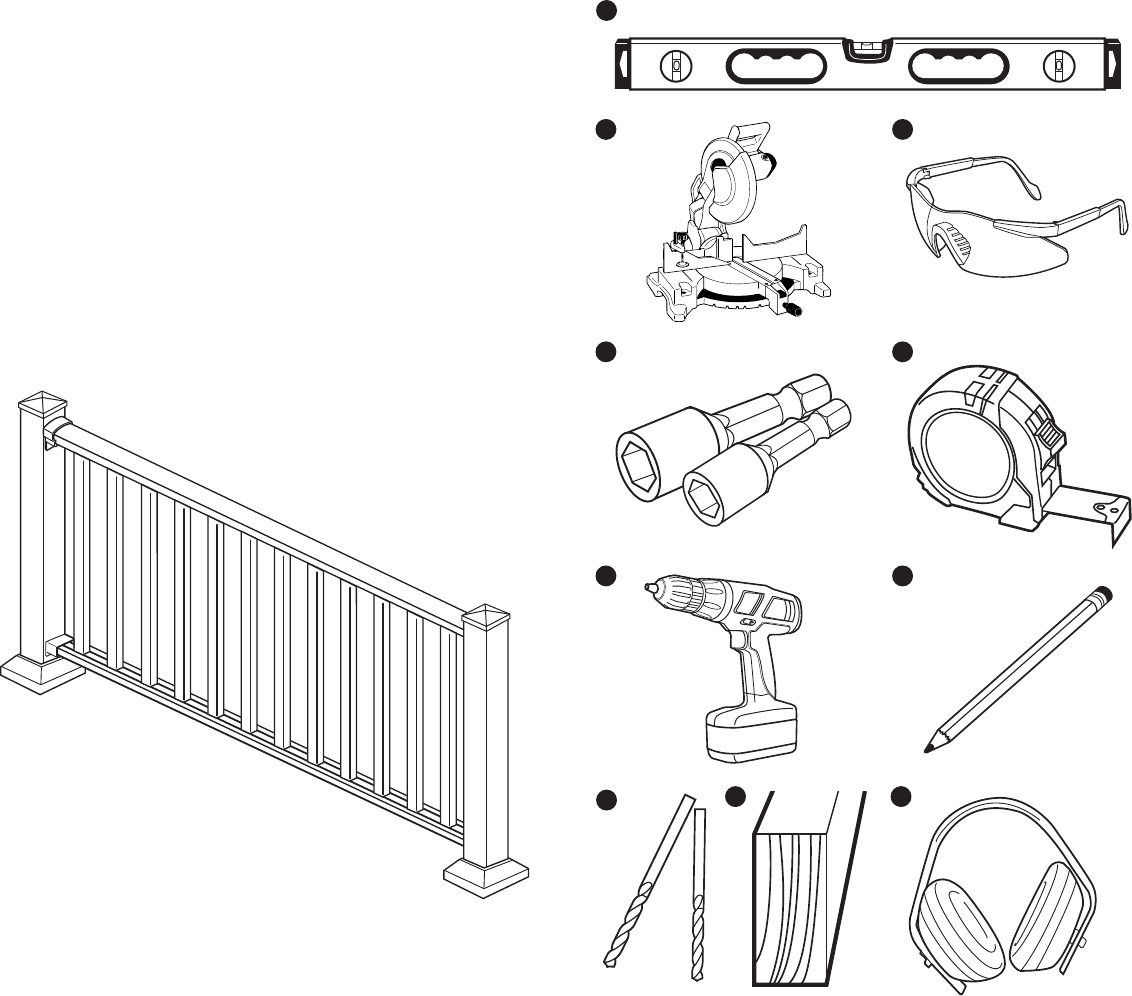
Tools You Will Need
(not included)
A - Level
B - Chop Saw (60 to 80 tooth wood blade)
C - Safety Glasses
D - 5/16" Hex Bit Driver
1/4" Hex Bit Driver(long shaft)
E - Tape Measure
F - Screw or Impact Gun
G - Pencil
H - Drill Bits: 1/8" metal/wood, 1/4" wood,
1/4"x 4"concrete Masonary
I - (2) pcs 10" 2 x 4 lumber to support
railing during installation (optional)
J - Ear Protection
2
Notice
For saltwater
environments we
recommend grade
18-8 stainless
steel fasteners
or equivalent.
Stainless steel
fasteners not
included.
For assistance call Madden Manufacturing
573-365-7085
B
D
F
H
C
E
G
I J
A