
Setup guide


Table Of Contents
- Front cover
- Safety Precautions
- Safety Precautions (Chinese) and FCC Class A Notice
- Table of Contents
- Ch. 1: Introduction
- Ch. 2: Hardware Setup
- Ch. 3: Software Setup
- Creating a Global Configurator Project File
- Configuring a New Device
- Step six: configure e‑mail server (IP models only)
- Step seven: configure e‑mail messages (IP models only)
- Step eight: configure contacts (IP models only)
- Step nine: assign serial device drivers
- Step ten: assign IR drivers
- Step eleven: configure the front panel
- Step twelve: configure associated control modules
- Step thirteen: create a shutdown schedule
- Step fourteen: create a lamp hour notification (IP models only)
- Step fifteen: create a disconnect notification (IP models only)
- Step sixteen: build the Global Configurator file
- Step seventeen: upload the Global Configurator file
- Step eighteen: launch GlobalViewer (IP models only)
- Testing the GlobalViewer pages
- Warranty
- Back cover:checklist and contact information
MLC 104 Plus Series • Software Setup
3-35
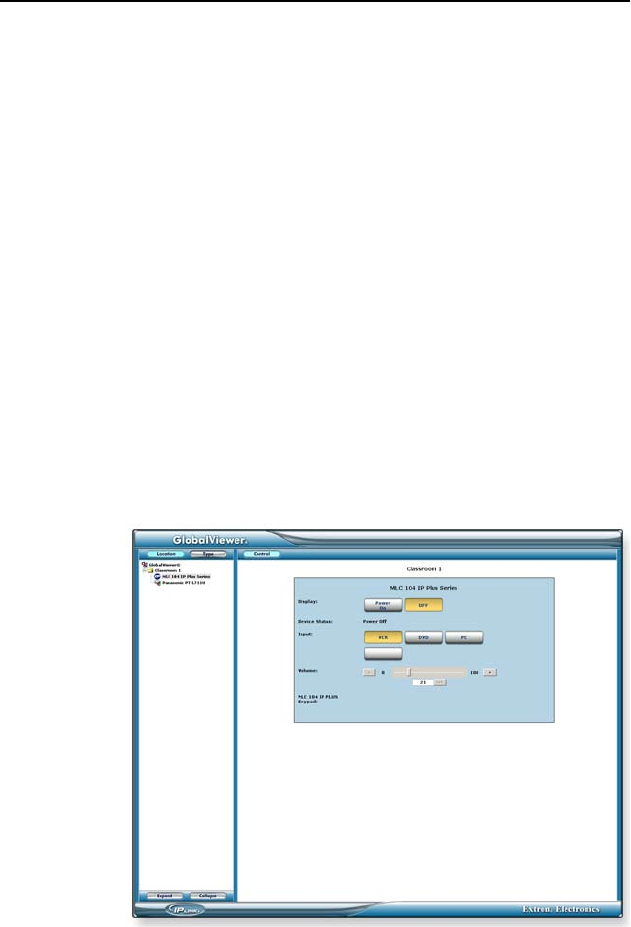
Step eighteen: launch GlobalViewer
(IP models only)
GlobalViewer is a graphical user interface that is generated by
Global Congurator (GC). When a GC le is built and uploaded
to a GlobalViewer host device, you can launch the GlobalViewer
interface by opening an Internet browser and entering the host
device’s IP address in the browser's address eld.
Once the GlobalViewer interface is launched, you can monitor
and control all of the devices on your audio/video network
from the GlobalViewer host device.
To launch GlobalViewer:
1. Open an Internet browser.
N
Internet Explorer 6.0 or later with Active X enabled is
required.
2. Enter the IP address of a GlobalViewer host device in the
Address eld, and press the keyboard's Enter key.
N
You may also launch the GlobalViewer interface from the
Global Configurator Upload Manager screen by clicking
the Test GV System button.