
User Guide User Manual
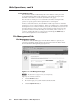
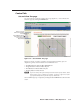
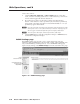
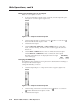

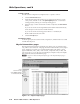
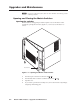
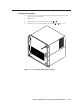
Table Of Contents
- Chapter 1 • Introduction
- Chapter 2 • Installation
- Chapter 3 • Virtualization/Control Software
- Explaining Virtual I/O Switching
- Virtualization/Control Program
- Creating a virtual I/O switching system (map)
- Reassigning virtual I/O connectors
- Creating rooms within the system
- Remote controlling the Matrix 12800 system
- Programming the matrix offline (emulate mode)
- Saving and restoring matrix settings
- Creating program byte strings
- Ethernet operation
- Windows buttons and drop boxes
- Special Characters
- Chapter 4 • Programming Guide
- Chapter 5 • Web Operations
- Chapter 6 • Upgrades and Maintenance
- Opening and Closing the Matrix Switcher
- Removing and Installing the Fan Assembly
- Removing and Installing the Power Supply Module
- Replacing the Fuse
- Removing and Cleaning the Filter
- Setting the DIP Switches
- Removing and Installing the Controller Card and Replacing the Firmware
- Removing and Installing the I/O Card and Setting the Audio Gain
- Troubleshooting
- Appendix A • Ethernet Connection
- Appendix B • Reference Information
- Inside rear cover: warranty
Web Operation, cont’d
Matrix 12800 Switchers • Web Operations
5-12
PRELIMINARY
Muting and unuting one or all output
Mute one or all outputs as follows:
1. To select an individual output to mute or unmute, click the Output drop box.
A drop-down scroll box appears (figure 5-13).
Figure 5-13 — Output selection drop box
2. Click and drag the slider or click the scroll up ( ) button or scroll down ( )
button until the desired output is visible.
3. Click the desired output.
4. Click the Video Only, Audio Only, or Video & Audio button to select video,
audio, or both for muting. Each mouse click a button toggles the other two
buttons off.
5. Click the Mute or UnMute button to mute or unmute the selected output.
Click the Mute All or UnMute All to mute or unmute all of the outputs.
The Mute status indications are displayed in the lower right
corner of the page.
Changing the RGB dela
The RGB delay interval defines how long the screen is blanked when switching to a
new input for the selected output.
Change the RGB delay as follows:
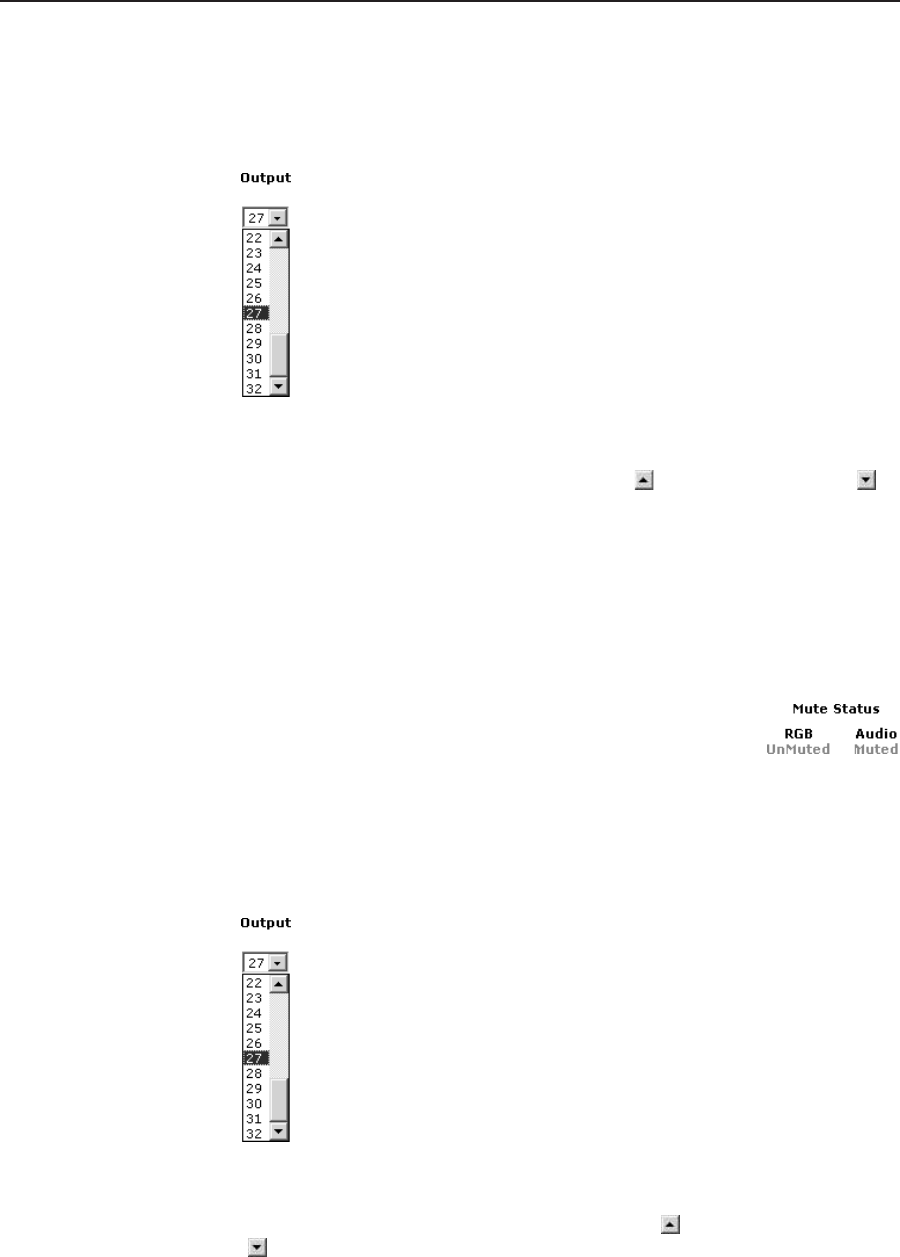
1. Click the Output drop box. A drop-down scroll box appears (figure 5-14).
Figure 5-14 — Output selection drop box
2. Click and drag on the slider or click the scroll up ( ) button or scroll down
( ) button until the desired output is visible.
3. Click the desired output.