
User Guide User Manual
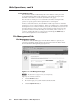
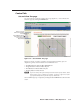
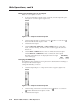

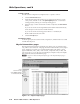
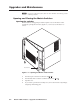
Table Of Contents
- Chapter 1 • Introduction
- Chapter 2 • Installation
- Chapter 3 • Virtualization/Control Software
- Explaining Virtual I/O Switching
- Virtualization/Control Program
- Creating a virtual I/O switching system (map)
- Reassigning virtual I/O connectors
- Creating rooms within the system
- Remote controlling the Matrix 12800 system
- Programming the matrix offline (emulate mode)
- Saving and restoring matrix settings
- Creating program byte strings
- Ethernet operation
- Windows buttons and drop boxes
- Special Characters
- Chapter 4 • Programming Guide
- Chapter 5 • Web Operations
- Chapter 6 • Upgrades and Maintenance
- Opening and Closing the Matrix Switcher
- Removing and Installing the Fan Assembly
- Removing and Installing the Power Supply Module
- Replacing the Fuse
- Removing and Cleaning the Filter
- Setting the DIP Switches
- Removing and Installing the Controller Card and Replacing the Firmware
- Removing and Installing the I/O Card and Setting the Audio Gain
- Troubleshooting
- Appendix A • Ethernet Connection
- Appendix B • Reference Information
- Inside rear cover: warranty
5-9
Matrix 12800 Switchers • Web Operations
PRELIMINARY
Control Tab
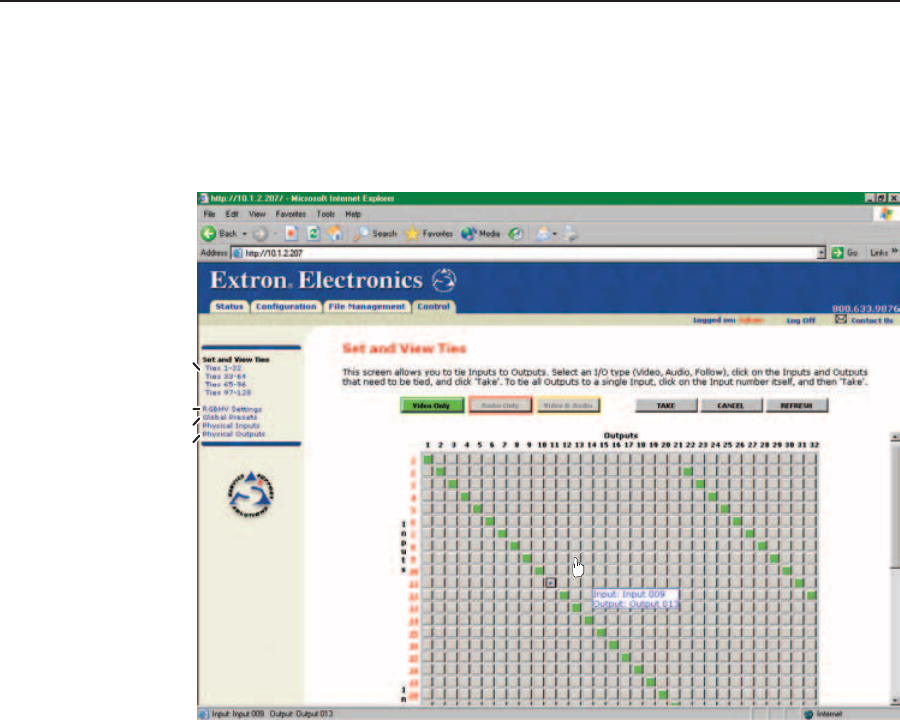
Set and View Tie page
You can create ties on the Set and View Ties page (figure 5-9). Access the Set and
View Ties page by clicking the Control tab.
Refresh or Select
Different Tie (Output)
Groups
Select Global Presets
Select RGBHV Settings
Select Input and
Output Maps
Figure 5-9 — Set and View Ties page
The page consists of a matrix of input (rows) and output (columns) (up to 32
outputs at a glance) selection buttons of four different colors:
• Theamber buttons indicate video and audio ties.
• Thegreen buttons indicate video only ties.
• Thered buttons indicate audio only ties.
• Thegray buttons indicate no ties.
N
If you lose track of the input and output associated with a specific button, let the
mouse pointer rest over a button for a moment. As shown on figure 5-9, a field
pops up that identifies the input and output for that button.
Select a different group of outputs by clicking the desired Ties link to the left of the
screen.