
Manual
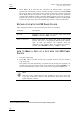
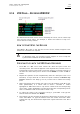
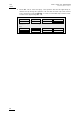
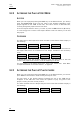
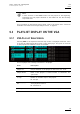
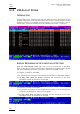
Table Of Contents
- 1. Initial Configuration
- 2. Remote Controller
- 3. Main Menu
- 4. Remote Panel Operations
- 4.1 OPERATIONS
- 4.1.1 RECORD
- 4.1.2 Mark
- 4.1.3 Last Cue
- 4.1.4 PLAY
- 4.1.5 IN
- 4.1.6 OUT
- 4.1.7 JOG KNOB
- 4.1.8 Fast Jog
- 4.1.9 Lever
- PLST
- 4.1.11 Browse
- 4.1.12 Insert
- 4.1.13 ENTER
- 4.1.14 MENU
- 4.1.15 CLEAR
- 4.1.16 Network
- 4.1.17 Goto TC
- 4.1.18 Goto IN / Goto OUT
- 4.1.19 Loop
- 4.1.20 Return
- 4.1.21 Page
- 4.1.22 Rebooting the System from the Nano Remote
- 4.2 SELECTION OF CLIP BANKS AND PLAYLISTS
- 4.3 CLIP NUMBERING HIERARCHY
- 4.1 OPERATIONS
- 5. Control Mode
- 6. Pgm + Prv Mode
- 7. Multi PGM Mode
- 8. Clip Management
- 8.1 INTRODUCTION
- 8.2 USING THE EVS REMOTE PANEL
- 8.2.1 How to Create a Clip
- 8.2.2 Storing a Clip
- 8.2.3 Recalling a Clip
- 8.2.4 Playing Back a Clip
- 8.2.5 Recall and Playback of Growing clips
- 8.2.6 Clearing Clips
- 8.2.7 Copying or Moving Clips
- 8.2.8 How to Shorten a Clip
- 8.2.9 Secondary Menu in Clip Mode
- 8.2.10 Using the Clip screen
- 8.2.11 License Code
- 8.2.12 Clip screen – Standard View
- 8.2.13 The Title Bar
- 8.2.14 The Function Bar
- 8.2.15 The Clip Information Area
- 8.2.16 The Clip Management Area
- 8.2.17 Selecting a Clip with Tablet and Stylus
- 8.2.18 Selecting a Clip with the Keyboard
- 8.2.19 How to Name a Clip
- 8.2.20 How to Change the Primary Camera of a Clip
- 8.2.21 Recalling a Clip
- 8.2.22 How to Restripe the Timecode of the Current Clip
- 8.2.23 Moving and Copying Clips
- 8.2.24 Clip Screen – Extended View
- 8.3 USING THE VDR PANEL
- 9. Playlist Management
- 9.1 GENERAL INFORMATION
- 9.2 PLAYLIST MODES ON THE REMOTE PANEL
- 9.3 PLAYLIST DISPLAY ON THE VGA
- 9.4 ACTIVATING AND LOADING PLAYLISTS
- 9.5 DELETING PLAYLISTS
- 9.6 NAMING A PLAYLIST OR AN ELEMENT IN A PLAYLIST
- 9.7 BROWSING WITHIN A PLAYLIST
- 9.8 PLAYOUT FUNCTIONS AVAILABLE FOR PLAYLISTS
- 9.9 OVERVIEW OF EDITING FUNCTIONS IN PLAYLIST EDIT MODE
- 9.10 ADDING & REPLACING CLIPS IN A PLAYLIST
- 9.10.1 Possible Methods for Adding Clips
- 9.10.2 How to Quickly Add Clips to the Current Playlist
- 9.10.3 How to Insert Clips into a Playlist
- 9.10.4 Inserting Growing Clips into Playlists
- 9.10.5 How to Delete Playlist Elements from a Playlist
- 9.10.6 How to Move an Element Within a Playlist
- 9.10.7 How to Change the Camera Angle of a Playlist Element
- 9.11 COPYING PLAYLISTS
- 9.12 OTHER EDITING FUNCTIONS FOR PLAYLISTS
- 9.13 THE AUXILIARY AUDIO CLIP
- 9.14 TRANSITION EFFECTS
- 9.15 REPLACE FUNCTION
XTnano
–
Version 10.04
–
Operating Manual
EVS Broadcast Equipment SA – January 2011
Issue
10.04.A
59
Note
A third selection of the PLST button cues the playlist to the beginning,
displaying the first playlist element on the PGM side and the following
clip on the PRV.
For more details on the Playlist Playout mode, refer to the section 9.8.3 ‘Functions
Available on the Remote in Playlist Playout mode’, on page 67.
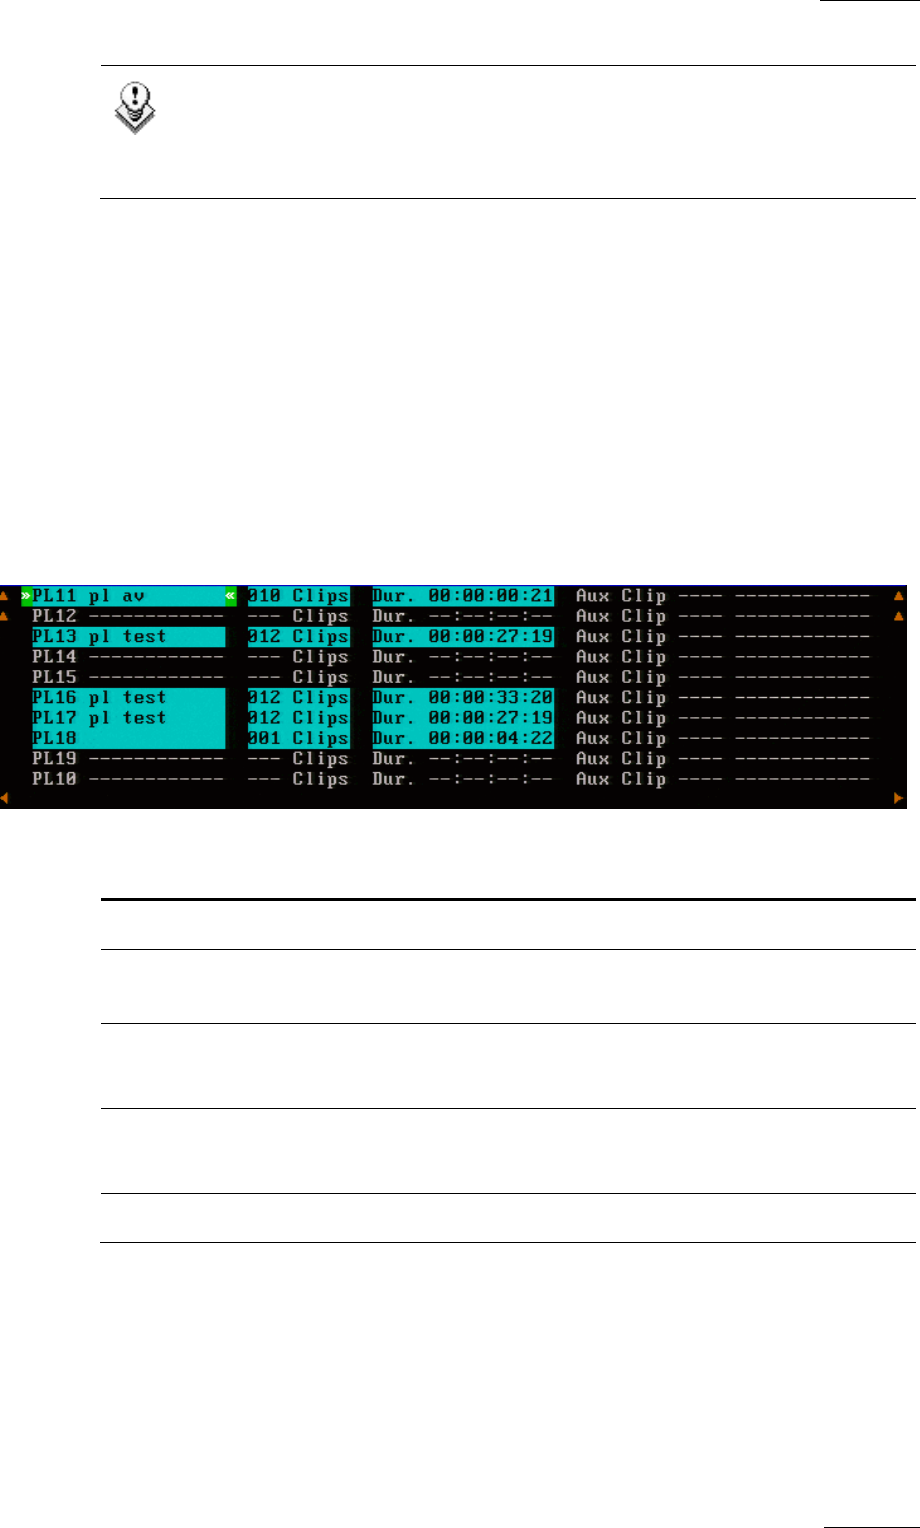
9.3 PLAYLIST DISPLAY ON THE VGA
9.3.1 VGA PLAYLIST BANK SCREEN
Pressing END on the keyboard when the Clip screen is displayed allows the users
to access the VGA Playlist Bank screen on the given page. This gives an overview
on the playlists and timelines stored on the bank.
For each playlist the following information is displayed:
Field Description
Playlist ID Unique identifier of the playlist on the server. Ex: PL16
Playlist Name Name of the playlist. It cannot exceed 12 characters. Ex:
”game edit”
X clips Number of available clips in the playlist.
Ex: 98 clips
Dur: --:--:--:-- Total playback duration.
Ex: 00:04:34:12
Aux Clip Aux Clip ID and name of the audio auxiliary clip.