
User Manual Owner's manual

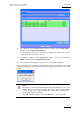

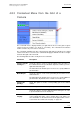

Table Of Contents
- Table of Contents
- What’s New in Version 2.19?
- 1. Introduction
- 2. Software Installation
- 3. XFile Module
- 3.1 System Configuration
- 3.2 Startup
- 3.3 Session Configuration
- 3.3.1 Tab 1 - Autobackup
- 3.3.2 Tab 2 – MXF Metadata
- 3.3.3 Tab 3 – Manual Backup
- 3.3.4 Tab 4 – Scan Folder
- 3.3.5 Tab 5 – Grab
- 3.3.6 Tab 6 – Export
- 3.3.7 Tab 7 – XML
- 3.3.8 Tab 8 – User Parameters
- Autostart
- Autobackup at Startup
- Confirm Manual Backup
- Confirm Manual Restore
- Confirm Manual Update
- Cancel Backups Scheduled when Stopping Autobackup
- Use Fixed Size Font for Clipnames and Keywords
- Publish Clips with Original UmID (Warning publish will failed if UmID already present on XNet)
- Publish Clips with Original VarID (Warning publish will failed if VarID already published on XFile)
- Import: Use Filename to fill Clipname Metadata
- Dual Path Editing
- 3.4 User Interface
- 3.4.1 Overview of the main Window
- 3.4.2 XFile List
- 3.4.3 Network status
- 3.4.4 Disk Usage and Disk Mode
- 3.4.5 Jobs Status Area
- 3.5 Autobackup Mode
- 3.6 Backup Mode
- 3.7 Restore Mode
- 3.8 Publish Mode
- 3.9 Maintenance Mode
- 3.10 Clip Maintenance
- 3.11 Disks-Folders Maintenance
- 3.12 Playlist Maintenance
- 3.13 Job Status
- 3.14 Re-Scan Disks
- 3.15 Statistics
- 4. XStream
- 4.1 Scheduler and QuickStart Modes
- 4.2 Information & Menu Area
- 4.3 Time Grid
- 4.4 Channels Area
- 4.5 Status Area
- 4.6 System Configuration
- 4.7 Record Grid Menu
- 4.8 Contextual Menu in the Scheduler
- 4.9 Creating and Editing Jobs in Scheduler Mode
- 4.10 Creating Jobs in QuickStart Mode
- 5. External modules
- Appendix 1: XF2 Hardware
- Notes
XFile Version 2.19 – User Manual
EVS Broadcast Equipment – November 2012
Issue 2.19.A
135
4. If you want some of the displayed jobs not to be loaded, select them with CTRL +
click and select the Ignore Selected button.
The background color for these records becomes light blue and the value ‘Ignore’
is displayed in the User Decision column.
5.
If you want to retry the records highlighted in orange or in red, select them with
CTRL + click and select the Retry Selected button.
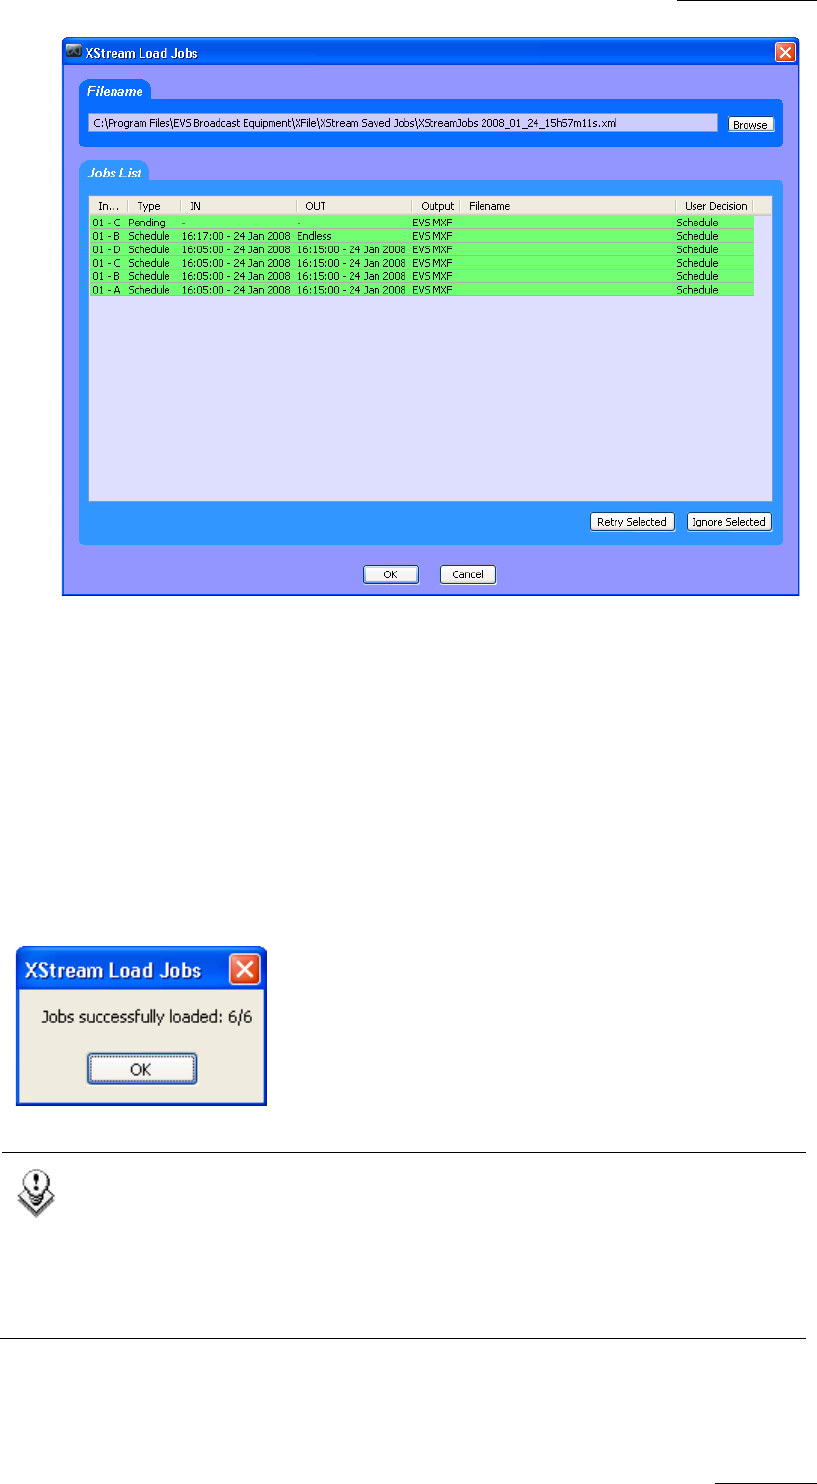
6. Once you have selected all the jobs you want to load, click the OK button.
The selected jobs are loaded into the XStream time grid as scheduled jobs. A message
similar to the following one informs the user about how many jobs have been successfully
loaded:
Note
When the user loads a job that had already been started when the ‘Save Jobs’
XML file was created, the job is loaded as scheduled. It will be executed again.
A new backup file is generated with the same name, followed by an
incremented number, for example:
EVS MXF XStream 2008_01_25 22h30m50s16 – 01 B (1).mxf