
User Manual Owner manual


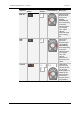
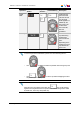

Table Of Contents
- Table of Contents
- What's New?
- 1. Introduction
- 2. User Interface
- 3. Managing Channels
- 4. Loading Media
- 4.1. Introduction
- 4.2. Possible Loading Actions
- 4.3. Loading a Train or a Recording Ingest
- 4.3.1. How to Load a Train from the Channel Explorer
- 4.3.2. How to Load a Train or a Recording Ingest from the Database Explorer
- 4.3.3. How to Select a Train or a Recording Ingest from the Panel
- 4.3.4. How to Reload the Last Loaded Train or Recording Ingest
- 4.3.5. How to Load the Source Media of a Clip
- 4.3.6. How to Load the Train from the Previous or Next Recorder Channel
- 4.3.7. How to Select a Train with the ShuttlePRO
- 4.3.8. How to Snap back to the Last Loaded Train or Recording Ingest
- 4.4. Loading a Clip
- 4.5. Loading a Playlist
- 4.6. Loading a Timeline
- 4.7. Loading a Media with the Take Function in PGM/PRV Mode
- 5. Moving through Media
- 6. Creating Media
- 7. Editing Media
- 8. Publishing a Clip
- 9. Transferring Media
- 10. Exporting and Importing Playlists
- 11. Settings
- 12. Control Panel Shortcuts
6.4. How to Create a Clip or a Sub-Clip
To create a clip from a train or a recording ingest or to create a sub-clip from an existing
clip, proceed as follows:
1. Load the record train, the clip or the recording ingest (growing clip) from which you
want to create a new clip on the Control Panel associated to a player.
2. (optional) Browse through media to select the point to be marked IN.
3. Create an IN point in one of the following ways:
◦ Use the clip creation function to set an IN point at the required timecode.
◦ Enter the timecode of the requested IN point in the IN field and press ENTER.
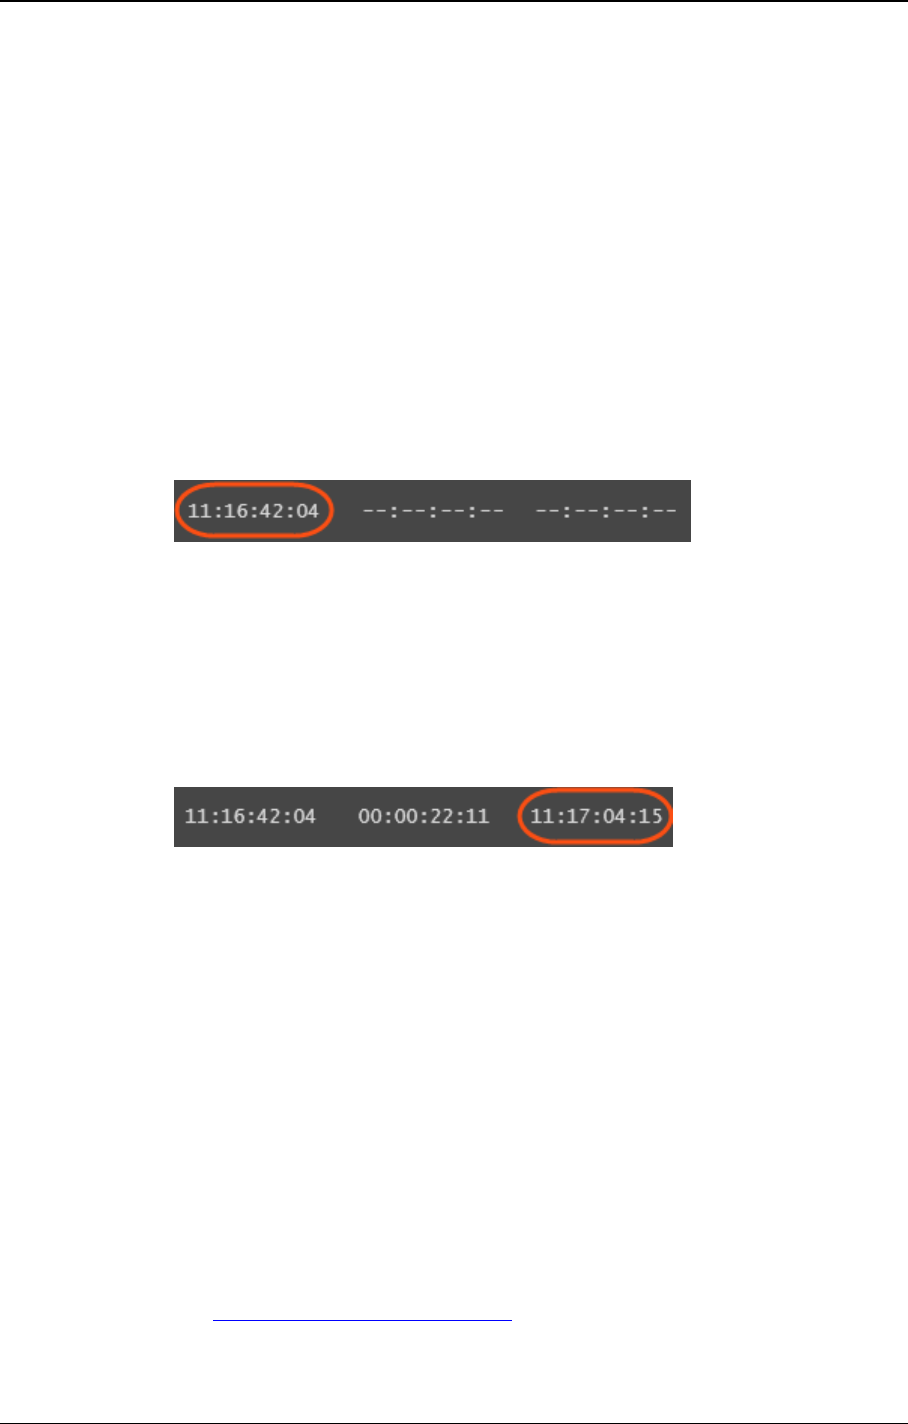
A green indicator represents the IN point on the jog bar. The IN point timecode is
displayed in the IN field:
4. (optional) Browse through media to select the point to be marked OUT.
5. Create an OUT point in one of the following ways:
◦ Use the clip creation function to set an OUT point at the required timecode
◦ Enter the timecode of the requested OUT point in the OUT field and press
ENTER.
A red indicator represents the OUT point on the jog bar. The OUT point timecode is
displayed in the OUT field:
The clip duration is displayed in the Duration field.
6. Save the clip by clicking the NEW CLIP button or the corresponding shortcut.
◦ If the Show Save Clip Window setting has not been enabled in the Tools >
Settings > Clips > General category, the clip is saved according to the settings
defined in the Tools > Settings > Autoname category.
The procedure is finished.
◦ If the Open Save Clip Window setting has been enabled, the Save Clip window
will open. See section "Save Clip Window" on page 81 for more information.
Follow steps 6 and 7.
7. Enter a name for the clip in the Save Clip window.
8. (optional) Select an interest level by clicking one of the buttons.
See section "Interest Level Buttons" on page 27.
9. (optional) Associate one or several keyword(s) to the clip.
See the General Functions user manual for more information on how to assign
keywords to media.
80 6. Creating Media
EVS Broadcast Equipment S.A. - June 2013 Issue 6.2.A