
User's Manual Instruction Manual
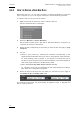
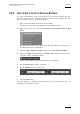
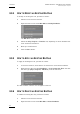

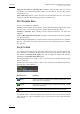


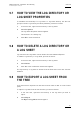
Table Of Contents
- Copyright
- Disclaimer
- Improvement Requests
- Regional Contacts
- User Manuals on EVS Website
- 1. Introduction
- 2. User Interface
- 2.1 OPENING OF DATABASE EXPLORER
- 2.2 OVERVIEW OF THE DATABASE EXPLORER
- 2.3 DATABASE EXPLORER TOOLBAR
- 2.4 TREE VIEW
- 2.5 ELEMENT GRID AND SEARCH OPTIONS
- 2.6 STATUS BAR
- Clips, Clip Elements and Nearline Files
- 4. Clips View
- 4.1 INTRODUCTION
- 4.2 UNDERSTANDING CLIP STRUCTURE ON AN EVS VIDEO SERVER
- 4.3 VIRTUAL LSM ID / REAL LSM ID
- 4.4 CLIP TREE STRUCTURE
- 4.5 CLIP DATA COLUMNS
- 4.6 CLIP CONTEXTUAL MENU
- 4.7 DELETING A CLIP
- 4.8 EDITING A CLIP
- 4.9 COPYING OR MOVING A CLIP
- 4.10 SENDING A CLIP TO A DESTINATION TARGET
- 4.10.1 Send To Menu
- 4.10.2 How to Send a Clip to the Default Archive
- 4.10.3 How to Send a Clip to a Destination Folder (Destination Target)
- 4.10.4 How to Add a Destination Target
- 4.10.5 How to Delete a Destination Target
- 4.10.6 How to Send a Clip to an XStore Workstation (Running CleanEdit Applications)
- 4.10.7 How to Send a Clip to an Avid System Using the AVID Transfer Manager
- 4.10.8 Transfer Monitoring
- 4.11 HOW TO MODIFY THE T/C IN OR THE DATE OF A CLIP
- 4.12 PUBLISHING A CLIP
- 4.13 LINKING CLIPS
- 5. Clip Elements View
- 6. Playlists View
- 7. Timelines View
- 8. Bins View
- 9. Logs View
- 9.1 INTRODUCTION
- 9.2 LOGS TREE STRUCTURE
- 9.3 HOW TO CREATE A LOGS DIRECTORY
- 9.4 HOW TO RENAME A LOGS DIRECTORY
- 9.5 HOW TO DELETE A LOGS DIRECTORY
- 9.6 HOW TO PUBLISH A LOG DIRECTORY OR A LOG SHEET
- 9.7 HOW TO VIEW THE LOG DIRECTORY OR LOG SHEET PROPERTIES
- 9.8 HOW TO DELETE A LOG DIRECTORY OR A LOG SHEET
- 9.9 HOW TO EXPORT A LOG SHEET FROM THE TREE
- 9.10 HOW TO EXPORT A LOGGING PROFILE FROM THE TREE
- 9.11 PRINTING A LOG SHEET
- 9.12 LOG EVENT COLUMNS
- 10. Media Files View
- 11. Searching the Database
- 12. Loading and Playing Media from the Database Explorer
- 13. Database Explorer Shortcuts
Issue 5.9.B IPDirector Version 5.9
–
User Manual
–
Part 3
–
Browsing
EVS Broadcast Equipment – January 2011
82
Apply bin rule filter to existing clips checkbox: when selected, the bin rule will
be applied to all the existing clips present on the network. All the clips will be
copied to the bin.
Clear This Filter button: clears the filter for the selected tab only. This allows
clearing a clip filter and keeping a playlist or timeline filter.
POST PROCESS AREA
This is not available for Timelines.
‘Send to’ tree: displays all the targets, as available in the Save Clip window (from
the Clips tab), or all the files and Xedio targets (from the Playlists tab).
‘Backup to Nearline’ tree: displays all the nearline directories (for Clips and
Playlists).
‘Protect Clip when inserted in bin’ checkbox: automatically protect the clip when
it is sent to the bin.
Clear Post processes button: clears the Post Processes defined for the selected
tab only. This allows clearing a clip post process and keeping a playlist or timeline
post process.
VALIDITY AREA
The validity dates specify from and until when the bin rule will be applied. The
clips, playlists or timelines matching the bin rules will not be copied to the bin the
day before the Validity from [date] field and no longer be copied after the day
specified in the Validity until [date] field.
The default Validity from [date] is set to the current day and the default validity
period is one day.
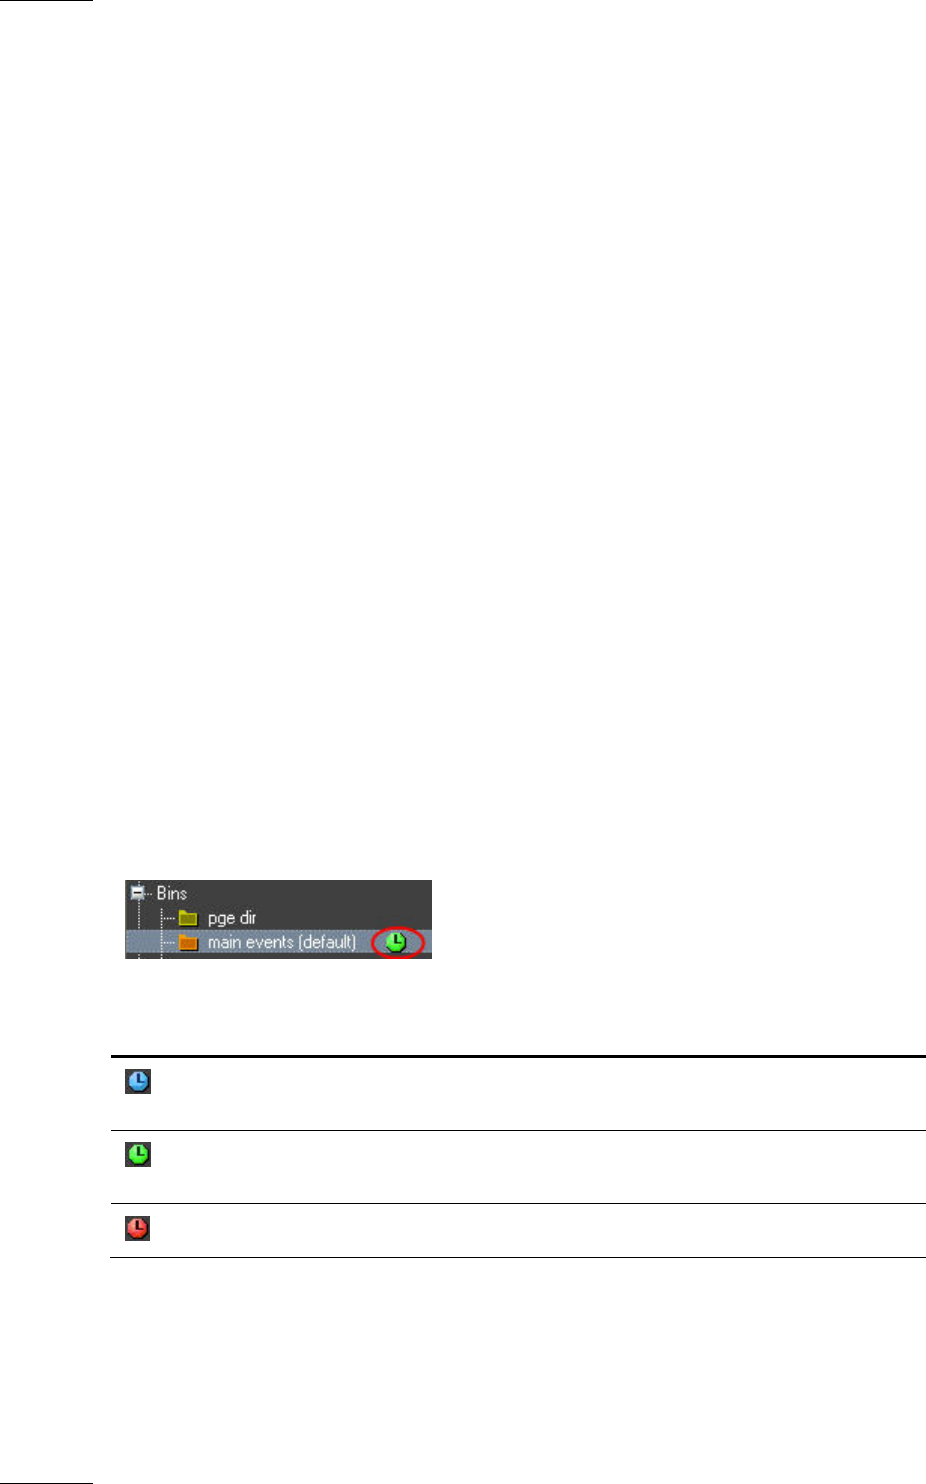
Depending on the validity dates for the bin rule, different icons will be displayed in
the tree view, next to the bin:
Bin Rule Icon Meaning
(blue)
The bin rule has a Validity from [date] programmed in the
future and is not yet active.
(green)
The bin rule is active and the Validity until [date] is later
than the current day.
(red)
The bin rule will expire at the end of the current day.
The validity date is calculated against the current date and time as defined on the
EVS video server. This is displayed in red, in the top right corner of the IPDirector
main window.