User's Manual Instruction Manual
Table Of Contents
- Copyright
- Disclaimer
- Improvement Requests
- Regional Contacts
- User Manuals on EVS Website
- 1. Introduction
- 2. User Interface
- 2.1 OPENING OF DATABASE EXPLORER
- 2.2 OVERVIEW OF THE DATABASE EXPLORER
- 2.3 DATABASE EXPLORER TOOLBAR
- 2.4 TREE VIEW
- 2.5 ELEMENT GRID AND SEARCH OPTIONS
- 2.6 STATUS BAR
- Clips, Clip Elements and Nearline Files
- 4. Clips View
- 4.1 INTRODUCTION
- 4.2 UNDERSTANDING CLIP STRUCTURE ON AN EVS VIDEO SERVER
- 4.3 VIRTUAL LSM ID / REAL LSM ID
- 4.4 CLIP TREE STRUCTURE
- 4.5 CLIP DATA COLUMNS
- 4.6 CLIP CONTEXTUAL MENU
- 4.7 DELETING A CLIP
- 4.8 EDITING A CLIP
- 4.9 COPYING OR MOVING A CLIP
- 4.10 SENDING A CLIP TO A DESTINATION TARGET
- 4.10.1 Send To Menu
- 4.10.2 How to Send a Clip to the Default Archive
- 4.10.3 How to Send a Clip to a Destination Folder (Destination Target)
- 4.10.4 How to Add a Destination Target
- 4.10.5 How to Delete a Destination Target
- 4.10.6 How to Send a Clip to an XStore Workstation (Running CleanEdit Applications)
- 4.10.7 How to Send a Clip to an Avid System Using the AVID Transfer Manager
- 4.10.8 Transfer Monitoring
- 4.11 HOW TO MODIFY THE T/C IN OR THE DATE OF A CLIP
- 4.12 PUBLISHING A CLIP
- 4.13 LINKING CLIPS
- 5. Clip Elements View
- 6. Playlists View
- 7. Timelines View
- 8. Bins View
- 9. Logs View
- 9.1 INTRODUCTION
- 9.2 LOGS TREE STRUCTURE
- 9.3 HOW TO CREATE A LOGS DIRECTORY
- 9.4 HOW TO RENAME A LOGS DIRECTORY
- 9.5 HOW TO DELETE A LOGS DIRECTORY
- 9.6 HOW TO PUBLISH A LOG DIRECTORY OR A LOG SHEET
- 9.7 HOW TO VIEW THE LOG DIRECTORY OR LOG SHEET PROPERTIES
- 9.8 HOW TO DELETE A LOG DIRECTORY OR A LOG SHEET
- 9.9 HOW TO EXPORT A LOG SHEET FROM THE TREE
- 9.10 HOW TO EXPORT A LOGGING PROFILE FROM THE TREE
- 9.11 PRINTING A LOG SHEET
- 9.12 LOG EVENT COLUMNS
- 10. Media Files View
- 11. Searching the Database
- 12. Loading and Playing Media from the Database Explorer
- 13. Database Explorer Shortcuts

Issue 5.9.B IPDirector Version 5.9
–
User Manual
–
Part 3
–
Browsing
EVS Broadcast Equipment – January 2011
78
8.8.2 HOW TO DEFINE A NEW BIN RULE
With a basic bin rule, you can select a target or a nearline destination to send new
clips or playlists to or you can request new clips to be automatically protected.
To define a new bin rule, proceed as follows:
1. Right-click the bin for which you want to define a bin rule.
The Bin contextual menu is displayed:
2. Select the Bin Rules > Create Bin Rules.
The Bin Rules window opens. See section ‘Bin Rules Window’ on page 81 for
a
detailed description of the window.
3. Select the tab corresponding to the items you want the bin rule apply to (Clip
/ Playlist).
4. You can
• Define a post process by selecting the checkbox corresponding to the
target/nearline destination where you want to automatically send new items.
So, when creating a clip or playlist, if you request to send the new item to
the bin for which the post process has been defined, it will automatically be
sent to the target selected in the Bin Rules window.
• Select the Protect Clip when inserted in bin checkbox.
So, new clips sent to the corresponding bin will automatically be protected.
This option is not available for playlists.
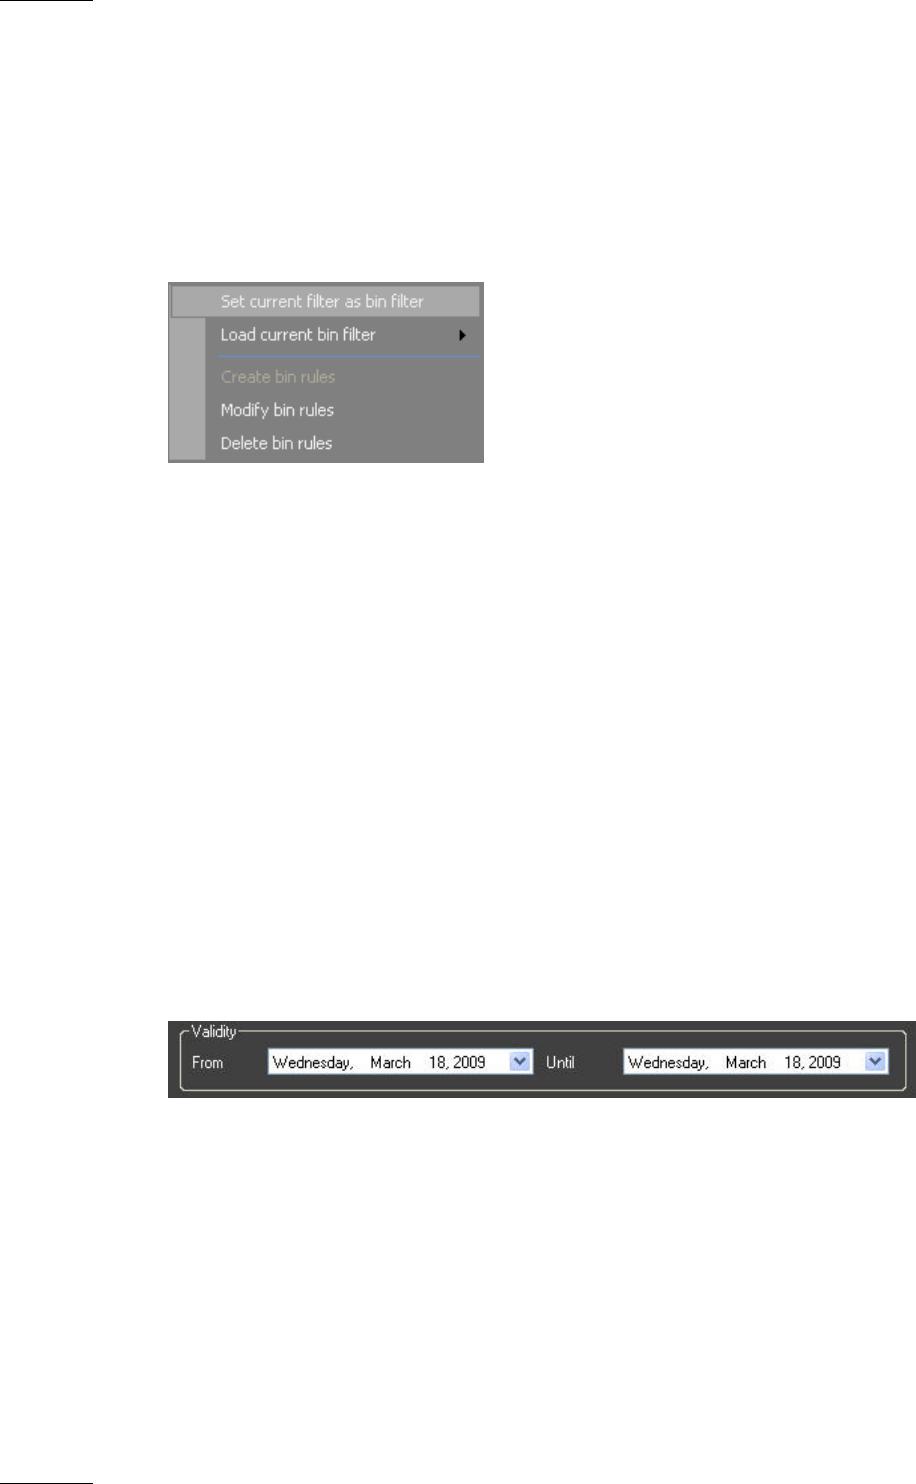
5. Select the dates from which and until when you want the bin rule to apply in
the Validity from and Validity until fields.
The selected post-process will automatically be applied to clips or playlists that
will be copied to this bin.


