
User's Manual Instruction Manual


Table Of Contents
- Copyright
- Disclaimer
- Improvement Requests
- Regional Contacts
- User Manuals on EVS Website
- 1. Introduction
- 2. User Interface
- 2.1 OPENING OF DATABASE EXPLORER
- 2.2 OVERVIEW OF THE DATABASE EXPLORER
- 2.3 DATABASE EXPLORER TOOLBAR
- 2.4 TREE VIEW
- 2.5 ELEMENT GRID AND SEARCH OPTIONS
- 2.6 STATUS BAR
- Clips, Clip Elements and Nearline Files
- 4. Clips View
- 4.1 INTRODUCTION
- 4.2 UNDERSTANDING CLIP STRUCTURE ON AN EVS VIDEO SERVER
- 4.3 VIRTUAL LSM ID / REAL LSM ID
- 4.4 CLIP TREE STRUCTURE
- 4.5 CLIP DATA COLUMNS
- 4.6 CLIP CONTEXTUAL MENU
- 4.7 DELETING A CLIP
- 4.8 EDITING A CLIP
- 4.9 COPYING OR MOVING A CLIP
- 4.10 SENDING A CLIP TO A DESTINATION TARGET
- 4.10.1 Send To Menu
- 4.10.2 How to Send a Clip to the Default Archive
- 4.10.3 How to Send a Clip to a Destination Folder (Destination Target)
- 4.10.4 How to Add a Destination Target
- 4.10.5 How to Delete a Destination Target
- 4.10.6 How to Send a Clip to an XStore Workstation (Running CleanEdit Applications)
- 4.10.7 How to Send a Clip to an Avid System Using the AVID Transfer Manager
- 4.10.8 Transfer Monitoring
- 4.11 HOW TO MODIFY THE T/C IN OR THE DATE OF A CLIP
- 4.12 PUBLISHING A CLIP
- 4.13 LINKING CLIPS
- 5. Clip Elements View
- 6. Playlists View
- 7. Timelines View
- 8. Bins View
- 9. Logs View
- 9.1 INTRODUCTION
- 9.2 LOGS TREE STRUCTURE
- 9.3 HOW TO CREATE A LOGS DIRECTORY
- 9.4 HOW TO RENAME A LOGS DIRECTORY
- 9.5 HOW TO DELETE A LOGS DIRECTORY
- 9.6 HOW TO PUBLISH A LOG DIRECTORY OR A LOG SHEET
- 9.7 HOW TO VIEW THE LOG DIRECTORY OR LOG SHEET PROPERTIES
- 9.8 HOW TO DELETE A LOG DIRECTORY OR A LOG SHEET
- 9.9 HOW TO EXPORT A LOG SHEET FROM THE TREE
- 9.10 HOW TO EXPORT A LOGGING PROFILE FROM THE TREE
- 9.11 PRINTING A LOG SHEET
- 9.12 LOG EVENT COLUMNS
- 10. Media Files View
- 11. Searching the Database
- 12. Loading and Playing Media from the Database Explorer
- 13. Database Explorer Shortcuts
IPDirector Version 5.9
–
User Manual
–
Part 3: Browsing
EVS Broadcast Equipment – January 2011
Issue 5.9.B
7
The buttons on the toolbar become active when you select one of the following
branches in the tree view: Clips, Clip Elements or Bins. The buttons becomes
colored when selected.
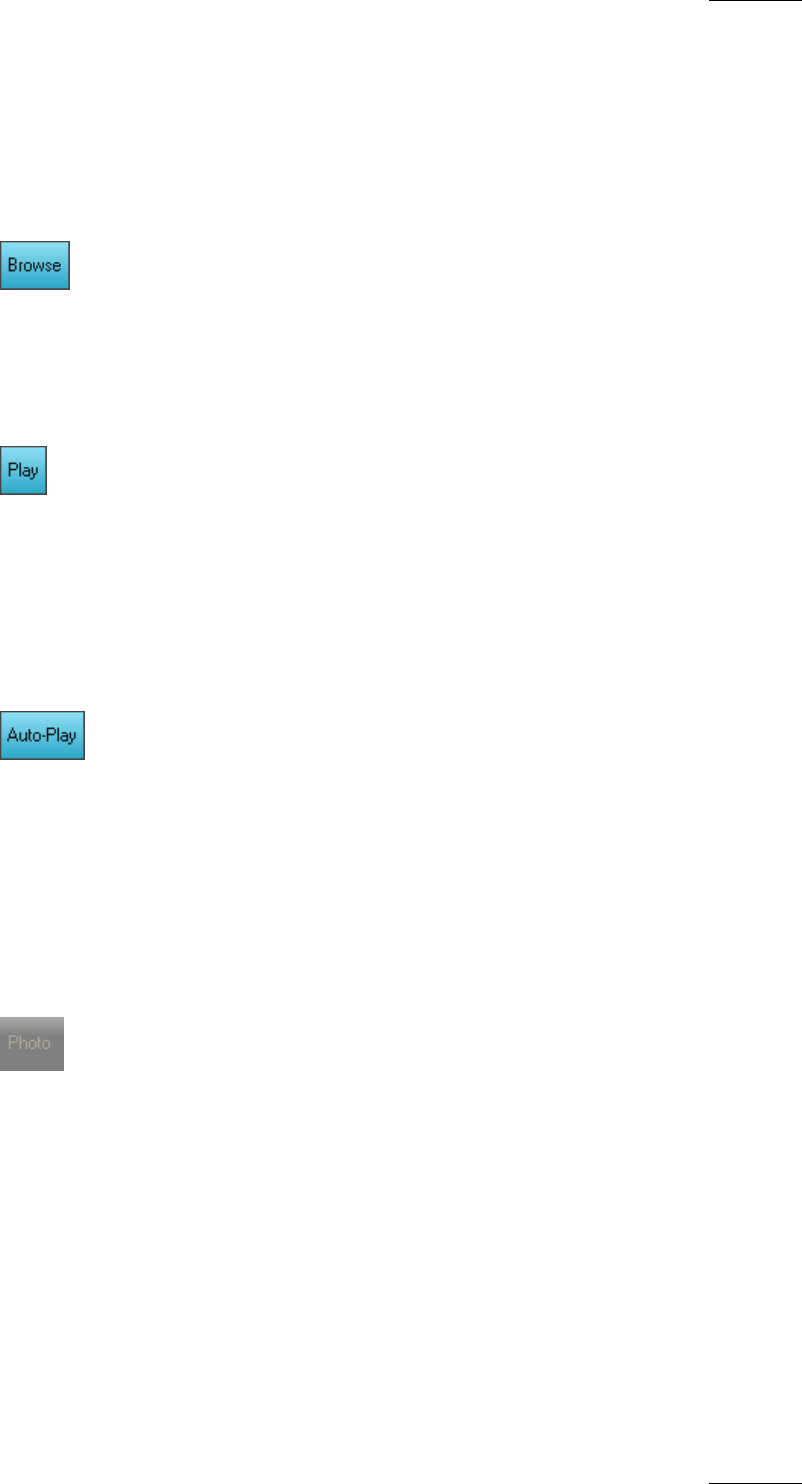
BROWSE MODE
When the Browse mode is enabled, selecting an element will show the first frame
of the element on the associated channel, but not play it.
PLAY MODE
When the Play mode is enabled, selecting an element will play it on the associated
player channel.
The element being played out is highlighted in dark green in the Database
Explorer grid.
AUTO-PLAY MODE
The Auto-Play mode makes it possible to play elements one after the other on the
associated player channel, as they are displayed in the Database Explorer
window. The elements are played without transition effects.
The elements can be played from the clip or clip element structure, from a bin or
from the result list of a search in the Database Explorer.
2.3.4 PHOTO BUTTON
When a player channel is associated to the Database Explorer and a clip is loaded
on the Control Panel associated to the same player channel, you can press the
Photo button on the Database Explorer toolbar or type SHIFT+P on the keyboard
to grab a thumbnail for the loaded clip. See procedure hereafter.
CREATING THUMBNAILS IN DATABASE EXPLORER
To be able to create thumbnails, a control panel with video display window must
be associated to the Database Explorer window.
To establish the association, the Player Channel displayed in the Video Display
needs to be assigned to the Database Explorer as explained above in 12.1 ‘How to
As
sign a Player Channel to the Database Explorer’ on page 113.