
User's Manual Instruction Manual
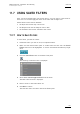
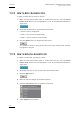
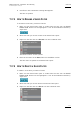
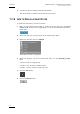
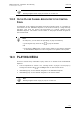


Table Of Contents
- Copyright
- Disclaimer
- Improvement Requests
- Regional Contacts
- User Manuals on EVS Website
- 1. Introduction
- 2. User Interface
- 2.1 OPENING OF DATABASE EXPLORER
- 2.2 OVERVIEW OF THE DATABASE EXPLORER
- 2.3 DATABASE EXPLORER TOOLBAR
- 2.4 TREE VIEW
- 2.5 ELEMENT GRID AND SEARCH OPTIONS
- 2.6 STATUS BAR
- Clips, Clip Elements and Nearline Files
- 4. Clips View
- 4.1 INTRODUCTION
- 4.2 UNDERSTANDING CLIP STRUCTURE ON AN EVS VIDEO SERVER
- 4.3 VIRTUAL LSM ID / REAL LSM ID
- 4.4 CLIP TREE STRUCTURE
- 4.5 CLIP DATA COLUMNS
- 4.6 CLIP CONTEXTUAL MENU
- 4.7 DELETING A CLIP
- 4.8 EDITING A CLIP
- 4.9 COPYING OR MOVING A CLIP
- 4.10 SENDING A CLIP TO A DESTINATION TARGET
- 4.10.1 Send To Menu
- 4.10.2 How to Send a Clip to the Default Archive
- 4.10.3 How to Send a Clip to a Destination Folder (Destination Target)
- 4.10.4 How to Add a Destination Target
- 4.10.5 How to Delete a Destination Target
- 4.10.6 How to Send a Clip to an XStore Workstation (Running CleanEdit Applications)
- 4.10.7 How to Send a Clip to an Avid System Using the AVID Transfer Manager
- 4.10.8 Transfer Monitoring
- 4.11 HOW TO MODIFY THE T/C IN OR THE DATE OF A CLIP
- 4.12 PUBLISHING A CLIP
- 4.13 LINKING CLIPS
- 5. Clip Elements View
- 6. Playlists View
- 7. Timelines View
- 8. Bins View
- 9. Logs View
- 9.1 INTRODUCTION
- 9.2 LOGS TREE STRUCTURE
- 9.3 HOW TO CREATE A LOGS DIRECTORY
- 9.4 HOW TO RENAME A LOGS DIRECTORY
- 9.5 HOW TO DELETE A LOGS DIRECTORY
- 9.6 HOW TO PUBLISH A LOG DIRECTORY OR A LOG SHEET
- 9.7 HOW TO VIEW THE LOG DIRECTORY OR LOG SHEET PROPERTIES
- 9.8 HOW TO DELETE A LOG DIRECTORY OR A LOG SHEET
- 9.9 HOW TO EXPORT A LOG SHEET FROM THE TREE
- 9.10 HOW TO EXPORT A LOGGING PROFILE FROM THE TREE
- 9.11 PRINTING A LOG SHEET
- 9.12 LOG EVENT COLUMNS
- 10. Media Files View
- 11. Searching the Database
- 12. Loading and Playing Media from the Database Explorer
- 13. Database Explorer Shortcuts
IPDirector Version 5.9
–
User Manual
–
Part 3: Browsing
EVS Broadcast Equipment – January 2011
Issue 5.9.B
111
7. Click Yes to the confirmation message that appears.
The filter is updated.
11.7.4 HOW TO RENAME A SAVED FILTER
To rename a saved filter, proceed as follows:
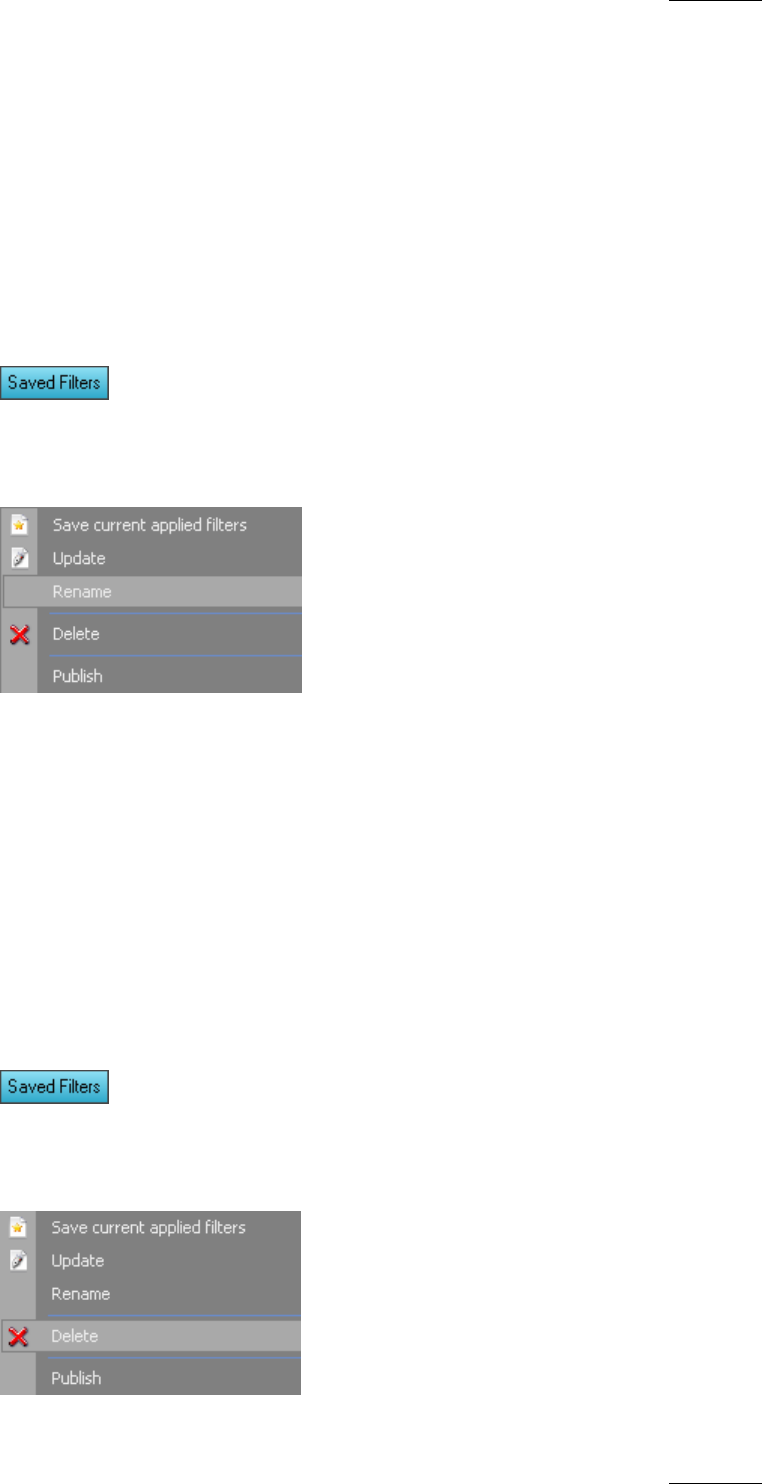
1. Make sure the Saved Filters pane is visible under the tree view: the Saved
Filters mode button must be highlighted. It can be activated/de-activated by
single click.
2. Select the filter you wish to rename in the Saved Filters pane.
3. Right-click the filter and click Rename from the contextual menu.
The Rename Filters window opened.
4. Enter the new name in the Name field and click OK to confirm.
The filter name is updated in the Saved Filters pane.
11.7.5 HOW TO DELETE A SAVED FILTER
To delete a saved filter, proceed as follows:
1. Make sure the Saved Filters pane is visible under the tree view: the Saved
Filters mode button must be highlighted. It can be activated/de-activated by
single click.
2. Select the filter you wish to delete in the Saved Filters pane.
3. Right-click the filter and click Delete from the contextual menu.