
User's Manual Owner's manual


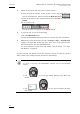
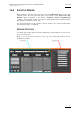
Table Of Contents
- Copyright
- Disclaimer
- Improvement Requests
- Regional Contacts
- Part 1: General Workspace
- Part 2: Logging
- Part 3: Browsing
- Part 4: Ingest
- Part 5: Playout – Control Panel
- Part 6: Playout – Playlist Panel
- Part 7: Editing
- 1. Player Control Panel
- 1.1 INTRODUCTION
- 1.2 USER INTERFACE
- 1.2.1 Opening of Control Panel
- 1.2.2 Overview of the Control Panel
- 1.2.3 Views of The Control Panel
- 1.2.4 Channel Media Pane
- 1.2.5 Transport Functions Pane
- Time Information Group Box
- Left Timecode Field
- Right Duration field
- Play Mode Button
- Browsing within Video Material with the ShuttlePRO
- Jog Bar
- Playlist Element Tags
- Play Button
- Custom Speed Field
- Pause Button
- Fast Rewind Button
- Fast Forward Button
- E/E Button
- Direct Access Buttons to the Trains on the ShuttlePRO
- Snap Button
- Ret Button
- 1.2.6 Clip Creation Pane
- 1.2.7 Clip Information Tab
- 1.2.8 Metadata Tab
- 1.2.9 Ganged Channels Tab
- 1.2.10 Clip-List Tab
- 1.2.11 Control Panel Contextual Menu
- 1.2.12 Settings
- 1.2.13 Control Panel Shortcuts
- 1.3 ASSIGNING A CHANNEL OR THE SOFTWARE PLAYER
- 1.4 LOADING MEDIA
- 1.5 MOVING WITHIN MEDIA
- 1.6 CREATING MEDIA
- 1.7 EDITING MEDIA
- 1.7.1 How to Rename a Loaded Clip
- 1.7.2 How to Modify Playlist Information or Rename a Loaded Playlist
- 1.7.3 How to Edit a Clip Duration
- 1.7.4 Modifying a Playlist Element
- 1.7.5 How to Move Elements Within a Playlist
- 1.7.6 Adding Elements to a Playlist
- 1.7.7 How to Remove Elements From a Playlist
- 1.7.8 Applying a Macro Command on a Playlist Element
- 1.8 DELETING MEDIA
- 1.9 USING KEYWORDS & METADATA
- 1.10 PUBLISHING AND TRANSFERRING MEDIA
- 1.10.1 How to Publish a Clip to a User Group
- 1.10.2 How to Send a Clip to an External Destination
- 1.10.3 How to Send a Playlist to an External Destination
- 1.10.4 How to Export a Playlist
- 1.10.5 How to Export a Part of an Element to a target From the ShuttlePro
- 1.10.6 How to Export a Part of an Element to a target From the Control Panel
- 1.10.7 How to Import a Playlist
- 1.10.8 How to Restore a File to an EVS Video Server
- 1.11 USING GANGED CHANNELS
- Software Player
- Video Display
Issue 5.8.B IPDirector Version 5.8
–
User Manual
–
Part 5: Playout
–
Player Control Panel
EVS Broadcast Equipment – July 2010
60
3. Create an OUT point with one of the following actions:
• Place the position indicator on the jog bar or cue to the place where you
want to create the OUT point and select the Mark OUT button .
• Enter the timecode of the requested OUT point in the OUT field and press
ENTER.
The OUT point is set:
The clip duration is displayed in the Duration field.
4. To save the clip, do one of the following:
• Click the NEW CLIP button.
• Press the ShuttlePRO dedicated button to save the clip (see note below).
5. Depending on what is defined in Tools > Settings > Clips > Clips/General
category, the Save Clip window will open. Then, fill in a clip name and any
desired information and click the Save button.
For more information on the Save Clip window, refer to section 1.6.2 ‘Save
Cl
ip Window’, on page 61.
A gr
een message will appear on the main window to inform you that the clip has
been created if this setting has been activated in the Settings.
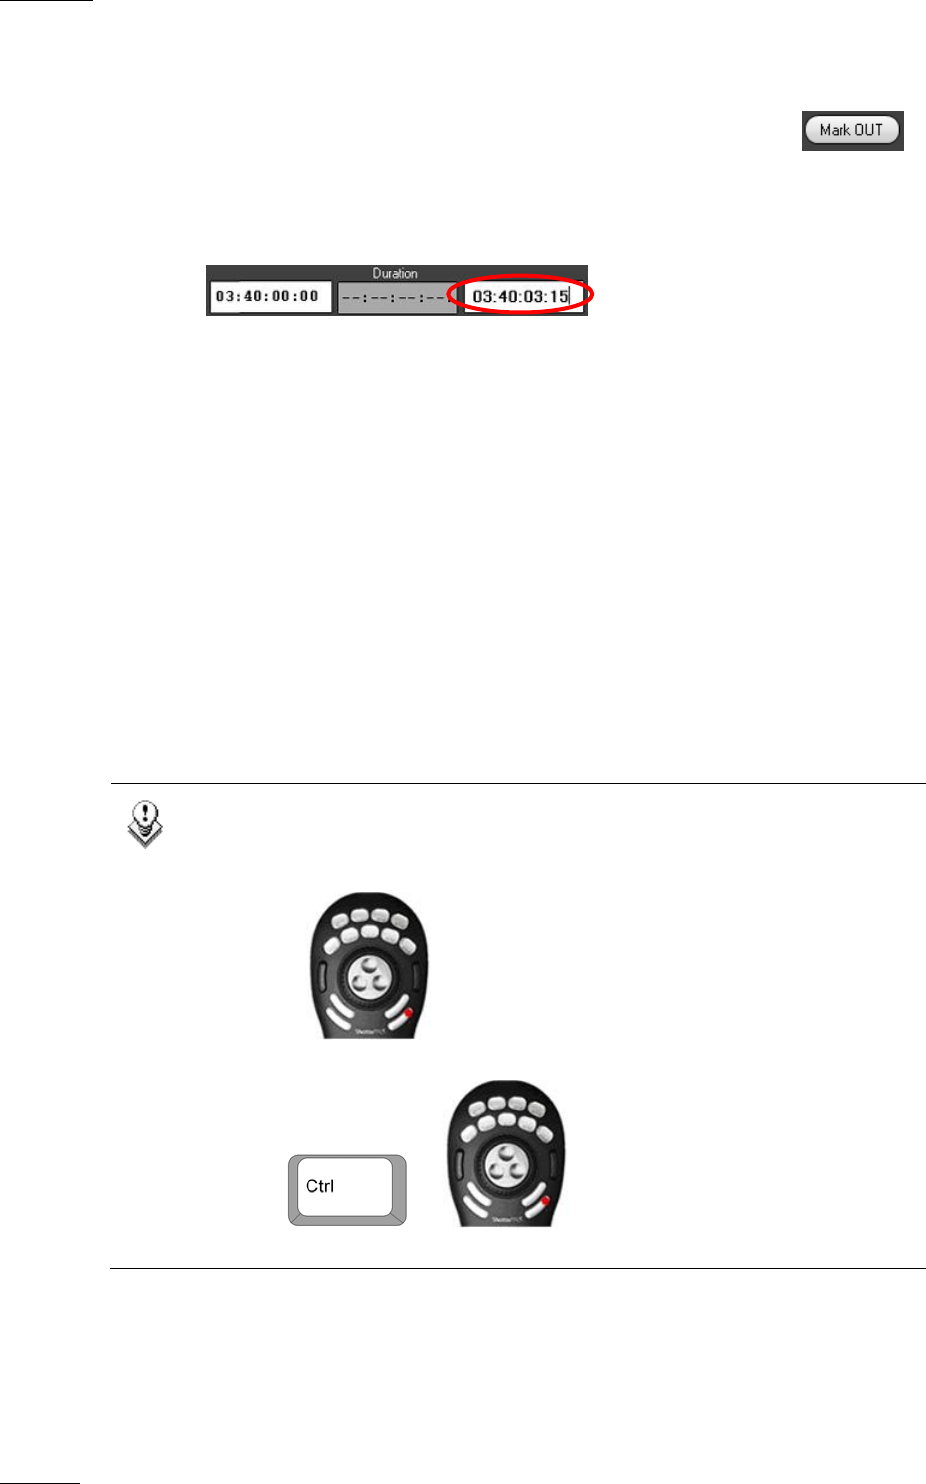
Note
To save a clip from the ShuttlePRO, perform one of the following
actions :
• Use to save a clip without displaying the Save Clip
window.
• Use + to save a clip and display the Save
Clip window.