
User's Manual Owner's manual
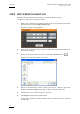


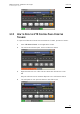


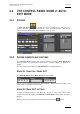
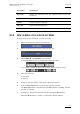
Table Of Contents
- Copyright
- Disclaimer
- Improvement Requests
- Regional Contacts
- Part 1: General Workspace
- Part 2: Logging
- Part 3: Browsing
- Part 4: Ingest
- Part 5: Playout – Control Panel
- Part 6: Playout – Playlist Panel
- Part 7: Editing
- 1. Recorder Panel
- 2. Ingest Scheduler
- 2.1 INTRODUCTION
- 2.2 USER INTERFACE
- 2.3 MENU BAR OPTIONS
- 2.4 RECORDER CHANNELS STATUS AREA
- 2.5 TIMELINE AND INGEST OVERVIEW AREA
- 2.6 REMAINING CAPACITY AREA
- 2.7 CONTEXTUAL MENU
- 2.8 SETTINGS
- 2.9 CREATING SCHEDULED INGESTS
- 2.10 CREATING GROWING CLIPS
- 2.11 EDITING A SCHEDULED INGEST
- 2.12 DELETING A SCHEDULED INGEST
- 2.13 COPYING AN INGEST
- 2.14 MOVING AN INGEST
- 2.15 STOPPING AN INGEST
- 2.16 WORKING WITH GANGED CHANNELS
- 2.17 WORKING WITH LOG SHEETS
- 2.18 IMPORTING AND EXPORTING INGEST LISTS
- 3. VTR Control Panel
Issue 5.8.B IPDirector Version
5.8
–
User Manual
–
Part 4: Ingest
EVS Broadcast Equipment – July 2010
58
Use the buttons and to go respectively to the Mark IN or Mark OUT
frames.
RECORDER BAR
The Recorder bar shows the linked recording channel on the EVS video server.
The device can be changed by right-clicking the blue bar and selecting a device
from the list that appears or by dragging a recorder channel from the Channel
Explorer. This selection is required to be able to initiate the Auto-Edit or Bach
Digitize modes.
Note
A default recorder can be defined in the VTR Engine configuration. If a
default recorder channel is associated, it is automatically assigned when
selecting a VTR channel.
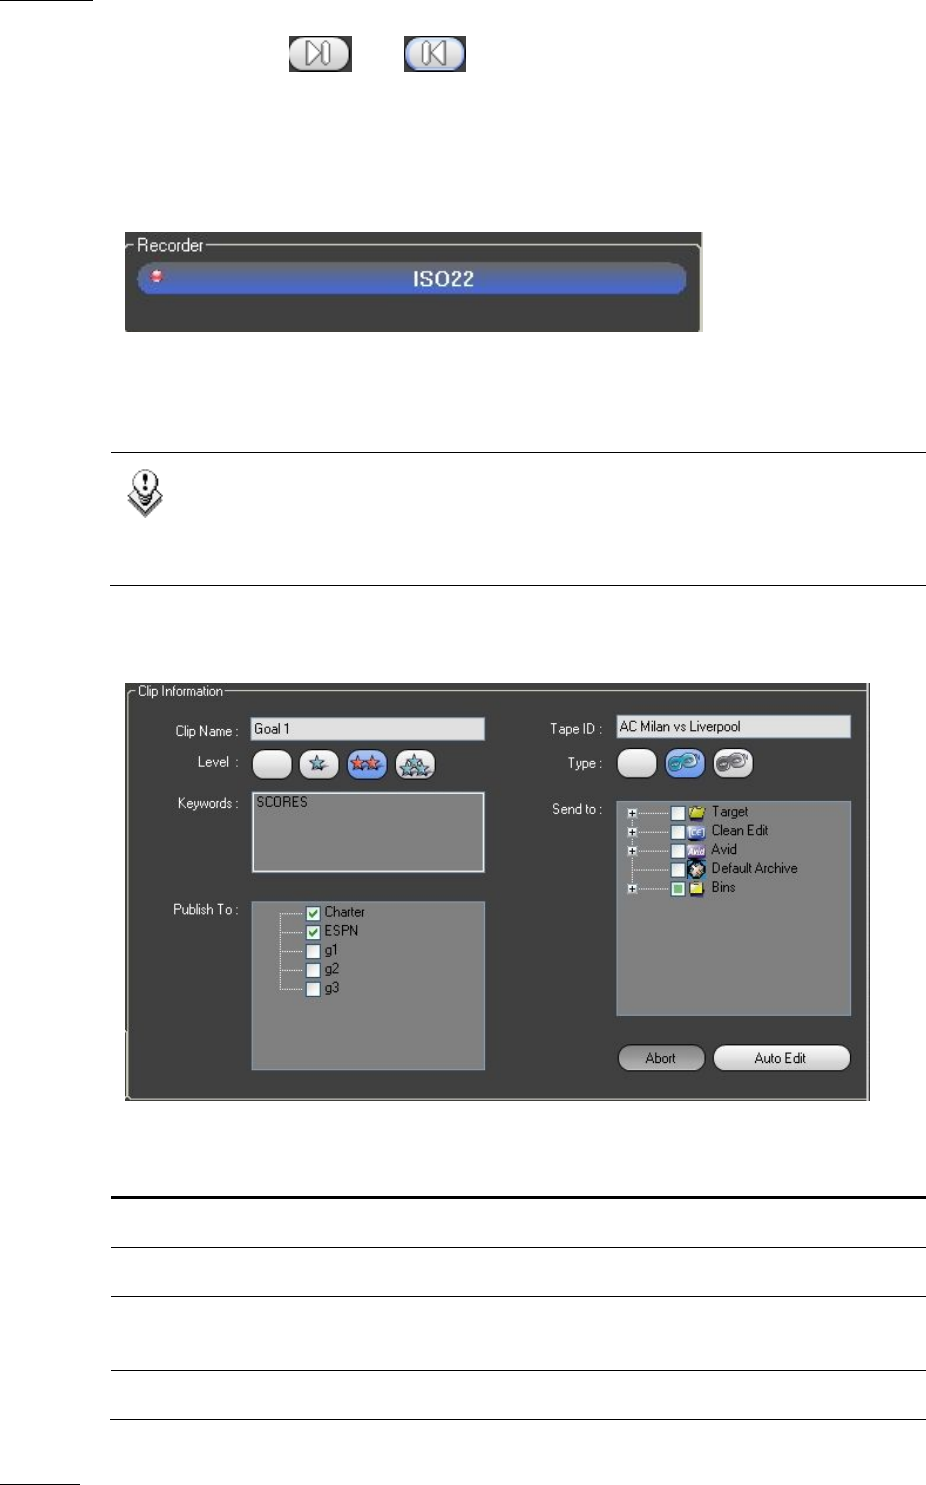
CLIP INFORMATION FIELDS
Field Name Instructions
Clip Name Enter a name for the clip here.
Level Select a level for the clip.
Tape ID Enter a Tape ID, according to the label on the tape in the
VTR.
Type Select the appropriate type for the clip.