
Instruction manual


RF Thermostat (Continued)
PROGRAMMING
Each day of the week can be programmed individually for 4 periods P1, P2, P3 and P4, making a total of 28 programmed
periods.
Alternatively, a weekday program can be set, so the same program is used for Monday-Friday. Similarly, a weekend
program can be set for Saturday-Sunday. The entire week can also have the same program.
Alternatively, a weekday or weekend program can be set with individual programs for the remaining days.
The suggested period settings for each day/s are:
• Period 1 - morning
• Period 2 - daytime
• Period 3 - evening
• Period 4 - night-time
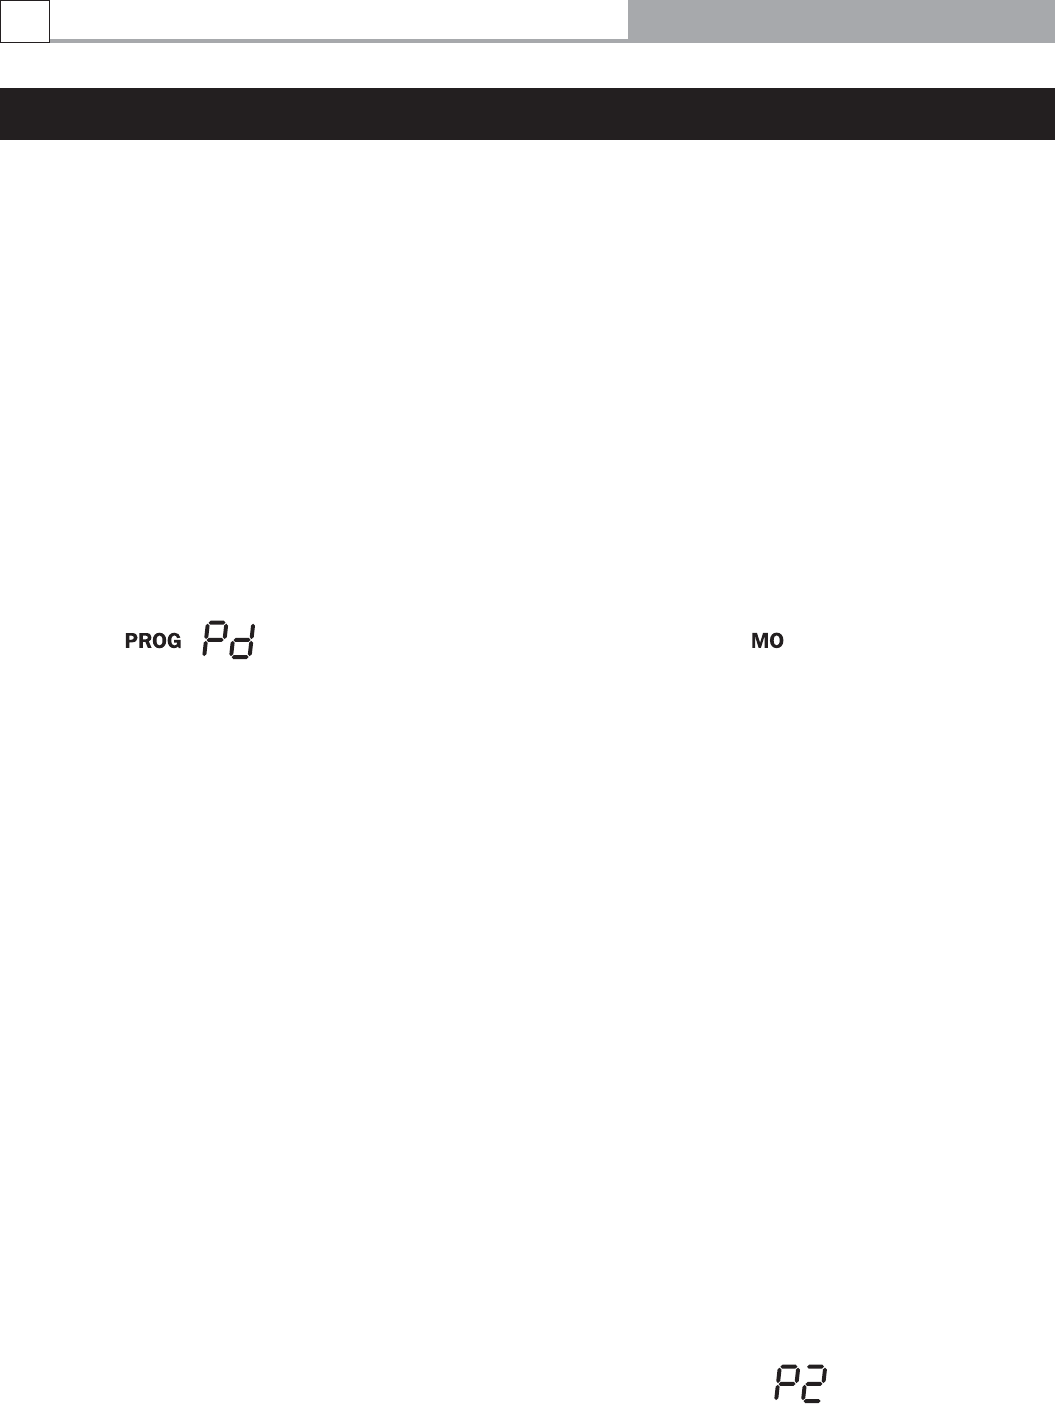
To begin programming
1. With the thermostat off, press and hold the ‘P’ button for 2 seconds or longer to initiate programming. The LCD will
display , and the time at which the thermostat is currently set. will flash.
Period 1 can now be set
• Setting the day of the week
1. You must choose which day/s of the week you wish to program.
2. Press and release the <UP> or <DOWN> button to change the day of the week to the following or previous day.
Press and hold the <UP> or <DOWN> button for 2 seconds or longer to increase or decrease the day of the week
by 1 day every 0.5 seconds.
3. The order that you can scroll through the days is as follows:
MO → TU → WE → TH → FR → MO TU WE TH FR → SA → SU → SA SU → MO TU WE TH FR SA SU
4. To accept the selected day/s of the week press <OK>.
• Setting the period starting time
1. The hour and AM/PM settings will now flash. To set the P1 starting time, press and release the <UP> or <DOWN>
button to increase or decrease the hour setting. Press and hold the <UP> or <DOWN> button for 2 seconds or
longer to increase or decrease the hour setting by 1 hour every 0.5 seconds.
2. The hour function is in 12 hour time, so please ensure that AM/PM is set correctly.
3. To accept the hour press <OK>.
4. The minute setting will now flash. Adjust the minute setting similarly, using <UP> or <DOWN> buttons.
5. To accept the minute press <OK>.
• Setting the temperature
1. The temperature setting will now flash. Press and release the <UP> or <DOWN> button to increase or decrease
the temperature setting by 1 °C. Press and hold the <UP> or <DOWN> button for 2 seconds or longer to increase
or decrease the temperature setting by 1°C every 0.5 seconds. To accept the temperature press <OK>
Period 1 is now set for the day/s of the week that you have chosen. The LCD will display to indicate that Period
2 can now be set for the same day/s of the week.
Repeat the programming process for periods 3 and 4. After program 4 is set, press <OK> and the program for the
selected day/s will be set.
The thermostat will now automatically turn off.
Repeat the programming process for any other periods/days that are required.
Derwent High Efficiency Gas Log Fire
18