
Manual


Using the Diagnostic Tool
VIEWING ENHANCED DTCS
48 OBD2
In the case of long code definitions, or when viewing
Freeze Frame data, a small arrow is shown in the
upper/lower right-hand corner of the code display area
to indicate the presence of additional information. Use
the
and buttons, as necessary, to view the
additional information.
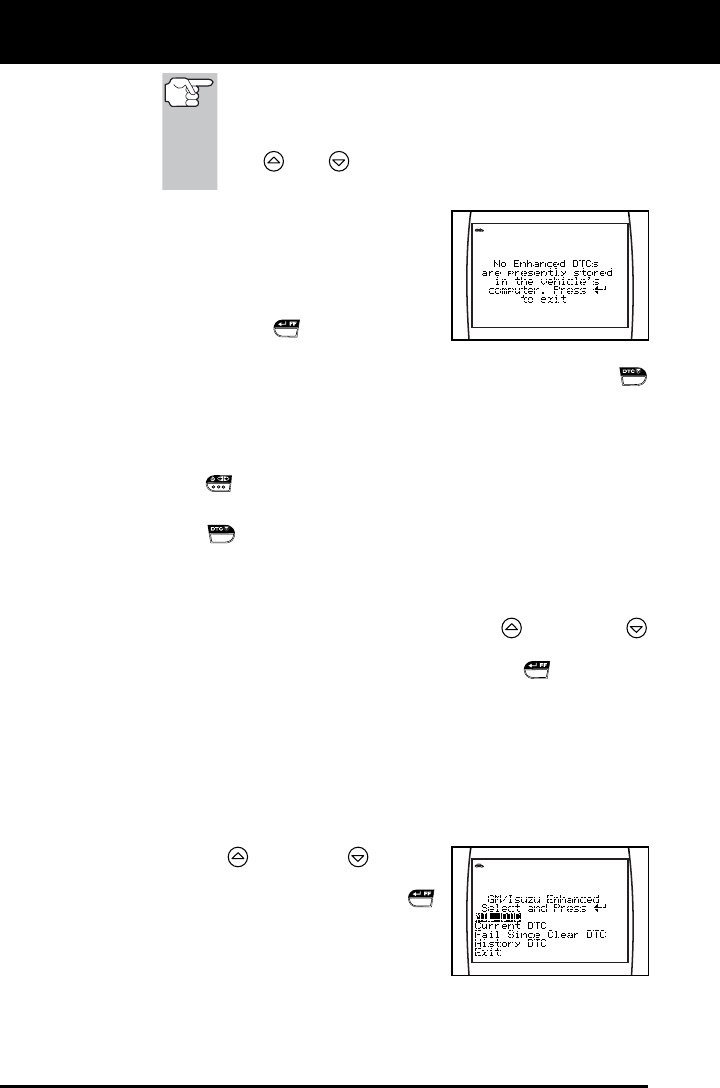
The Diagnostic Tool will display a code
only if codes are present in the
vehicle’s computer memory. If no
codes are present, a “No Enhanced
DTC’s are presently stored in the
vehicle’s computer” is displayed. Press
the ENTER/FF
button to return to
the Ford/Mazda Enhanced menu.
3. If more than one code was retrieved press the DTC SCROLL
button, as necessary, to display additional codes one at a time.
Whenever the Scroll function is used to view additional codes,
the Diagnostic Tool’s communication link with the vehicle’s
computer disconnects. To re-establish communication, press the
LINK button again.
4. When the last retrieved DTC has been displayed and the DTC
SCROLL
button is pressed, the Diagnostic Tool returns to the
Ford/Mazda Enhanced menu.
To view additional enhanced DTCs, repeat steps 1 through 4,
above.
To exit the enhanced mode, use the UP and DOWN
buttons, as necessary, to select Exit from the Ford/Mazda
Enhanced menu, then press the ENTER/FF
button. The
Diagnostic Tool returns to the OBD2 DTC screen.
General Motors/Isuzu Enhanced DTCs
When View Enhanced DTCs is selected from the Enhanced Main
Menu (and GM/Isuzu is selected, if prompted), the GM/Isuzu Enhanced
menu displays. You may view the “MIL DTC”, “Current DTC”, “Fail Since
Clear DTC” or “History DTC.”
1. Use the UP
and DOWN buttons,
as necessary, to highlight the desired
option, then press the ENTER/FF
button.
A “One moment please” message
displays while the Diagnostic Tool
retrieves the selected DTCs.