
Manual


Using the Diagnostic Tool
THE ENHANCED MAIN MENU
OBD2 43
If DTC’s were retrieved and you are going to perform the repairs
yourself, proceed by consulting the Vehicle’s Service Repair
Manual for testing instructions, testing procedures, and flow
charts related to retrieved code(s).
If you plan to take the vehicle to a professional to have it
serviced, complete the
PRELIMINARY VEHICLE DIAGNOSTIC
WORKSHEET on page
32 and take it together with the retrieved
codes, freeze frame data and LED information to aid in the
troubleshooting procedure.
To prolong battery life, the Diagnostic Tool automatically shuts
“Off” approximately three minutes after it is disconnected from
the vehicle. The DTCs retrieved, Monitor Status and Freeze
Frame data (if any) will remain in the Diagnostic Tool’s memory,
and may be viewed at any time by turning the unit “On”. If the
Diagnostic Tool’s batteries are removed, or if the Diagnostic
Tool is re-linked to a vehicle to retrieve codes/data, any prior
codes/data in its memory are automatically cleared.
THE ENHANCED MAIN MENU
Following the code retrieval procedure (see CODE RETRIEVAL
PROCEDURE on page
37), when the last retrieved DTC has been
displayed and the DTC SCROLL
button is pressed, the Diagnostic
Tool enters the “enhanced” mode. The “enhanced” mode provides the
ability to retrieve enhanced DTCs from most Chrysler/Jeep, Ford/Mazda
and GM/Isuzu vehicles. The types of enhanced data available depend
on the vehicle make.
You can also view vehicle information, which includes the vehicle’s VIN
number, calibration ID(s) and other related information, as well as a list
of available modules for the vehicle.
Vehicle information is available for model year 2000 and
newer OBD2-compliant vehicles only.
The screen shown when the Diagnostic Tool enters the “enhanced”
mode depends on the type(s) of DTC(s) returned during the code
retrieval process:
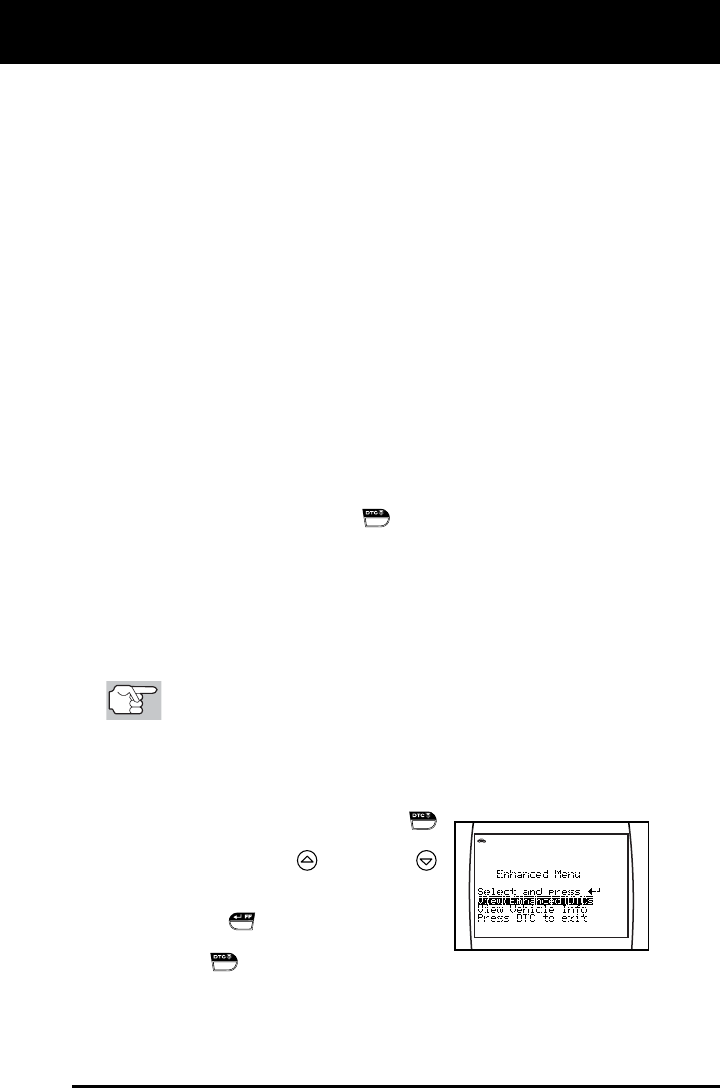
When the last retrieved DTC has been
displayed and the DTC SCROLL
button is pressed, the Enhanced Menu
displays. Use the UP
and DOWN
buttons, as necessary, to highlight the
desired option, then press the
ENTER/FF button to view the
selected information, or, press the DTC
SCROLL
button to return to the
OBD2 DTC screen.