
Manual


Using the Diagnostic Tool
CODE RETRIEVAL PROCEDURE
OBD2 37
CODE RETRIEVAL PROCEDURE
Never replace a part based only on the DTC definition.
Each DTC has a set of testing procedures, instructions
and flow charts that must be followed to confirm the
location of the problem. This information is found in the
vehicle's service manual. Always refer to the vehicle's
service manual for detailed testing instructions.
Check your vehicle thoroughly before performing
any test. See
BEFORE YOU BEGIN on page 35
for details.
ALWAYS observe safety precautions whenever working on a
vehicle. See
SAFETY FIRST! on page 3 for more information.
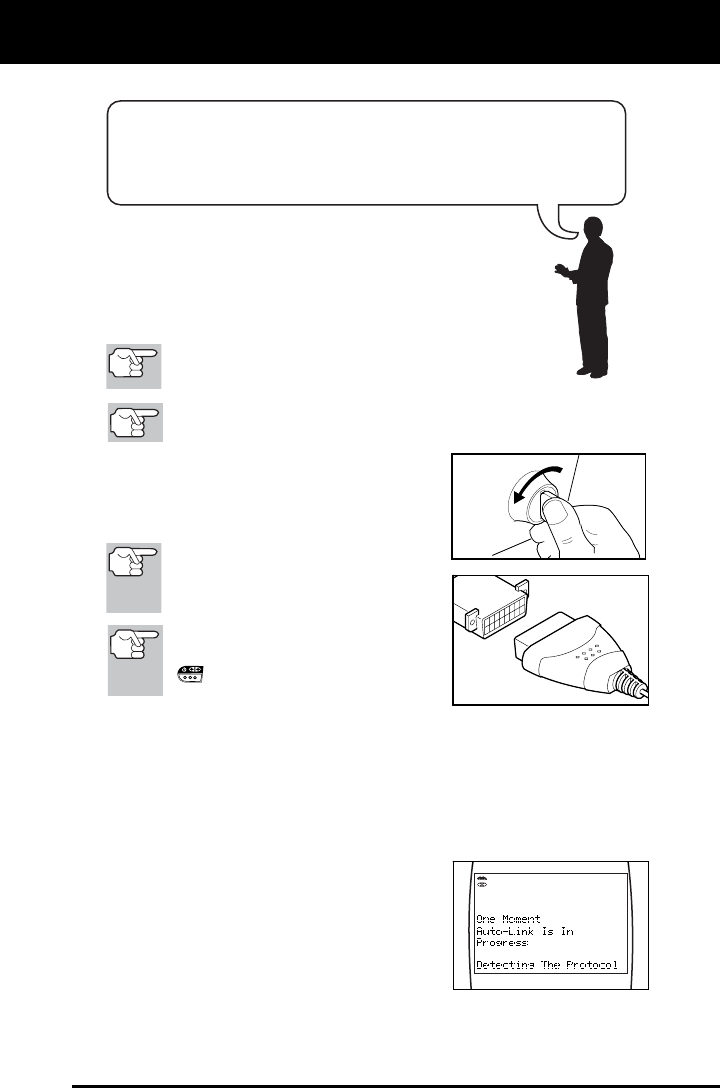
1. Turn the ignition off.
2. Locate the vehicle's 16-pin Data Link
Connector (DLC). See page 5 for
connector location.
Some DLCs have a plastic cover
that must be removed before
connecting the Diagnostic Tool
cable connector.
If the Diagnostic Tool is ON, turn it
OFF by pressing the POWER/LINK
button BEFORE connecting the
Diagnostic Tool to the DLC.
3. Connect the Diagnostic Tool cable connector to the vehicle’s DLC.
The cable connector is keyed and will only fit one way.
If you have problems connecting the cable connector to the DLC,
rotate the connector 180° and try again.
If you still have problems, check the DLC on the vehicle and on
the Diagnostic Tool. Refer to your vehicle’s service manual to
properly check the vehicle’s DLC.
4. When the Diagnostic Tool’s cable
connector is properly connected to the
vehicle’s DLC, the unit automatically
turns ON, and links to the vehicle’s on-
board computer.
Retrieving and using Diagnostic Trouble Codes (DTCs) for
troubleshooting vehicle operation is only one part of an
overall diagnostic strategy.