
User's Guide


75
1. Place your original on the scanner glass
or in the Automatic Document Feeder.
2. Press the Copy/Fax button, if necessary.
If you’ve connected a telephone to the product, you can use it to dial the fax number.
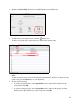
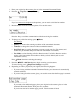
3. Dial the number from the connected phone. You see this screen:
Press the 1 key to confirm communication with the receiving fax machine.
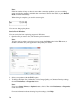
4. To change any of the fax settings, press Menu.
Fax Settings
• Quality: to increase the scanning resolution of the transmitted document.
• Contrast: to change the contrast of the transmitted document.
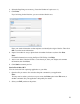
• Send Fax Later: to specify what time you want to send your fax. (You cannot send
another fax job until the delayed fax has been transmitted or cancelled.)
• Fax Mode: to select Sending or Poll to Receive mode. Use Poll to Receive mode to
receive a fax from another fax machine to which you have dialed (such as a fax
information service).
Press Menu when done selecting the settings.
5. Press the B&W or Color button to begin scanning your document.
To cancel faxing, press Stop/Clear Settings at any time.
6. Depending on where you placed your original, the following happens:
• If you are faxing with the Automatic Document Feeder, your document is automatically
scanned and faxed.
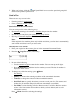
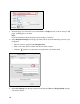
• If you are faxing from the scanner glass, you see this screen after the first page is scanned:
If you need to fax additional pages, place your original on the scanner glass or in the
Automatic Document Feeder. Then press 1 to continue.
If you do not need to fax another page, press 2. Your document is faxed.