
User's Guide


47
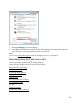
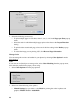
Expand Advanced Settings to remove red eyes (Fix Red Eye), adjust the midtone density
in the printout (Gamma) when using AdobeRGB, and to adjust Brightness, Contrast,
Saturation, and individual Cyan, Magenta, and Yel lo w color tones.
• Fix Photo automatically analyzes your photos and, if necessary, adjusts the brightness,
contrast, and saturation.
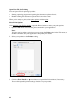
Expand Advanced Settings to select Scene Correction and choose Auto Correct, People,
Landscape, Night Scene, Sepia, or Gray. You can also select additional options for
Digital Camera Correction and Smooth Skin.
Note:
Fix Photo (or Auto Photo Correction) uses a sophisticated face recognition technology to
optimize photos that include faces. For this to work, both eyes and the nose must be
visible in the subject’s face. If your photo includes a face with an intentional color cast,
such as a statue, you may want to turn off Fix Photo to retain the special color effects.
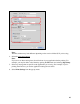
• Off (No Color Adjustment) turns off printer software color adjustments so you can use
the color adjustments in your program only.
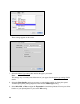
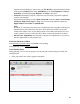
Print Your Document or Photo
After selecting your print settings
, click Print to start printing.
During printing, you can check printing status.
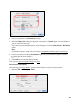
Check Printing Status
During printing, you can view the progress of your print job, control printing, and check ink
cartridge status.
1. Click your product icon when it appears in the Dock.