
User's Manual


Table Of Contents
- Contents
- Introduction to Your Printer
- Wi-Fi or Wired Networking
- Media Handling
- Printing from a Computer
- Printing with Windows
- Selecting Basic Print Settings - Windows
- Selecting Print Layout Options - Windows
- Selecting Advanced Settings - Windows
- Selecting Additional Settings - Windows
- Printing Your Document or Photo - Windows
- Saving, Sharing, and Customizing the Printer Settings
- Selecting Default Print Settings - Windows
- Changing the Language of the Printer Software Screens
- Changing Automatic Update Options
- Printing with the Built-in Epson Driver - Windows 10 S
- Printing on a Mac
- Printing CAD Drawings
- Printing with Windows
- Printing from a USB Memory Device
- Using Your Printer as a Copier
- Using the Control Panel Menus
- Replacing Ink Cartridges and Maintenance Boxes
- Adjusting Print Quality
- Maintenance and Transportation
- Solving Problems
- Technical Specifications
- Notices
78
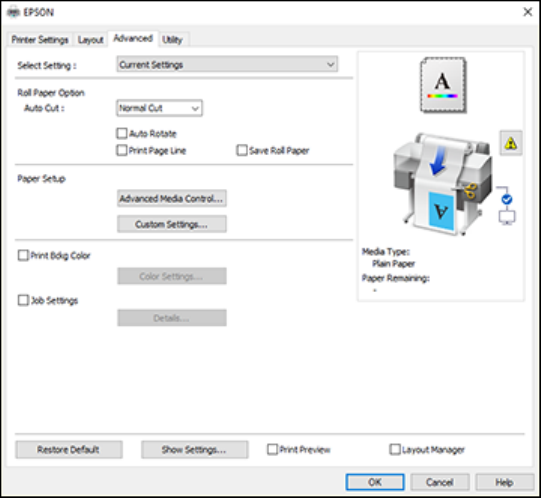
Selecting Advanced Settings - Windows
You can select advanced printing settings on the Advanced tab.
• To control how roll paper is cut after printing, select an Auto Cut option. Select other roll paper options
as necessary.
• To print on cut sheet paper with 14 mm margins above and below your print, select Vertical
Centering.
Note: This setting is only available when the Source setting is set to Cut Sheet (1 sheet).
• To adjust the ink saturation level, select Advanced Media Control.
• To create or edit custom printing settings, select Custom Settings.
• To print a color background on the page, select the Print Bckg Color checkbox and click Color
Settings to select the color you want to use.