
User's Manual


Table Of Contents
- Contents
- Introduction to Your Printer
- Wi-Fi or Wired Networking
- Media Handling
- Printing from a Computer
- Printing with Windows
- Selecting Basic Print Settings - Windows
- Selecting Print Layout Options - Windows
- Selecting Advanced Settings - Windows
- Selecting Additional Settings - Windows
- Printing Your Document or Photo - Windows
- Saving, Sharing, and Customizing the Printer Settings
- Selecting Default Print Settings - Windows
- Changing the Language of the Printer Software Screens
- Changing Automatic Update Options
- Printing with the Built-in Epson Driver - Windows 10 S
- Printing on a Mac
- Printing CAD Drawings
- Printing with Windows
- Printing from a USB Memory Device
- Using Your Printer as a Copier
- Using the Control Panel Menus
- Replacing Ink Cartridges and Maintenance Boxes
- Adjusting Print Quality
- Maintenance and Transportation
- Solving Problems
- Technical Specifications
- Notices
110
8. Choose one of the CAD/Line Drawing options as the Select Target setting.
9. Select any other printing settings as necessary and click OK.
10. Start printing your drawing from the CAD software.
Parent topic: Printing CAD Drawings
Printing CAD Drawings in HP-GL/2 or HP RTL Mode
You can change settings on your product's control panel to print CAD drawings using HP-GL/2 or HP
RTL mode. This printing method is best for maps and blueprints, or when lines need to be emphasized.
Note: Not all HP-GL/2 and HP RTL features are supported on the product.
1. Press the home button on your product, if necessary.
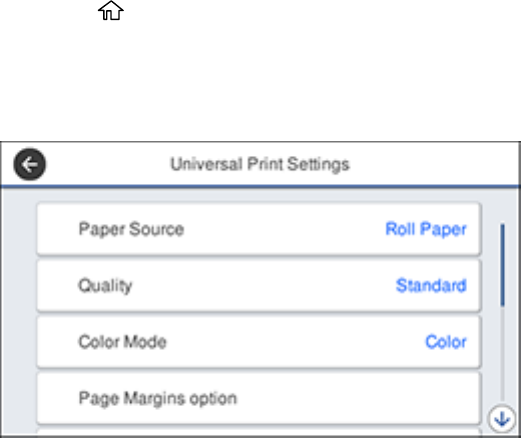
2. On the LCD screen, select Settings > General Settings > Printer Settings > Universal Print
Settings.
You see this screen:
3. Make sure the Paper Source setting is set to Roll Paper.
Note: If roll paper is not selected when HP-GL2 or HP RTL print data is sent, an error occurs.
4. Select any other settings as necessary.
5. Select the left arrow to return to the previous screen.