
User's Guide


Table Of Contents
- Contents
- Product Basics
- Wi-Fi or Wired Networking
- Loading Paper
- Loading Paper for Documents in the Cassette
- Loading Paper for Photos in the Cassette
- Loading Envelopes in the Cassette
- Loading Paper and Envelopes in the Rear Feed Slot
- Paper Loading Capacity
- Available Epson Papers
- Borderless Paper Type Compatibility
- Selecting the Paper Settings for Each Source - Control Panel
- Selecting Default Paper Settings - Administrator
- Placing Originals on the Product
- Copying
- Printing From a Computer
- Printing with Windows
- Selecting Basic Print Settings - Windows
- Selecting Double-sided Printing Settings - Windows
- Selecting Additional Layout and Print Options - Windows
- Selecting a Printing Preset - Windows
- Selecting Extended Settings - Windows
- Printing Your Document or Photo - Windows
- Selecting Default Print Settings - Windows
- Changing Automatic Update Options
- Printing with OS X
- Cancelling Printing Using a Product Button
- Printing with Windows
- Scanning
- Faxing
- Connecting a Telephone or Answering Machine
- Setting Up Fax Features
- Setting Up Fax Features Using the Product Control Panel
- Selecting Your Country or Region
- Selecting the Date and Time
- Using the Fax Setup Wizard
- Selecting the Line Type
- Setting the Number of Rings to Answer
- Selecting Fax Output Settings
- Output Settings - Fax
- Selecting Advanced Fax Settings
- Basic Settings - Fax
- Send Settings - Fax
- Receive Settings - Fax
- Security Settings - Fax
- Printing Fax Reports
- Fax Report Options
- Setting Up Fax Features Using the Fax Utility - Windows
- Setting Up Fax Features Using the Fax Utility - OS X
- Setting Up Fax Features Using the Product Control Panel
- Setting Up Contacts and Contact Groups
- Sending Faxes
- Receiving Faxes
- Viewing a Fax on the LCD Screen
- Checking Fax Status
- Using Memory Cards and USB Devices With Your Product
- Replacing Ink Cartridges and Maintenance Boxes
- Adjusting Print Quality
- Cleaning and Transporting Your Product
- Solving Problems
- Checking for Software Updates
- Product Status Messages
- Status Menu Error Codes
- Running a Product Check
- Resetting Control Panel Defaults
- Solving Setup Problems
- Solving Network Problems
- Solving Copying Problems
- Solving Paper Problems
- Solving Problems Printing from a Computer
- Solving Page Layout and Content Problems
- Solving Print Quality Problems
- Solving Scanning Problems
- Solving Scanned Image Quality Problems
- Image Consists of a Few Dots Only
- Line of Dots Appears in All Scanned Images
- Straight Lines in an Image Appear Crooked
- Image is Distorted or Blurry
- Image Colors are Patchy at the Edges
- Image is Too Dark
- Back of Original Image Appears in Scanned Image
- Ripple Patterns Appear in an Image
- Scanned Image Colors Do Not Match Original Colors
- Scan Area is Not Adjustable in Thumbnail Preview
- Scanned Image Edges are Cropped
- Solving Faxing Problems
- Solving Memory Card Problems
- When to Uninstall Your Product Software
- Where to Get Help
- Technical Specifications
- Windows System Requirements
- OS X System Requirements
- Printing Specifications
- Scanning Specifications
- Automatic Document Feeder (ADF) Specifications
- Fax Specifications
- Paper Specifications
- Printable Area Specifications
- Ink Cartridge Specifications
- Memory Card Specifications
- Dimension Specifications
- Electrical Specifications
- Environmental Specifications
- Interface Specifications
- Network Interface Specifications
- Safety and Approvals Specifications
- Notices
Click the image adjustment icon to access additional settings.
Click the + (Windows) or (OS X) icon next to a setting to change the level of adjustment.
Unsharp Mask
Makes the edges of certain image areas clearer. Turn off this option to leave softer edges.
Descreening
Removes the ripple pattern that might appear in subtly shaded image areas, such as skin tones. This
option improves results when scanning magazines or newspapers. (The results of descreening do not
appear in the preview image, only in your scanned image.)
Color Restoration
Restores the colors in faded photos automatically.
Backlight Correction
Removes shadows from photos that have too much background light.
Dust Removal
Removes dust marks from your originals automatically.
Color Enhance
Enhances the red, green, or blue shades in the scanned image.
Edge Fill
Corrects shadowing around the edges of the image by filling the shadows with the color you select.
Auto Exposure
Automatically adjusts the image exposure settings when you click the Auto Exposure icon. To
automatically adjust image exposure settings continuously, click the Configuration button, click the
Color tab, and select Continuous auto exposure. You can adjust the level of auto exposure using a
slider.
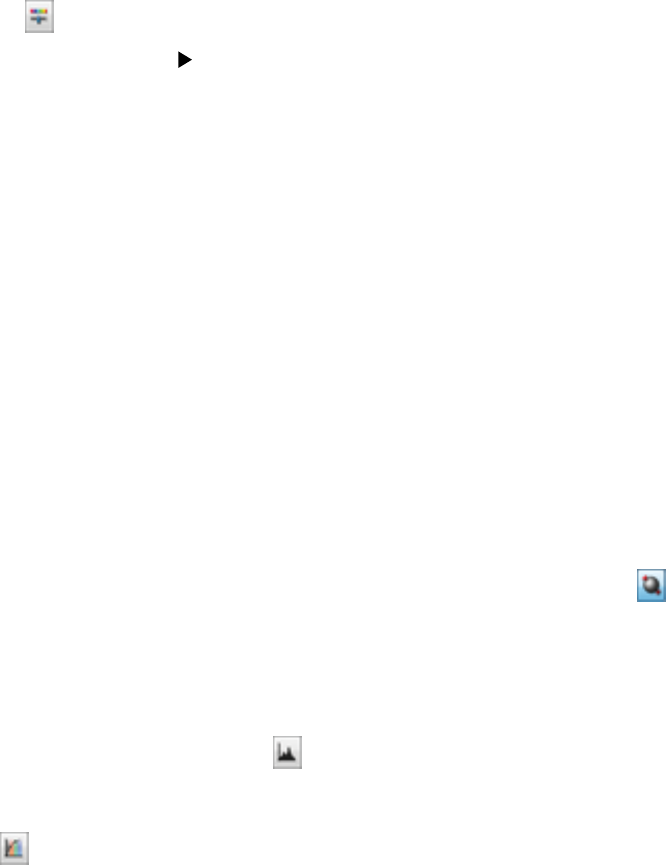
Histogram Adjustment
Provides a graphical interface for adjusting highlight, shadow, and gamma levels individually. (For
advanced users only.) Click the histogram icon to access the settings.
Tone Correction
Provides a graphical interface for adjusting tone levels individually. (For advanced users only.) Click
the tone correction icon to access the settings.
Brightness
Adjusts the overall lightness and darkness of the scanned image.
Contrast
Adjusts the difference between the light and dark areas of the overall scanned image.
148