
Basic Guide


Table Of Contents
- Front Matter
- Contents
- Welcome!
- Copying
- Making Prints From Your Digital Camera
- Printing on CDs and DVDs
- Scanning to a Memory Card
- Saving and Storing Photos
- Maintaining Your RX700
- Solving Problems
- Notices
- Index
- How to Copy, Print, and Scan Without a Computer
- How To Order Epson Ink and Paper
- Warranty
Scanning Film or Slides 63
5. Use the u and d buttons to choose
Scan to Memory Card, then press OK.
6. Use the u, d, l, and r buttons to select the following options:
■ Scan Area: select Auto cropping (if the edges of the photo are light in
color, select
Max area)
■ Document Type: select Graphics
■ Quality: select Text and Image (for best quality) or Normal (for smaller
file size).
7. Press the x
Color button. The photo is scanned and saved to the “epscan”
folder on your memory card.
8. When scanning is finished, you see a confirmation screen. Note the name
given to your image and its location on the card.
Caution:
Do not remove the card or turn off the Stylus Photo RX700 while the memory card light
is flashing, or you may lose data.
Scanning Film or Slides
After inserting a memory card (see page 61), you can scan film or slides to the card
and save your photos in JPEG format. Follow these steps:
1. Open the scanner lid and remove the document mat (see page 19). Then
remove the film holder, if you’ve stored it under the document mat.
2. Place your film or slides in the holder, as described in these sections:
■ “Placing 35-mm Slides in the Holder” on page 20
■ “Placing 35-mm Film Strips in the Holder” on page 21
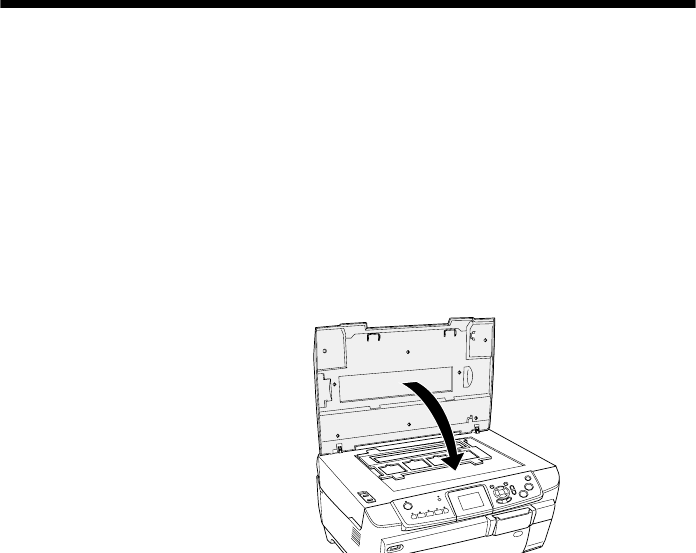
3. Close the scanner lid.