
Setup Guide
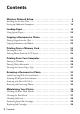

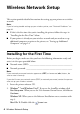


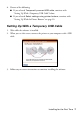
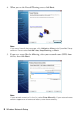
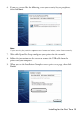
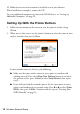
Table Of Contents
- Front Cover
- Contents
- Wireless Network Setup
- Loading Paper
- Copying a Document or Photo
- Printing From a Memory Card
- Printing From Your Computer
- Scanning a Document or Photo
- Maintaining Your Printer
- Solving Problems
- Notices
- Important Safety Instructions
- FCC Compliance Statement
- Declaration of Conformity
- Epson America, Inc. Limited Warranty
- Copyright Notice
10 Wireless Network Setup
10. Follow the on-screen instructions to install the rest of your software.
When installation is complete, remove the CD.
To set up additional computers to print to the NX420 Series, see “Setting up
Additional Computers” on page 14.
Setting Up With the Printer Buttons
1. Follow the instructions on the screen to start the printer’s wireless Setup
Wizard.
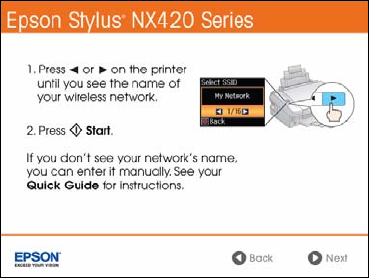
2. When you see this screen, use the printer’s buttons to select the name of your
wireless network, then press x
Start.
If your network name isn’t listed, try the following:
■ Make sure that your wireless router or access point is turned on and
working correctly. Press the
y Stop/Clear Settings button to return to
the previous screen, press x
Start to select Setup Wizard, then repeat
step 2.
■ If you still can’t find the network name in the list, your router or access
point is not broadcasting its network name. Press l or r to select
Other
SSIDs
, then press x Start. Continue with the steps in “Entering Your
SSID Manually” on page 13.