
User's Manual
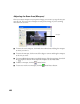
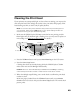
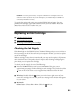
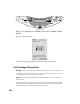
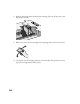
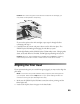
Table Of Contents
- Front Matter
- EPSON Stylus CX5400 User’s Guide
- EPSON Stylus CX5400 Parts
- Loading Paper
- Copying
- Printing With Windows
- Printing With Macintosh OS X
- Printing With Macintosh OS 8.6 to 9.x
- Selecting Your Paper Type
- Scanning
- Cleaning the Print Head
- Purchasing Ink Cartridges
- Replacing an Ink Cartridge
- Aligning the Print Head
- Cleaning the Stylus CX
- Transporting the Stylus CX
- Solving Problems
- Uninstalling Your Software
- Setting Up Network Printing
- Where To Get Help
- Specifications
- System Requirements
- Important Safety Instructions
- Legal Notices
55
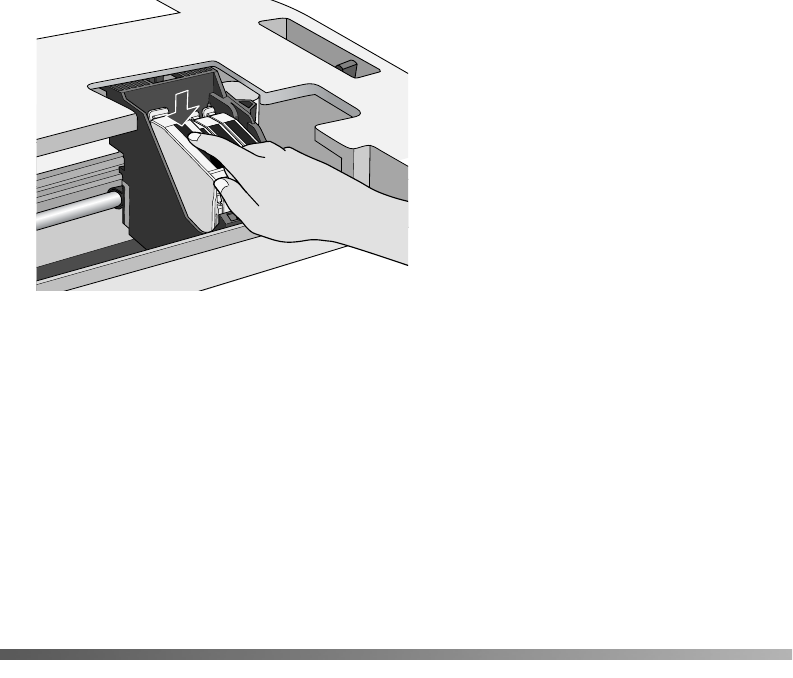
Caution: Don’t touch the green circuit board on the back of the cartridge; you
may inhibit normal operation and printing.
If you need to replace other ink cartridges, repeat steps 4 through 6 before
continuing with step 7.
7. Carefully lower the scanner and press it down until it clicks into place. The
EPSON Stylus CX5400 begins charging the ink delivery system.
The On light flashes and the EPSON Stylus CX5400 makes noise. Charging takes
about 30 seconds. When it’s finished, the On light stops flashing and stays on.
Caution: Never turn off the EPSON Stylus CX5400 while the On light is flashing,
unless the Stylus CX hasn’t moved or made noise for more than 5 minutes.
Aligning the Print Head
If your printouts look grainy or vertical lines appear jagged, you may need to align the
print head.
Note: You can also use a printer software utility to align the print head right from
your computer. Select the ? or Help button on your printer settings window for
instructions running the print head alignment utility.
1. Make sure the EPSON Stylus CX5400 is turned on and not printing, and the
Error light is off.
2. Load a stack of plain, letter-size paper in the sheet feeder.