
User's Manual
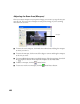
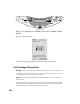
Table Of Contents
- Front Matter
- EPSON Stylus CX5400 User’s Guide
- EPSON Stylus CX5400 Parts
- Loading Paper
- Copying
- Printing With Windows
- Printing With Macintosh OS X
- Printing With Macintosh OS 8.6 to 9.x
- Selecting Your Paper Type
- Scanning
- Cleaning the Print Head
- Purchasing Ink Cartridges
- Replacing an Ink Cartridge
- Aligning the Print Head
- Cleaning the Stylus CX
- Transporting the Stylus CX
- Solving Problems
- Uninstalling Your Software
- Setting Up Network Printing
- Where To Get Help
- Specifications
- System Requirements
- Important Safety Instructions
- Legal Notices
48
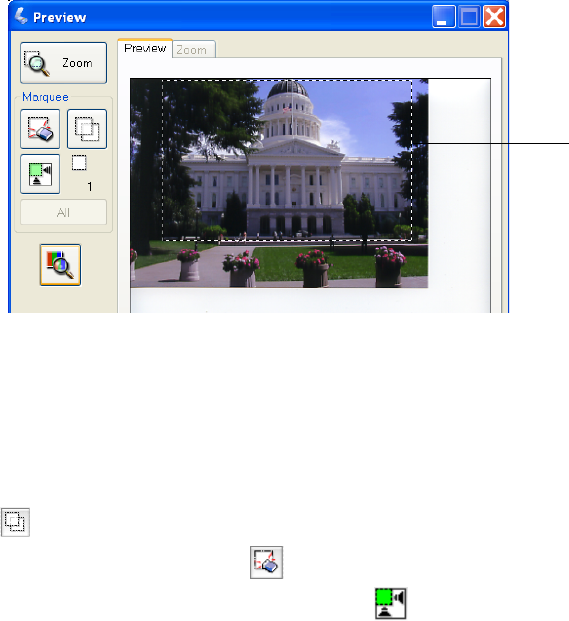
Adjusting the Scan Area (Marquee)
Once you create a marquee on your preview image, you can use it to crop the area you
want to scan. You can create a marquee on each preview image, if you’re scanning
more than one at a time.
■ To move the entire marquee, click inside the outlined area and drag the marquee
to where you want it.
■ To resize the marquee, click on one of the edges or corners and drag the marquee
to the size you want.
■ To create additional marquees on multiple images, click the next image, then click
the Duplicate button. Then adjust the marquees as described above.
■ To delete a marquee, click the Delete button.
■ To start over with a new marquee, click the Auto Detect button.
Marquee