
User's Manual
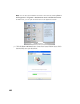
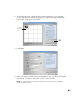
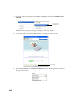
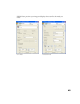
Table Of Contents
- Front Matter
- EPSON Stylus CX5400 User’s Guide
- EPSON Stylus CX5400 Parts
- Loading Paper
- Copying
- Printing With Windows
- Printing With Macintosh OS X
- Printing With Macintosh OS 8.6 to 9.x
- Selecting Your Paper Type
- Scanning
- Cleaning the Print Head
- Purchasing Ink Cartridges
- Replacing an Ink Cartridge
- Aligning the Print Head
- Cleaning the Stylus CX
- Transporting the Stylus CX
- Solving Problems
- Uninstalling Your Software
- Setting Up Network Printing
- Where To Get Help
- Specifications
- System Requirements
- Important Safety Instructions
- Legal Notices
47
Note: The Document Type you select determines the other options that appear in
the EPSON Scan window.
9. Size and adjust your image settings as necessary.
To improve the color of faded photos or negatives, click the Color Restoration
checkbox. If you’re using Professional mode, you may have to scroll to the bottom
of the screen.
10. Click the Scan button.
If you scanned from an application like Photoshop, your scanned image opens in
your application window.
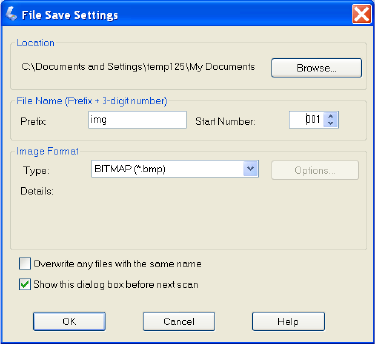
If you opened EPSON Scan from the Applications folder, you see a File Save
Settings window. Type a name for your file in the Prefix box, select a file format
in the Type box, and click OK.
11. Click
Close to exit EPSON Scan.