
User's Manual

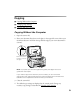
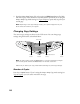
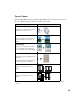
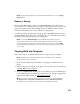
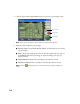
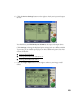
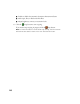
Table Of Contents
- Front Matter
- EPSON Stylus CX5400 User’s Guide
- EPSON Stylus CX5400 Parts
- Loading Paper
- Copying
- Printing With Windows
- Printing With Macintosh OS X
- Printing With Macintosh OS 8.6 to 9.x
- Selecting Your Paper Type
- Scanning
- Cleaning the Print Head
- Purchasing Ink Cartridges
- Replacing an Ink Cartridge
- Aligning the Print Head
- Cleaning the Stylus CX
- Transporting the Stylus CX
- Solving Problems
- Uninstalling Your Software
- Setting Up Network Printing
- Where To Get Help
- Specifications
- System Requirements
- Important Safety Instructions
- Legal Notices
10
5. Press the Color Copy button (for color copies) or B&W Copy button (for black
and white copies). Your document is scanned and then printed. If you’re using the
2-up or 4-up Copy Mode setting (see Type of Copies), repeat these steps for your
second page.
Note: Depending on the copy settings chosen, your copied image size may not
be the exact same size as your original.
Changing Copy Settings
The current copy settings are shown on the LCD screen. You can change copy
settings using the buttons, as described below.
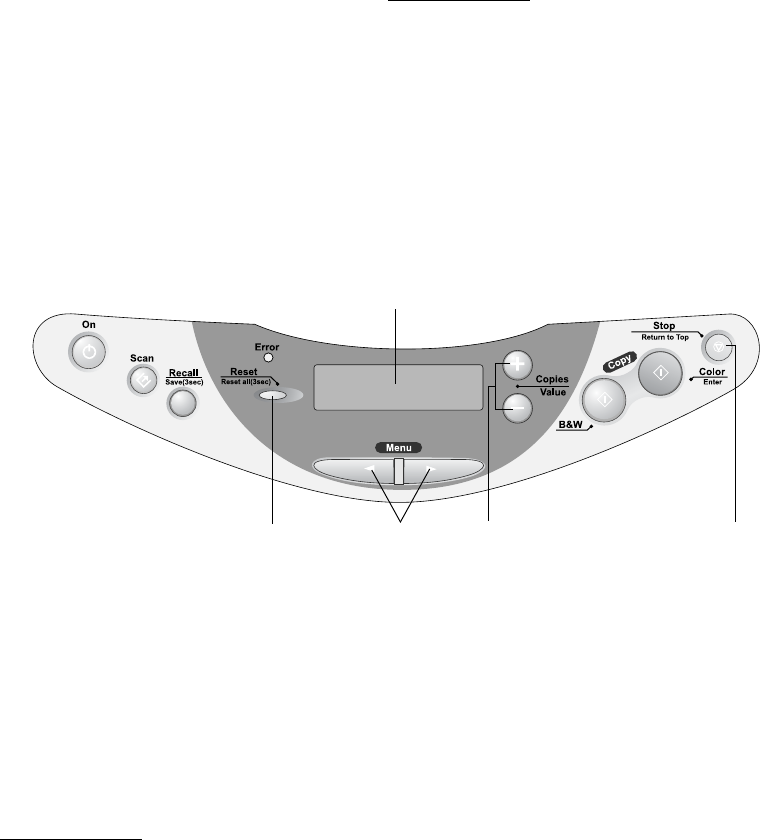
Note: To clear a setting, press the Reset button. To clear all the setting changes
you’ve made, press and hold the Reset button for at least 3 seconds.
Make sure you select your Copy mode before selecting any other copy settings.
Number of Copies
Press the + Copies button. If you’re using the 2-up or 4-up Copy mode setting (see
Type of Copies), you can’t select more than one copy.
LCD screen
Menu
buttons
Copies/Value buttons
(+ and –)
Stop
button
Reset
button