
Setup Guide
Google Cloud Print Setup for Chromebooks 1
Google Cloud Print Setup for Chromebooks
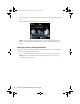
Follow these instructions to quickly connect your printer to your network and set up
Google Cloud Print
TM
.
Add your printer to your wireless network
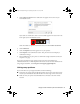
Before connecting your printer to your network, follow the instructions on the Start Here
sheet to unpack your printer, install the ink cartridges, and load paper.
1. Press the button on your printer’s control panel, if necessary.
2. Press l on the printer until you see
Wi-Fi Setup, then press OK.
3. Press
OK to select Wi-Fi Setup Wizard.
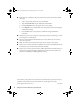
4. Press d until you see the name of your wireless network, then press
OK to select it.
Note: If you don’t see your network’s name, select Other Networks and press
OK. Enter your network name as described in the next step.
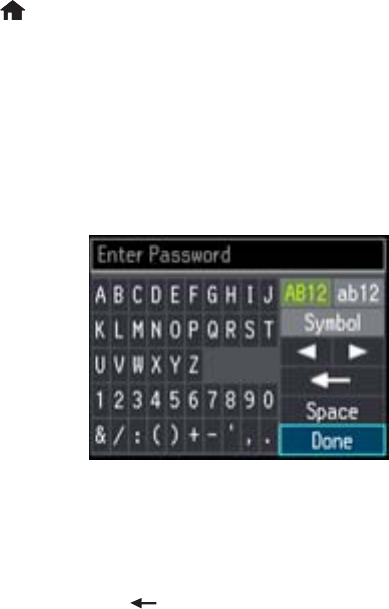
5. Enter your wireless password (or network name and then password).
Press u, d, l, or r on the printer to highlight a letter or function button.
Press
OK to select it.
Note: Passwords must be entered in the correct case. Use the function buttons to
select uppercase (AB12), lowercase (ab12), symbols (Symbol), or spaces (Space),
and to delete characters (
).
6. Highlight
Done and then press OK.
7. Press
OK to confirm the Wi-Fi settings.
gcp setup chromebook.fm Page 1 Wednesday, October 2, 2013 9:39 AM