
User`s guide
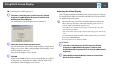
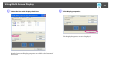
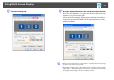
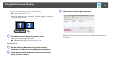
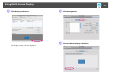
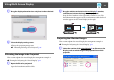
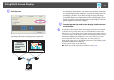
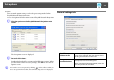
Table Of Contents
- Front
- Contents
- About EasyMP Network Projection
- Connecting the Computer and Projector
- Various Projection Styles
- Appendix
Using Multi-Screen Display
34
• For the Screen Resolution settings, see the following.
s "Supported Resolutions" p.44
When the monitor icon is arranged, a virtual display is connected
as the image like below.
G Click OK to close the Display Properties screen.
Allocate the projecting images next.
s "Allocating the Image to be Projected" p.36
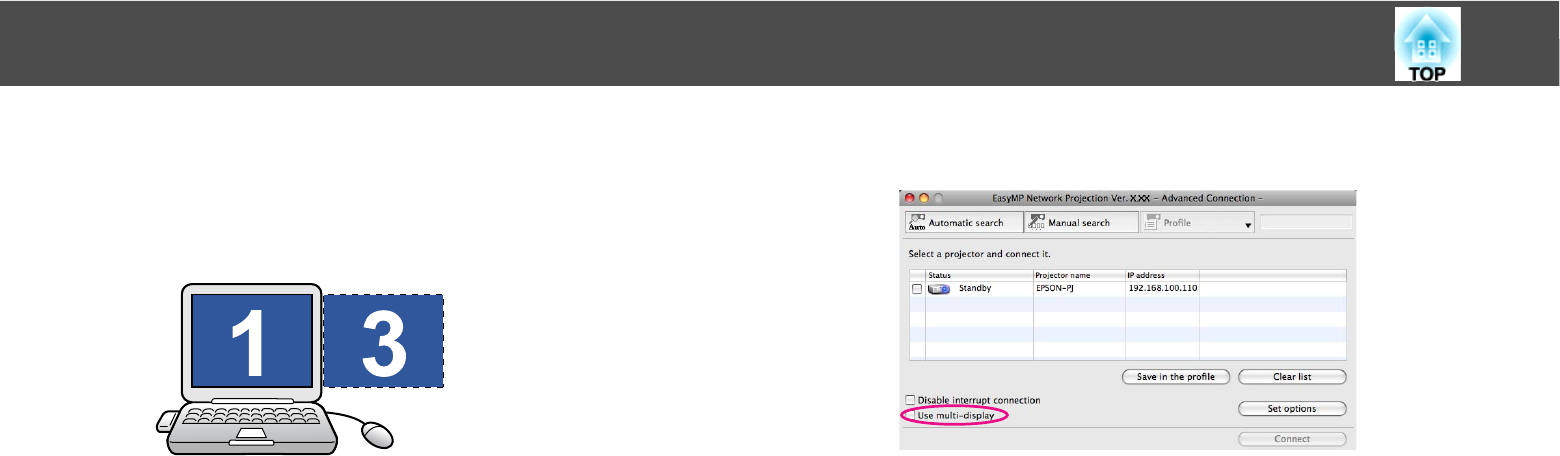
For Mac OS X
A Double-click EasyMP Network Projection from the
Applications folder to start EasyMP Network Projection.
B Select Quick Connection Mode or Advanced Connection
Mode, and then click OK.
C Select the Use multi-display check box.
Display layout and Display preferences are added at the bottom of
the screen.