
- Enterasays User's Guide SmartSwitch 2000
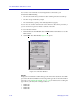
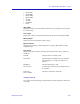
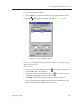

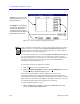
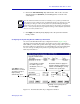
Table Of Contents
- Title Page
- Notice
- Contents
- Introduction
- The SmartSwitch 2000 Chassis View
- Viewing Chassis Information
- Using Device Find Source Address
- Managing the Hub
- Configuring Ports
- Redirecting Traffic on the SmartSwitch 2000
- Priority Configuration
- The System Resources Window
- 802.1Q VLANs
- Configuring Your 802.1Q VLANS
- Broadcast Suppression
- Setting the Device Date and Time
- Enabling and Disabling Ports
- Alarm Configuration
- Statistics
- Managing Ethernet MicroLAN Switches
- FDDI Applications
- ATM Configuration
- HSIM-W87 Configuration
- Index
The SmartSwitch 2000 Chassis View
2-48 Managing the Hub
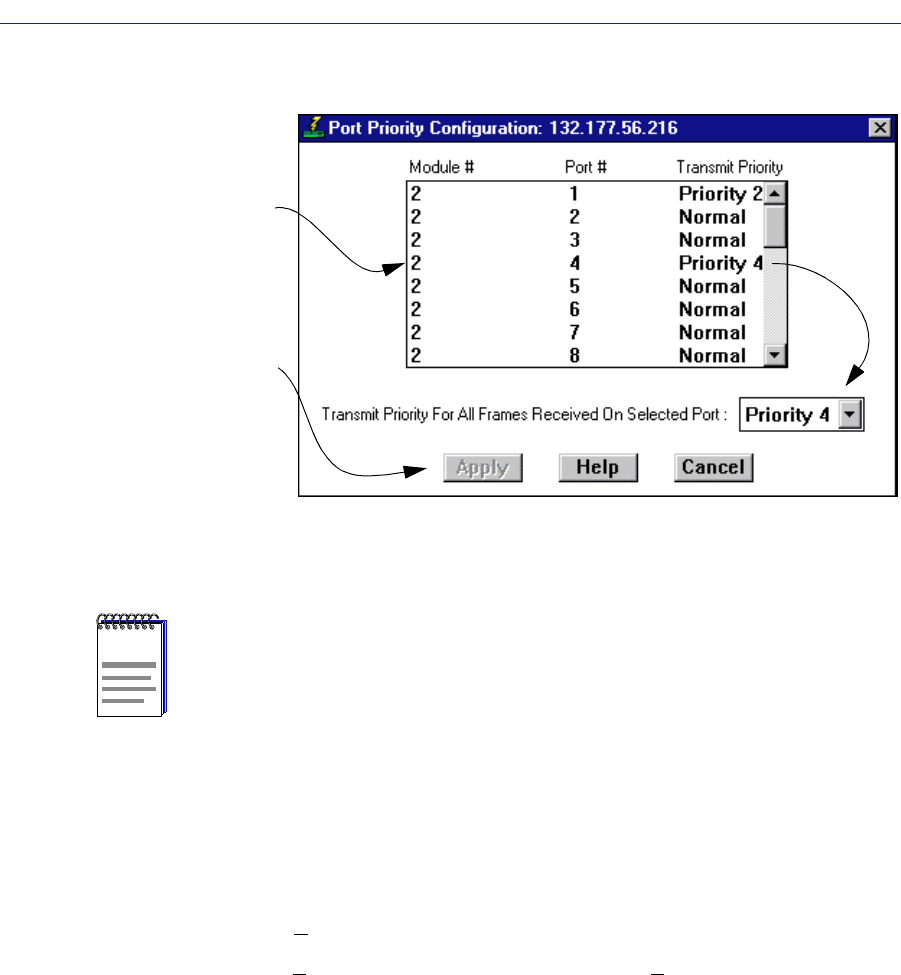
Figure 2-18. The Port Priority Configuration Window
To access the Port Priority Configuration window:
1. Click on D
evice to access the Device menu.
2. Click on P
riority Configuration, and then select Port Based from the menu.
The Port Priority Configuration window opens.
The Port Priority Configuration window displays the contents of the
ctPriorityExtPortTable. It has a list box that displays the front panel interfaces
supported by the SmartSwitch 2000 device, along with the slot number occupied
by the module (for the SmartSwitch 2000, the slot number will always be 1), and
any transmit priority that has been assigned to those interfaces.
To assign a transmit priority to a port:
1. Click to highlight the port interface of interest in the Port # column. Each
interface is identified by its MIBII
IfIndex
.
NOTES
In the event that an incoming packet received on a designated port already has a priority
associated with it, you can use the ctPriorityExtPortFwdInboundPriority OID to
determine whether the incoming priority should remain intact, or be replaced with the
priority that you have set for the receiving port.
Use the MIB Tools utility suite to set the ctPriorityExtPortFwdInboundPriority OID
to 1 (for the appropriate port instance) if you want the incoming packet to retain its
originally set priority when received by the port; set the OID to 2 if you want the packet to
take the default priority set for the receiving port. Refer to the Tools Guide for
information on using the MIB Tools suite.
Highlight a port, then use the
drop-down list box to select a
priority (Normal–7).
Click Apply to set the priority
at the device. Any priority of 1
or higher will allow packets
received at the chosen port to
be forwarded from the higher
priority transmission queue.