
User guide


Table Of Contents
- Chapter 1: Getting Started
- About This Chapter
- Topics
- The Instant PDF Documentation Set
- Using the Instant PDF Help Set
- System Requirements
- Installing Instant PDF
- Starting and Configuring Instant PDF
- Installing Predefined PDF Queues
- Buying and Registering Enfocus Instant PDF
- Getting Support
- Setting the Instant PDF Preferences
- Preferences > Personal Information
- Preferences > Language
- Preferences > Messages
- Preferences > Updates
- Preferences > Units
- Preferences > CertifiedPDF.net Membership
- Preferences > CertifiedPDF.net Synchronize
- Preferences > Jobs Location
- Preferences > Jobs Processing
- Preferences > Jobs Color Management
- Preferences > Jobs History
- Preferences > Help Location
- Preferences > Applications
- Preferences > E-mail Server
- Chapter 2: Creating Certified PDF Documents
- About This Chapter
- Topics
- Understanding the PDF Creation Process
- Creating PDF Documents the Conventional Way: Trial and Error
- Creating PDF Documents the Enfocus Way: the One-Step Process to an Output-Ready PDF File
- What Is an Enfocus PDF Queue?
- Viewing PDF Queues
- Creating a Certified PDF Document in QuarkXPress 7 or 8
- Creating a Certified PDF Document in Adobe InDesign CS3, CS4 or CS5
- Creating a Certified PDF Document in Adobe Illustrator CS3, CS4 or CS5
- Creating a Certified PDF Document in Adobe Acrobat 8 or 9
- Creating a Certified PDF Document in Mac OS X
- Creating a Certified PDF Document from PostScript or PDF Files
- Creating a Certified PDF Document by Printing to a Virtual Printer
- Chapter 3: Preflighting PDF documents
- Chapter 4: Using Action Lists
- Chapter 5: Working with Certified PDF documents
- About This Chapter
- Topics
- About Certified PDF
- Guaranteed Preflighting
- Document Consistency
- Responsibility
- The Certified PDF Workflow Explained
- What Is an Enfocus Certified PDF Document?
- Certified PDF User Identification
- Certified PDF Document Status
- Starting a Certified PDF Workflow for a PDF document
- Checking the Certified PDF Status of a PDF Document
- Viewing the Preflight Report of a Certified PDF Document
- Viewing the Edit Log File
- Viewing the Editing Sessions
- Chapter 6: Managing Jobs
- Chapter 7: Creating and Editing PDF Queues
- About This Chapter
- Topics
- Creating a New Enfocus PDF Queue
- Editing an Enfocus PDF Queue
- Using Variables When Configuring PDF Queues
- PDF Queue Properties
- Information
- Author
- Color Management
- Locking
- File Name
- PostScript to PDF
- Output Options
- QuarkXPress 7 or 8
- Adobe InDesign CS3, CS4 or CS5
- Adobe Illustrator CS3, CS4 or CS5
- Virtual Printer
- Mac OS X
- Existing File
- Correction
- Preflight
- Review
- Save
- FTP
- Enfocus PowerSwitch
- Summary
- Chapter 8: Managing PDF Queues
- Chapter 9: Using and Managing CertifiedPDF.net PDF Queues
- Index
Enfocus Instant PDF User Guide 133
Uploading and Publishing a PDF
Queue on CertifiedPDF.net
What Is Uploading and Publishing on Certi-
fiedPDF.net?
Publishing an Enfocus PDF Queue on Certified-
PDF.net means that you make your PDF Queue pub-
licly available in a Specification. Other members of
CertifiedPDF.net can then subscribe to this Specifi-
cation. From within Instant PDF, you can upload
your PDF Queue to CertifiedPDF.net and publish it:
• In a new Specification
• In an existing Specification
You have to be a Contributing Member of Certified-
PDF.net to be able to upload and publish Specifica-
tions.
To upload and publish your PDF Queue on Certi-
fiedPDF.net:
1 In the main window of Instant PDF, select the
PDF Queue which you want to upload to and
publish on CertifiedPDF.net.
2 Choose PDF Queue > Upload.
3 Click the Upload button.
In this step, the PDF Queue is “wrapped” in a Spec-
ification on CertifiedPDF.net but it is not publicly
available yet: other members cannot yet see and
subscribe to this Specification.
4 Do one of the following:
• Select Upload as a new specification and fill
in or change a name for the Specification.
• Select Upload to an existing specification,
select a Specification and, if necessary,
change its version number.
•Click the Upload button.
5 Click Edit the specification on Certified-
PDF.net.
6 On CertifiedPDF.net, do the following:
• Fill in the Specification data. Make sure you
click the Save specification data button when
you’re finished.
•You can click the Add file or Add documenta-
tion button, browse for the file to add and
include a brief description. If you add a Spec-
ification file, make sure you also select the
file type before you click the Save button.
Other users will later be able to search for this
Specification, based on the type of files it
contains.
7 In Instant PDF, click Publish the specification
on CertifiedPDF.net.
8 On CertifiedPDF.net, you can do the following:
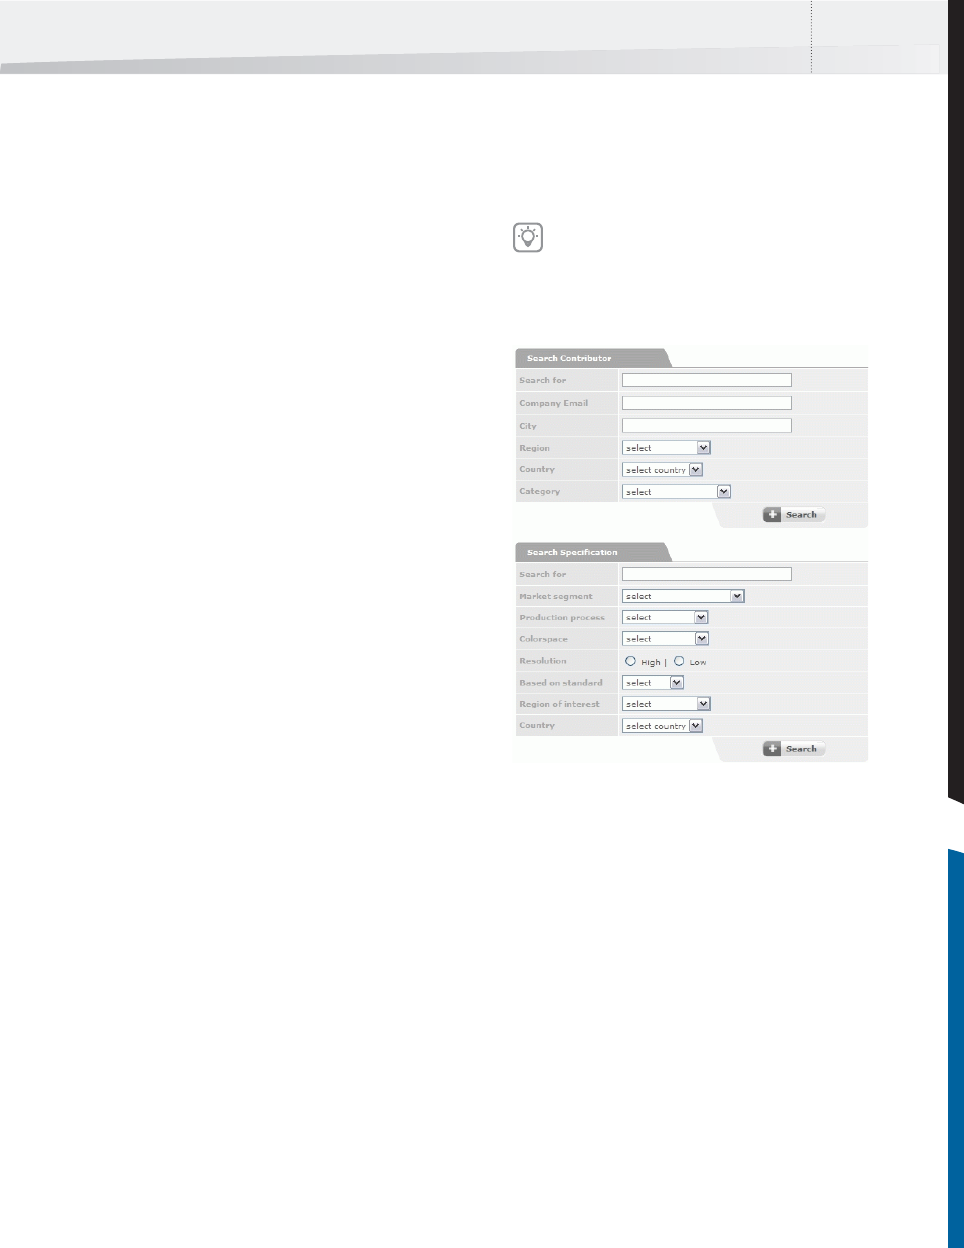
It is important that you provide as much
specific information about your Specification
as possible. You, your fellow Contributors and
(potential) Subscribers will then be able to use
this information as search criteria to quickly
find the required Specifications.
InstantPDF.book Page 133 Wednesday, June 9, 2010 4:04 PM