
Installation manual


28
4.2 CHIMNEY INSTALLATION INSTRUCTIONS
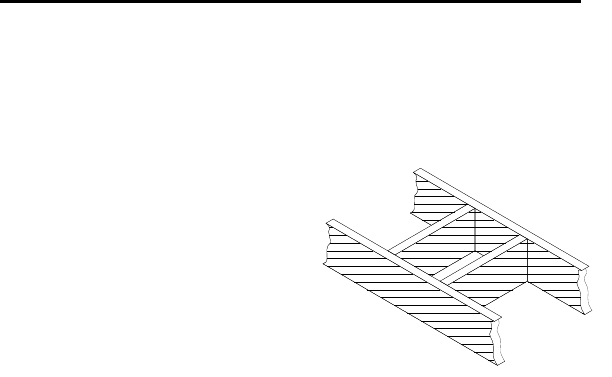
1. Cut and frame the holes in the ceiling, floor and roof where the chimney will pass (see
figure 23). Use a plumb bob to line up the center of the holes. Make sure that the size of
the floor and ceiling holes are in accordance with the chimney manufacturer’s
instructions.
Figure 23
2. From below, install a firestop supplied by the chimney manufacturer in each ceiling/floor
separation through which the chimney will pass. At the attic level, install an attic radiation
shield from above (see figure 24).
3. Follow the chimney’s manufacturers’ instructions and place the first chimney length on he
fireplace. For all chimneys, you must use an anchor plate supplied by the chimney
manufacturer before installing the first chimney length (see figure 24). Continue installing
chimney lengths making sure to lock each length in place.
4. Every time the chimney passes through a ceiling or a wall, install the appropriate firestop.
When you reach the desired height, install the roof support. (Refer to instructions included
with the support.).
5. Then, put the roof flashing in place and seal the joint between the roof and the flashing
with roofing pitch (see figures 24). For sloping roofs, place the flashing under the upper
shingles and on top of the lower shingles. Nail the flashing to the roof, using roofing nails.
6. Place the storm collar over the flashing, and tighten it with the bolt supplied. Finally, seal
the joint between the storm collar and the chimney, using silicone caulking.
7. Install the chimney cap.
8. When a ventilated roof flashing is installed, precautions are to be taken not to caulk or seal
the ventilating openings.