
Assembly Instructions

2
1. Remove all ornaments and decorations. For pre-lit trees, first unplug adapter from the wall outlet and then disconnect light
extension cord between each section of the tree.
2. Disassemble the tree from the top to the bottom. Start with the tree top and gently lift straight up to remove from section
below and fold all branches toward the pole.
3. In case of difficulty separating the tree pole (trunk), apply a small amount of lubricant at the joint and rotate the upper
pole in both directions. Lift up the upper pole again.
4. Continue by gently lifting straight up each section(s) from the section below and fold all branches toward the pole until
the bottom section is removed from the tree stand.
5. Carefully place all tree sections into shipping box and tape it shut.
6. When not in use, please store your tree in a cool, dry place away from sunlight. Exposing your tree to excessive heat or
humidity may damage your tree.
7. Keep out of reach of pets and children.
STORAGE INSTRUCTIONS
For Pre-lit Trees, If The Tree Does Not Illuminate
1. Please check to make sure that all plugs are properly connected according to the color labels indicated in Fig.B and the
adapter is plugged into the wall outlet. Refer to assembly guide for instructions.
2. Check for loose connection between light string plugs and extension cords.
3. Please check for loose, broken or missing light bulbs and replace as needed.
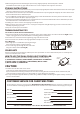
Loose Hinge Pin
1. Extra hinge pins are included for repairing the hinges.
Place the branch into the slot of the bracket.
2. Insert a new hinge pin through the hole and secure
using the retainer washer. (See Fig. D)
TROUBLESHOOTING TIPS
Each tree includes hinge pins/washers, and for pre-lit trees spare bulbs are also included. If extra parts are needed, please
contact our customer service center.
SPARE PARTS
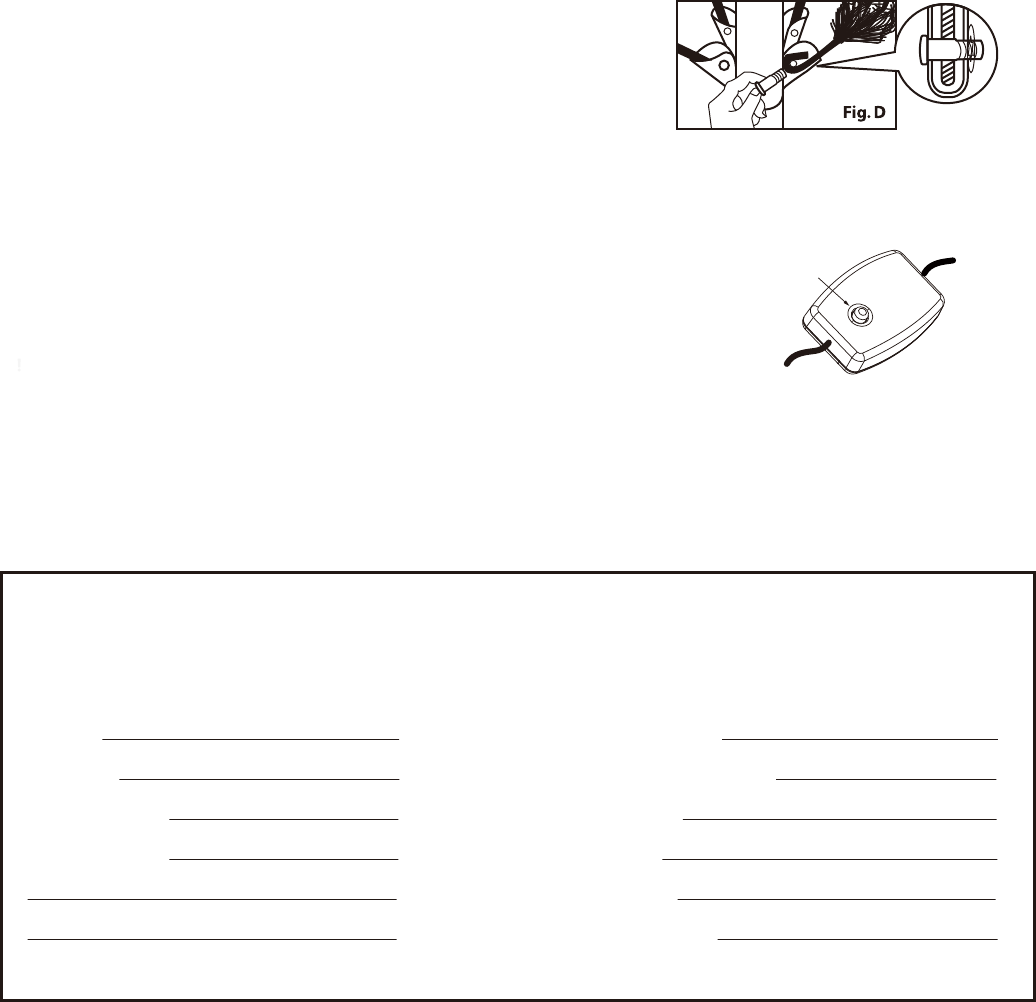
HOW TO USE THE DUAL COLOR LIGHT CONTROLLER :
Press the selector button on the “Dual Color Light Controller” to select among:
(1) CLEAR-MULTI: FADING (2) CLEAR: FADING (3) CLEAR-MULTI: ALTERNATING
(4) CLEAR: STEADY (5) CLEAR-MULTI: SLOW FADING (6) MULTI: STEADY
(7) MULTI: FADING (8) COMBINATION
Light
Controller
Selector
Button
CAUTION:
1. To reduce the risk of fire and electric shock:
a) Use only the power supply that was provided with this product;
b) Do not install on trees having needles, leaves or branch covering of metal or materials which look like metal, and
c) Do not mount or support strings in a manner that can cut or damage wire insulation.
2. Use only the adapter supplied with this product. Using a different adapter will damage the lights and may cause fire, or
electrical shock hazards.
9. After shaping the entire tree following the previous step, slightly upsweep all branch tips for a uniform
look. Shift branches to fill any gaps. Your Christmas tree is now complete and ready to be decorated.
For any questions, assistance, or missing parts, Do Not Return To Place Of Purchase. Please contact us at 1-888-919-0070
or visit our website at www.polygroupstore.com. One of our customer service representatives will be happy to assist you.
CUSTOMER SERVICE FOR CHRISTMAS TREES
Tree ID#:
Tree UPC#:
Store Purchased:
Specify Problem:
Customer Name:
Address:(No P.O. Boxes)
City & State:
Zip Code:
Day Phone:
Date Purchased:
TREE ID# IS LOCATED ON END PANEL OF BOX. TREE ID# IS REQUIRED WHEN REQUESTING REPLACEMENT PARTS.