
Network Router User Manual

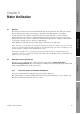
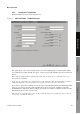
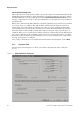
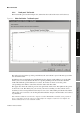
Table Of Contents
- Contents
- Before You Begin
- Installation and Setup
- 2.1 Overview
- 2.2 Installation and setup
- 2.2.1 Ensure required privileges
- 2.2.2 Install the ProLink II software
- 2.2.3 Generate the temporary license
- 2.2.4 Determine your connection type
- 2.2.5 Install the signal converter and connect the wires
- 2.2.6 Configure ProLink II connection parameters and connect to the transmitter
- 2.2.7 Obtain and configure a site key
- 2.3 Troubleshooting the ProLink II installation
- 2.4 Troubleshooting the ProLink II connection
- Using ProLink II Software
- Initial Transmitter Startup Procedures
- Transmitter Configuration, Characterization, and Calibration
- Meter Verification
- Data Logger
- Transmitter Terminal Reference
- Configuring the Discrete Batch Application
- Index
74 ProLink
®
II Software for Micro Motion
®
Transmitters
Meter Verification
You can manipulate the graphed data in various ways by double-clicking the graph to open a
configuration dialog or by right-clicking on it to open a contextual menu. From there, you can also
export the graph in a number of formats (including “to printer”) by clicking
Export.
When you have finished reviewing the test results:
• To save the data to the ProLink II database, click
Next.
• To exit without saving, click
Cancel. The current test data will be discarded and the meter
verification window will close.
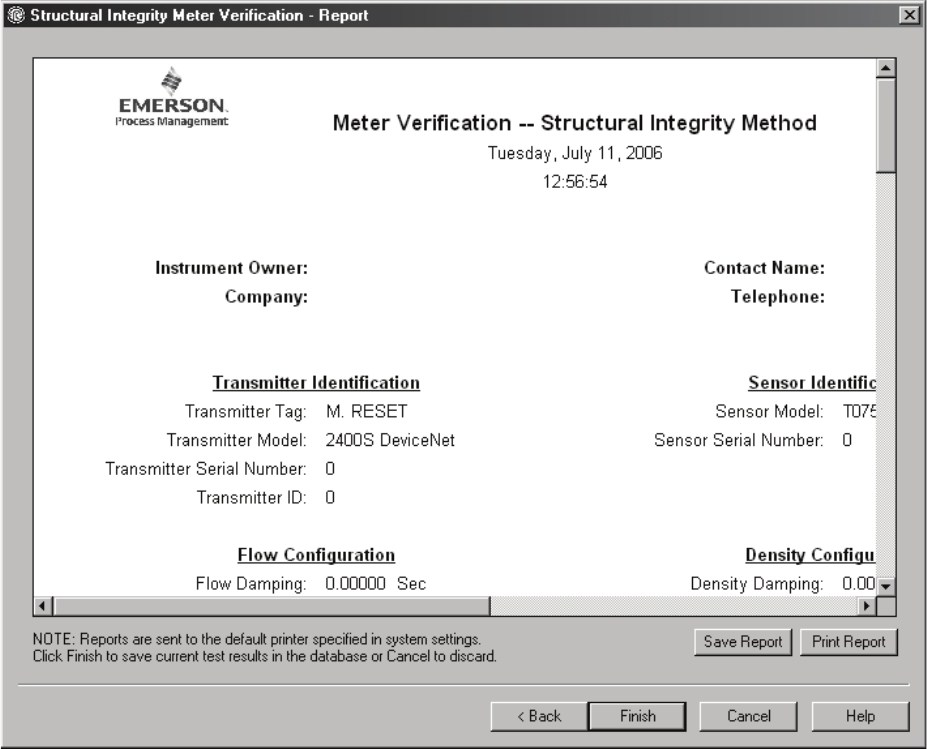
6.2.5 Fifth panel: Report
The last panel, shown in Figure 6-5, displays a detailed report of the current test results.
Figure 6-5 Meter Verification - Report panel