
Network Router User Manual
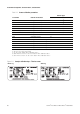
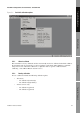
Table Of Contents
- Contents
- Before You Begin
- Installation and Setup
- 2.1 Overview
- 2.2 Installation and setup
- 2.2.1 Ensure required privileges
- 2.2.2 Install the ProLink II software
- 2.2.3 Generate the temporary license
- 2.2.4 Determine your connection type
- 2.2.5 Install the signal converter and connect the wires
- 2.2.6 Configure ProLink II connection parameters and connect to the transmitter
- 2.2.7 Obtain and configure a site key
- 2.3 Troubleshooting the ProLink II installation
- 2.4 Troubleshooting the ProLink II connection
- Using ProLink II Software
- Initial Transmitter Startup Procedures
- Transmitter Configuration, Characterization, and Calibration
- Meter Verification
- Data Logger
- Transmitter Terminal Reference
- Configuring the Discrete Batch Application
- Index
Installation and Use Manual 59
Transmitter Configuration, Characterization, and Calibration
Meter Verification Transmitter TerminalsData LoggerTransmitter Configuration
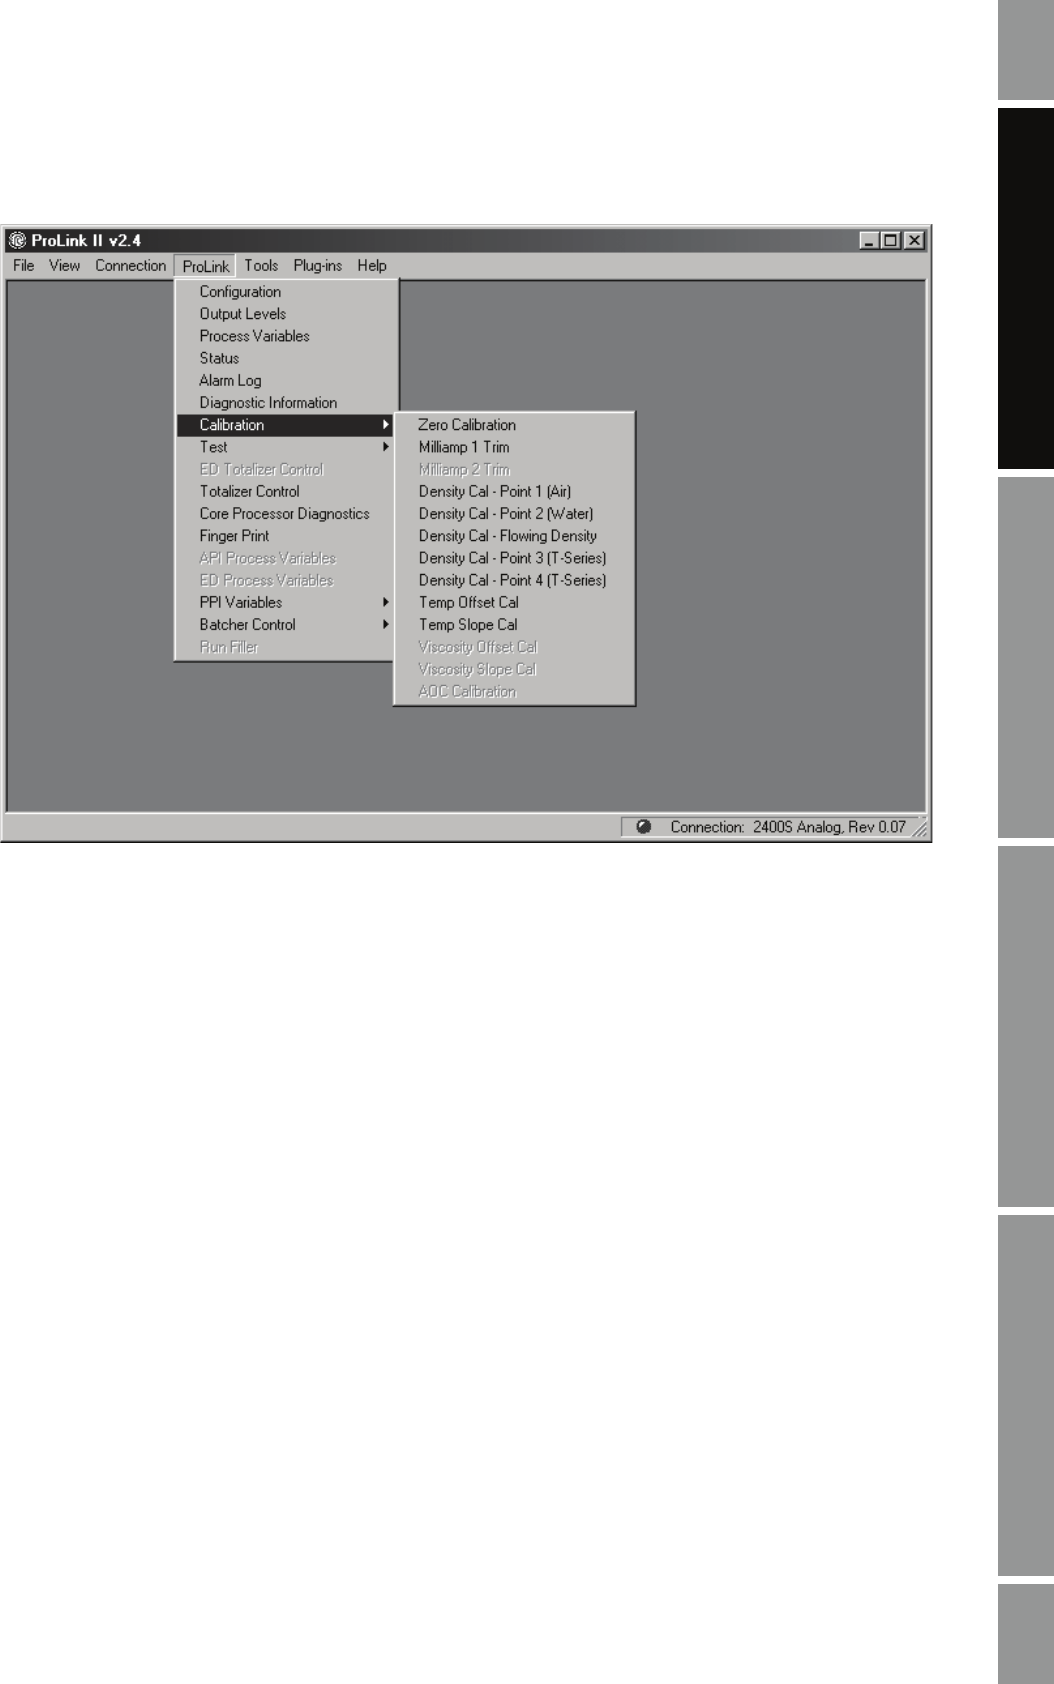
Figure 5-4 ProLink II calibration options
5.5.1 When to calibrate
The transmitter is factory calibrated and does not normally need to be calibrated in the field. Calibrate
the transmitter only if you must do so to meet regulatory requirements. Micro Motion recommends
using meter factors, rather than calibration, to adjust the meter to specific conditions. Before
calibrating, contact Micro Motion customer service.
5.5.2 Density calibration
Density calibration includes the following calibration points:
• All sensors:
- D1 calibration (low-density)
- D2 calibration (high-density)
• T-Series sensors only:
- D3 calibration (optional)
- D4 calibration (optional)