
Network Router User Manual

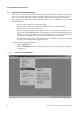
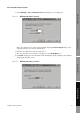

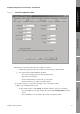
Table Of Contents
- Contents
- Before You Begin
- Installation and Setup
- 2.1 Overview
- 2.2 Installation and setup
- 2.2.1 Ensure required privileges
- 2.2.2 Install the ProLink II software
- 2.2.3 Generate the temporary license
- 2.2.4 Determine your connection type
- 2.2.5 Install the signal converter and connect the wires
- 2.2.6 Configure ProLink II connection parameters and connect to the transmitter
- 2.2.7 Obtain and configure a site key
- 2.3 Troubleshooting the ProLink II installation
- 2.4 Troubleshooting the ProLink II connection
- Using ProLink II Software
- Initial Transmitter Startup Procedures
- Transmitter Configuration, Characterization, and Calibration
- Meter Verification
- Data Logger
- Transmitter Terminal Reference
- Configuring the Discrete Batch Application
- Index
Installation and Use Manual 53
Transmitter Configuration, Characterization, and Calibration
Meter Verification Transmitter TerminalsData LoggerTransmitter Configuration
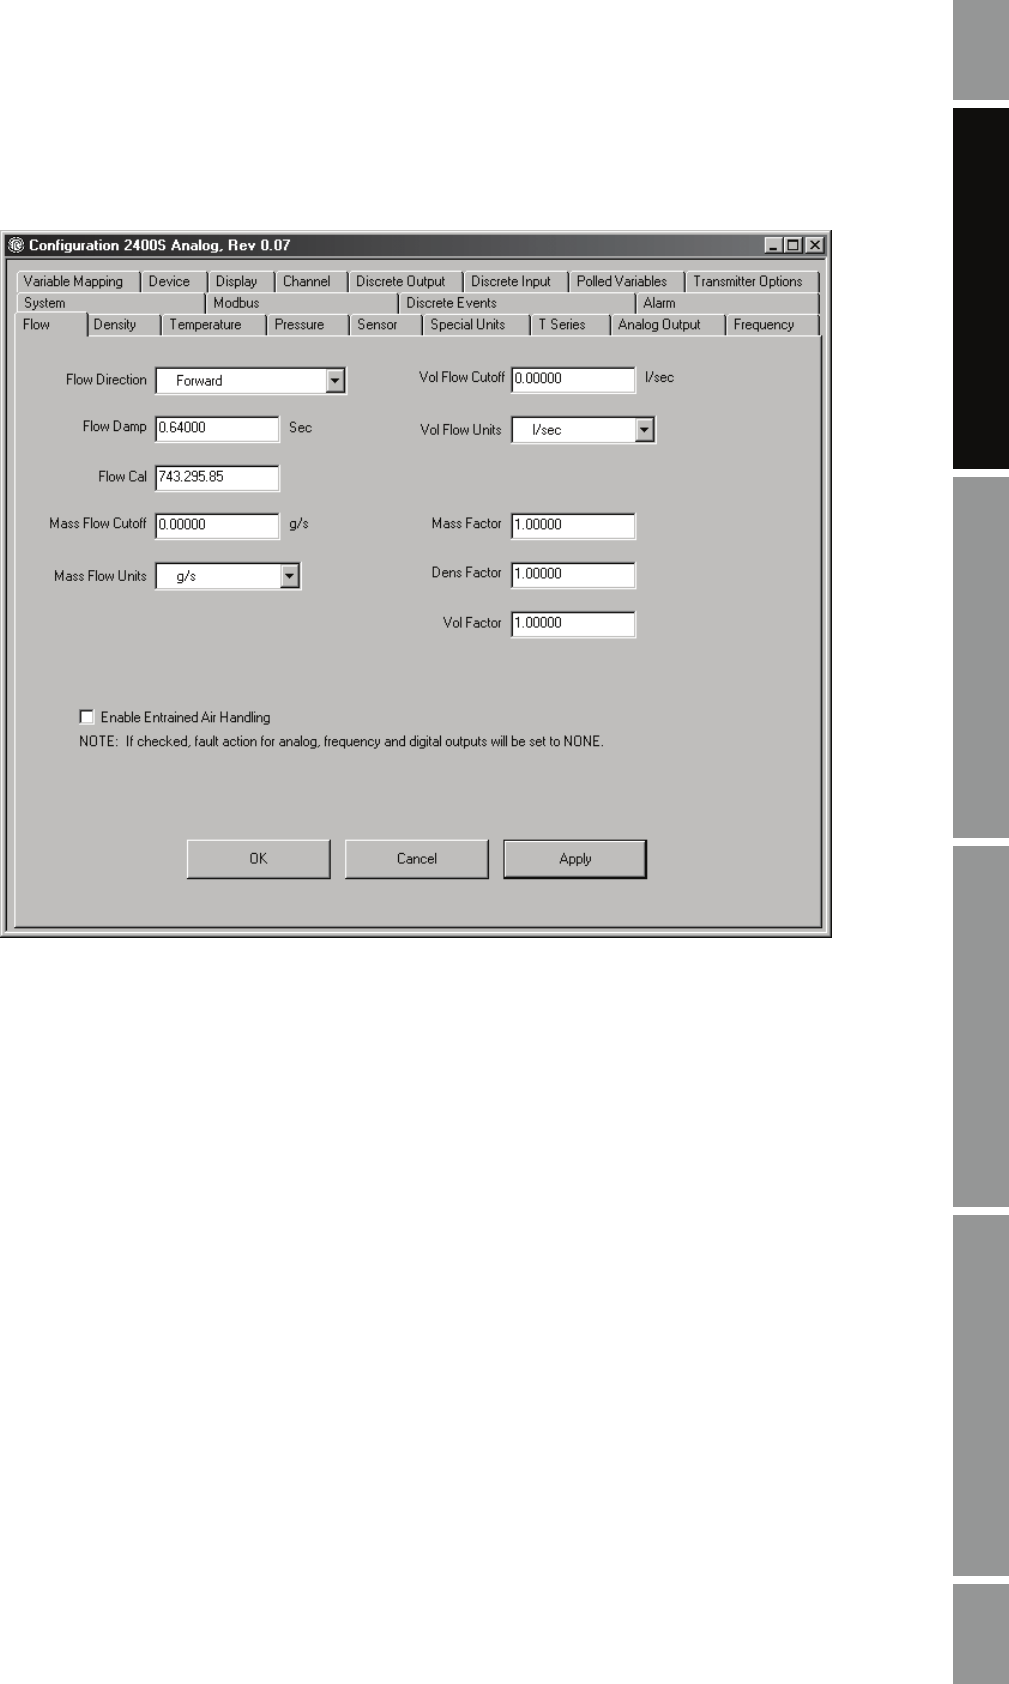
Figure 5-1 ProLink II configuration window
This window is organized into panels. To configure an option:
a. Display the appropriate panel by clicking on its tab at the top of the window.
b. Set options using standard Windows methods:
- Use arrows to display and select from dropdown lists.
- Type values into textboxes.
- Click on radio buttons to select from a set of options.
- Click on checkboxes to enable or disable options.
As you make changes to a panel, the tab display color is changed to yellow.
3. When you are finished with a panel:
• To discard the changes, click
Cancel. You will be asked to verify the cancellation.
- If you click
Yes, your changes will be discarded and the Configuration window is
closed.
- If you click
No, you are returned to the current configuration panel.