
Network Router User Manual

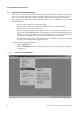
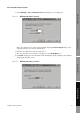
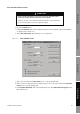

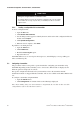
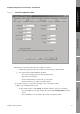
Table Of Contents
- Contents
- Before You Begin
- Installation and Setup
- 2.1 Overview
- 2.2 Installation and setup
- 2.2.1 Ensure required privileges
- 2.2.2 Install the ProLink II software
- 2.2.3 Generate the temporary license
- 2.2.4 Determine your connection type
- 2.2.5 Install the signal converter and connect the wires
- 2.2.6 Configure ProLink II connection parameters and connect to the transmitter
- 2.2.7 Obtain and configure a site key
- 2.3 Troubleshooting the ProLink II installation
- 2.4 Troubleshooting the ProLink II connection
- Using ProLink II Software
- Initial Transmitter Startup Procedures
- Transmitter Configuration, Characterization, and Calibration
- Meter Verification
- Data Logger
- Transmitter Terminal Reference
- Configuring the Discrete Batch Application
- Index
Installation and Use Manual 49
Initial Transmitter Startup Procedures
ProLink II Setup Transmitter StartupUsing ProLink IIBefore You Begin ProLink II Setup Transmitter StartupUsing ProLink IIBefore You Begin ProLink II Setup Transmitter StartupUsing ProLink IIBefore You Begin ProLink II Setup Transmitter StartupUsing ProLink IIBefore You Begin
2. Open the ProLink menu.
3. Click the
Calibration option. The calibration options for the currently connected transmitter
are displayed (see Figure 4-3).
4. Select
Zero Calibration. The following screen is displayed:
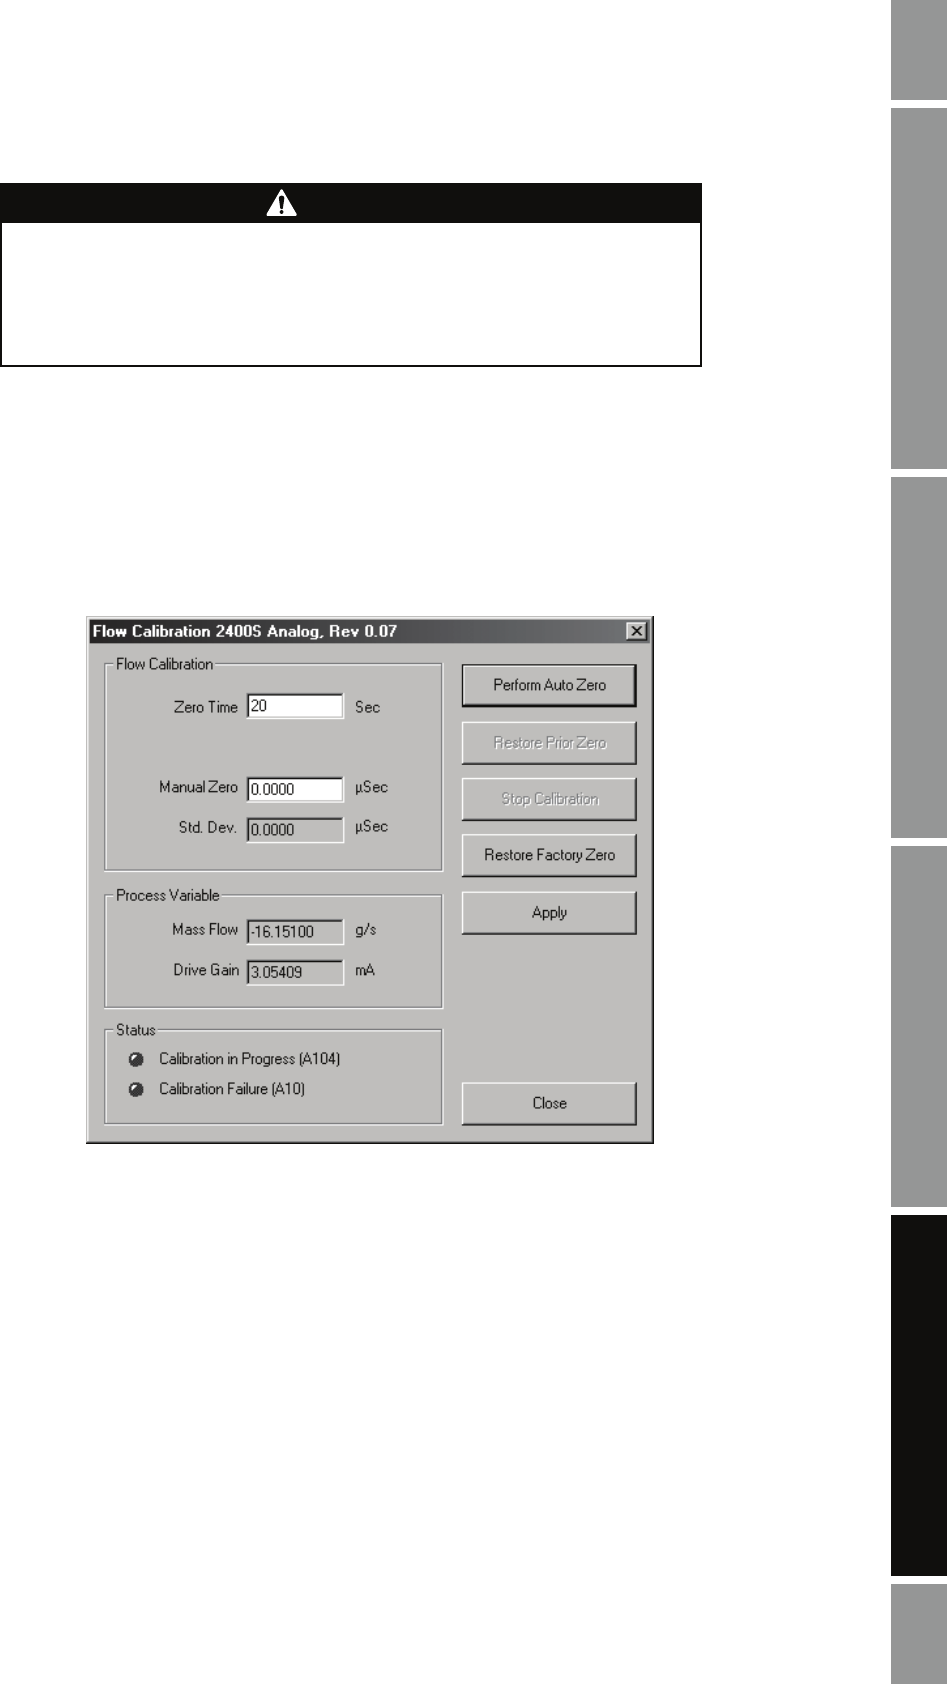
Figure 4-6 Zero calibration screen
5. Type a new zero time in the
Zero Time box or accept the default value.
6. If the convergence limit parameter is displayed, type a new convergence limit in the
Converg.
Limit
box or accept the default value.
7. Click
Perform Auto Zero. The meter will begin zeroing. The Calibration in Progress status
light will turn red.
CAUTION
If fluid is flowing through the sensor, the sensor zero calibration may be
inaccurate, resulting in inaccurate process measurement.
To improve the sensor zero calibration and measurement accuracy, ensure that
process flow through the sensor has completely stopped.