
Instruction manual


15–20 times before it will be necessary to replace the AA batteries in the
charger. Replacing the included batteries with alkaline batteries will extend
the AA battery life.
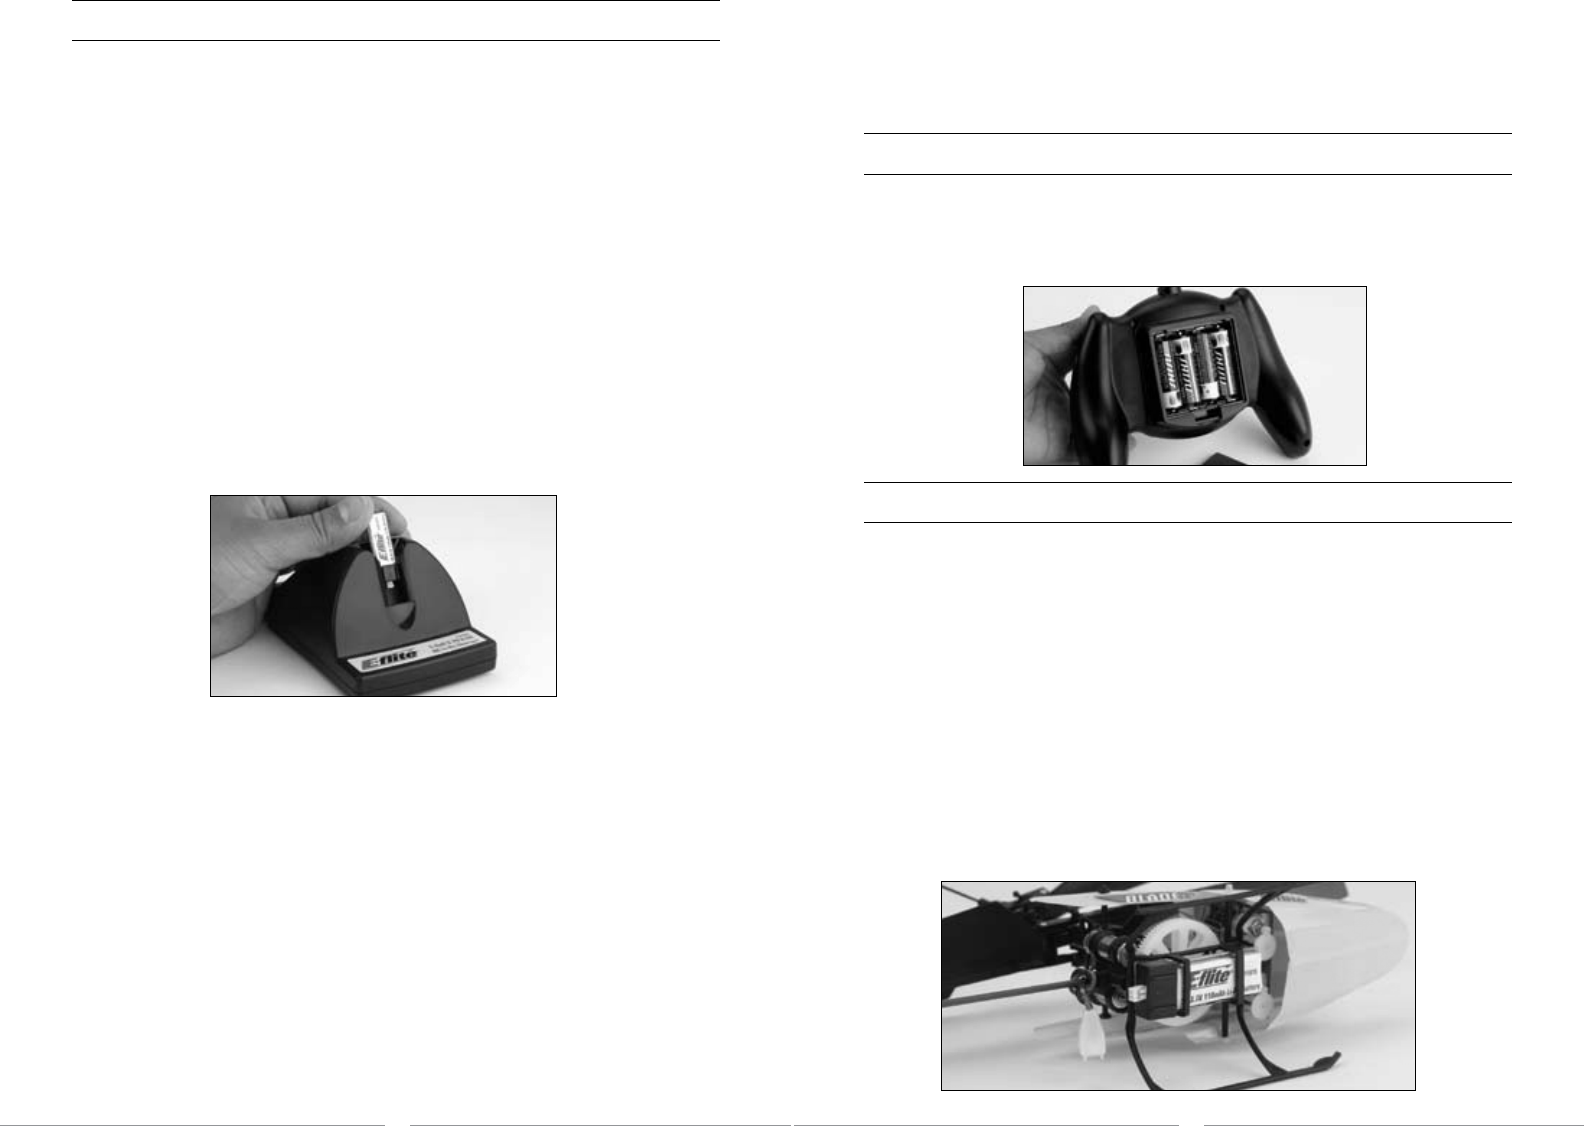
Installing the Transmitter Batteries
Install four of the included AA batteries in the transmitter. Check for proper
operation of the transmitter by switching the power switch on (to the left).
The LED light at the top of the transmitter should begin to glow solid red
while the transmitter beeps.
Installing the Flight Battery
Once the LiPo battery has been fully charged, it’s ready to be installed in the
helicopter.
Install the battery in the helicopter by sliding it into the battery mounting
supports/slots just below the main gears. Slide the battery into the slots
with the label facing downward and the connector oriented toward the back
of the helicopter.
Note: Be sure to slide the battery into the slots until the endcap of the
battery comes into contact with the rear battery support. This will allow
you to achieve the correct center of gravity for the best overall flight
performance. However, also be sure that the battery is not pushed far
enough forward that it will make contact with the servo gears as this could
cause damage to the gears and a potential crash.
Battery Charging
It is important that you only charge the included 1S 3.7V 110mAh
LiPo Battery (EFLB1101S) with the included 1S 3.7V DC LiPo
Charger (EFLC1003). Attempting to charge the battery using
another LiPo charger or non-LiPo compatible charger could result
in serious damage. Please familiarize yourself thoroughly with the
Battery Warnings and Guidelines section before continuing.
Please follow these steps to charge the LiPo battery with the included
charger:
•Removethecoveronthebottomofthechargerandinstallfourofthe
included AA batteries, noting proper polarity. Replace the cover after the
AA batteries are installed.
•Slidethebatteryintotheslotonthecharger.Theendcapofthebattery
has been specifically designed to allow the battery to be slid into the slot
easily one way (usually with the label on the battery facing outward) to
prevent reverse polarity connection. However, please be sure to check
for proper alignment and polarity before proceeding to the next step.
•Gentlypressthebatteryanditsconnectorintothechargejack/connector
located at the bottom of the slot on the charger. Again, be sure to check
for and to achieve proper polarity before making the connection.
•Afteryoumaketheconnectionsuccessfully,theLEDlightonthecharger
will turn solid red, indicating that charging has begun.
•Itwilltakeapproximately30–40minutestochargeafullydischarged(not
over-discharged) battery. As the battery nears full charge, the LED light
will begin to blink. When the battery is fully charged the LED light will blink
approximately every 20 seconds or will go out entirely.
Note: The LiPo battery included with your Blade mCX will arrive partially
charged. For this reason the initial charge may only take 15–20 minutes.
Note: You can expect to charge the LiPo flight battery approximately
10 11