
Manual
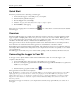
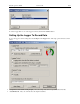
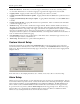
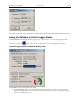
Table Of Contents
- Quick Start
- Overview
- Connecting the Logger to Your PC
- Setting Up the Logger To Record Data
- Custom Interval Setup
- Alarm Setup
- Using the Software to Check Logger Status
- Ending the Logging Session
- Powering Down the Logger
- Loading Logger Data
- Automatic Data Retrieval
- Working With the Data Graph
- Using the Zoom Feature
- Data Listing Window
- Data Summary and Statistics
- Using the Data Filter
- Hiding or Viewing Channels
- Exporting Logger Data
- Printing the Logger Data
- Calibrating the Logger
- Setting the Calibration Password
- Setting the Logger Real Time Clock
- Data Security
- Specifications
- MTL-30 Temperature Humidity Logger
- MTL-30 Logger Status LED
- Replacing the MTL-30 Battery
- MTL-30 Specifications
- MTL-20 Temperature Logger
- MTL-20 Logger Status LED
- Replacing the MTL-20 Battery
- MTL-20 Specifications
- GDL Temperature Humidity Logger with Display
- Turning the GDL On and Off
- GDL Sample Screen
- The GDL Summary Screen
- GDL Graph Screen
- GDL Buttons
- Replacing the GDL Battery
- GDL Specifications
- GDL-T Four Temperature Logger with Display
- Turning the GDL-T On and Off
- GDL-T Sample Screen
- GDL-T Difference Screen
- GDL-T Summary Screen
- GDL-T Graph Screen
- GDL-T Buttons
- Replacing the GDL-T Battery
- GDL-T Specifications
- MTL-LCD Loggers with Display
- MTL-LCD Display and Button
- Replacing the MTL-LCD Battery
- MTL-20-LCD Specifications
- MTL-30-LCD Specifications
DwyerLog User’s Guide Version 1.4x 6/33
• Enable Data Rollover: Check this box to have the logger continuously record the data, overwriting earliest
recorded data. When this box is not checked, logging is stopped when the logger memory becomes full.
• Logging Control: Logging can start in three ways depending on the selection you make:
• Logging starts when the Start button is pushed: Logging will start when the Start button is pushed for about 3
seconds.
• Logging starts immediately when setup is complete: Logging will start immediately once the Continue button
is clicked.
• Logging starts at this time: Logging will start at the user specified time. There is no limit how far in the future
you can set the logging to start.
• Channels to Log: You can elect to disable unused logger channels. When a channel is disabled, its memory is
allocated to the other channels, increasing the total logging time. The total logging time will be reflected in the
Sample Interval window. Depending on the logger, some channels are required and cannot be disabled. Channels
that can not be disabled are grayed out and can not be unchecked. For instance, in the picture above, the
Temperature channel is required to record Realative Humidity, so the Temperature channel cannot be disabled. At
least one channel must be enabled for logging.
• User Information: Enter any text you like in this box. This field is used to identify the logger to the user. You
can enter descriptive location, serial number, etc.
• Alarm Setup: Click this button to open the Alarm Setup Window.
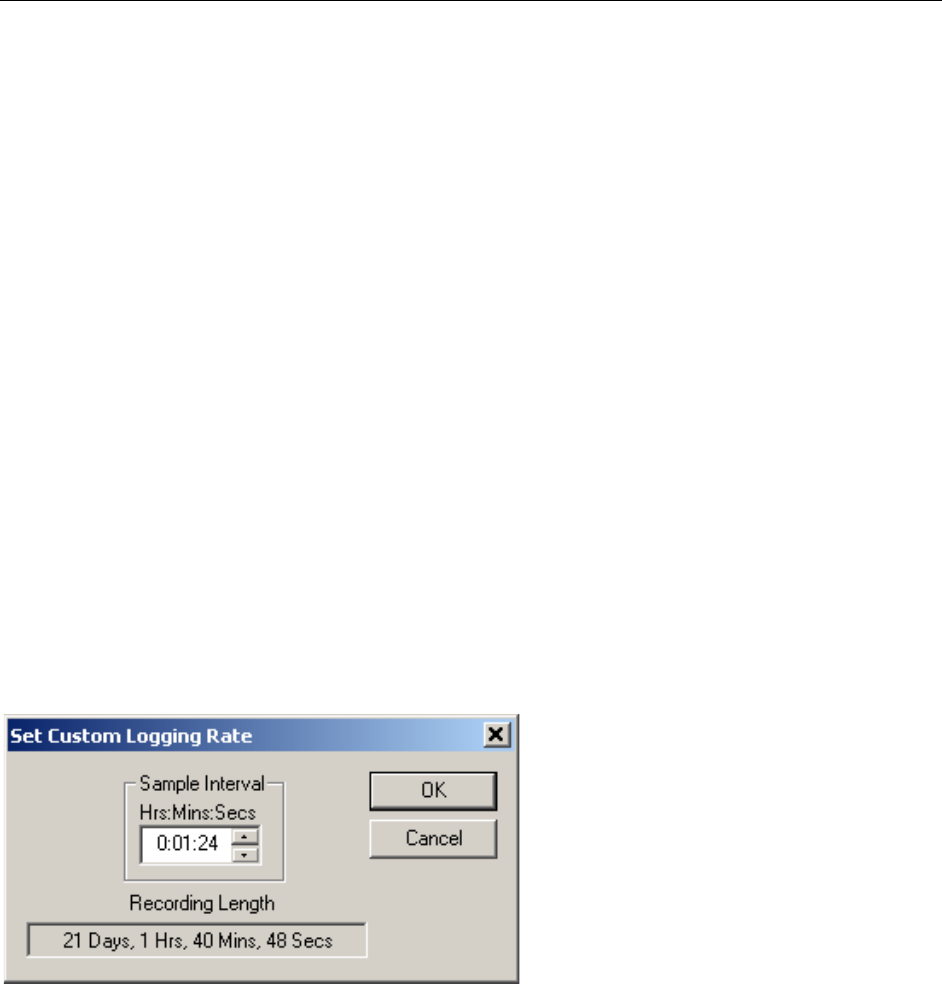
Custom Interval Setup
Commonly used intervals are predefined in the Sample Interval box in the Logger Setup screen. If needed, a
custom interval can be defined by the user. This is done by clicking on the Custom Interval button in the Logger
Setup screen. The custom interval window will popup, as shown below. You can select a custom logging interval
using this window.
In the window above, the sampling interval was set to 1 minute, 24 seconds, to allow a 3 week recording.
Alarm Setup
Alarms are used to indicate whether or not the data inside the logger exceeded a user specified threshold. This can
be an indication that an important event has occurred and the data is worth downloading and looking at. The alarm
status is indicated visually by pressing the Check button and watching the LED light. The LED will flash green
when no alarms occurred. The LED will flash red when an alarm has occurred and is stored in logger memory.
To get to the Alarm Setup window, click the Alarm Setup button in the Logger Setup screen. The Alarm Setup
windows allows you to set high and/or low alarm thresholds for each logger channel, or disable these alarms.
Alarms are set by entering the thresholds as shown in the window below.