
Operating instructions


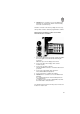
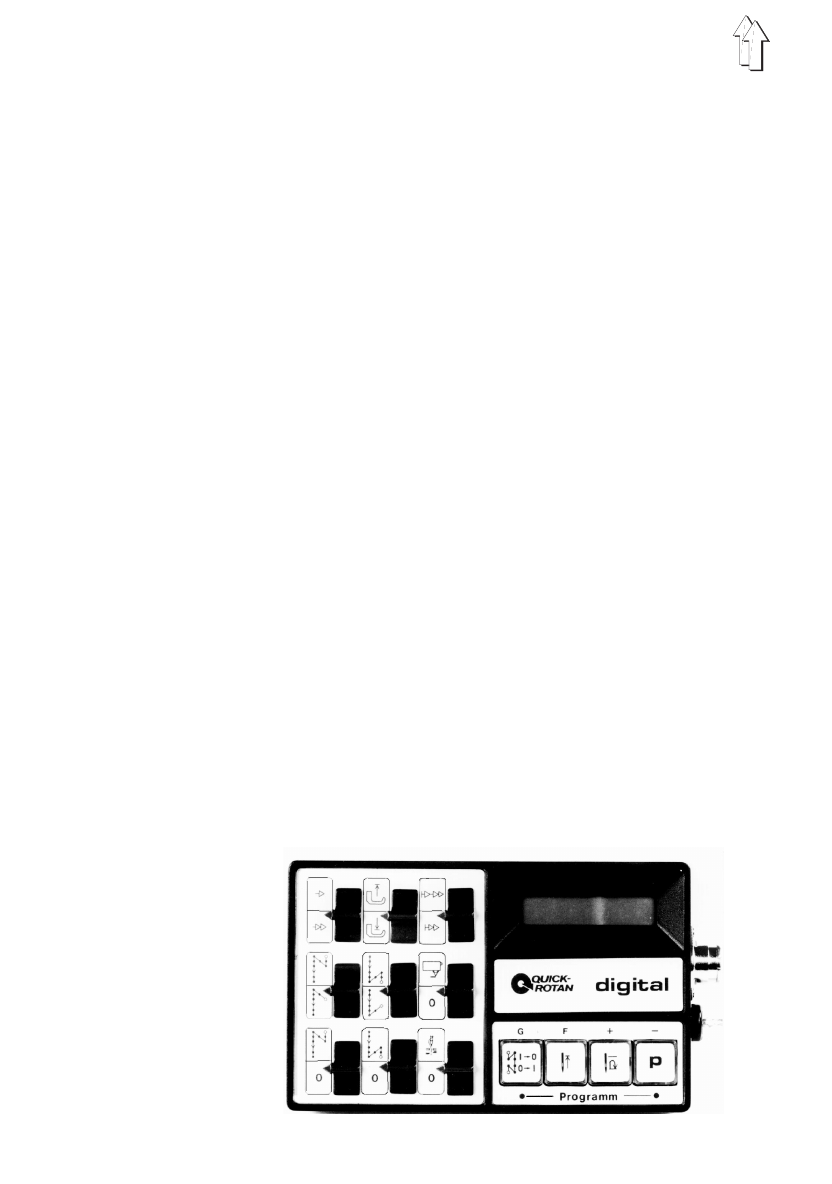
b) Quick Digital
1. With keys G and minus (-) pressed turn on the main
switch.
The display shows * and e.g. 3000. The asterisk
shows the programming mode and 3000 the number
of stitches/min.
2. Keep key G pressed then tap the minus (-) key.
EINGEBEN (Enter) appears in the display.
Release both keys.
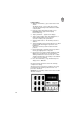
3. Tap key G until G7 .... appears in the display.
4. Tap key F. The display shows 7000*XXXX, that is, a
random number, which corresponds to the
screwed-on setting of the synchronizer.
5. Step the pedal forward. - The machine positions as
desired.
6. Turn the handwheel in the machine direction of rotation
and arrest with the timing pin in position D of the
handwheel.
This is the reference position for further machine
positions.
7. Remove timing pin. Commit the reference position to
memory by stepping down on the pedal.
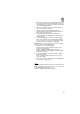
8. Check reference position D with the timing pin again.
With incorrect positioning as can result from the
drawing forward of the motor rotor into the so-called
"Drawn Forward Position" the settings as described in
6. and 7. are to be repeated.
9. Press the G and minus (-) keys simultaniously. The
display shows * MANUAL.
Check the machine positions F and C. This normally
completes the setting.
Should a correction of the factory settings be necessary
programming of the machine positions F and C is to
proceed as described.
Attention
! For all settings continue to turn in the machine
direction of rotation.
22