
User`s guide


2
Ta b le of Contents
Introduction 3
Positioning the projector 5
Video connections 6
Connecting a video device 7
Displaying a video image 8
Connecting a computer 10
Shutting down the projector 11
Troubleshooting your setup 11
Using the keypad buttons 18
Using the remote control 19
Optimizing video images 20
Customizing the projector 20
Using the menus 21
Picture menu 22
Settings menu 27
Maintenance 29
Cleaning the lens 29
Replacing the projection lamp 30
Appendix 32
Specifications 32
Accessories 32
Red LED behavior and projector errors 33
Projected image size 33
Source compatibility 34
Projector dimensions for ceiling mount installations 35
RS-232 terminal specifications 36
For complete details on connecting and operating the projector, refer to this
User’s Guide.
Important Operating Considerations
Place the projector in a horizontal position no greater than 15 degrees.
Locate the projector at least 4 inches (1.2 m.) away from any heating or cool-
ing vents. Do not place the projector on a tablecloth or other soft covering
that may block the vents.Vents are placed along the left and right sides of
the projector. Do not use a non-approved ceiling mount or power cord. In
the unlikely event of the lamp rupturing, discard any edible items placed in
the surrounding area and thoroughly clean the area along the sides and in
the front of the projector. Wash hands after cleaning the area. This product
has a lamp which contains a very small amount of mercury. Dispose of it as
required by local, state or federal ordinances and regulations. For more
information see www.eiae.org
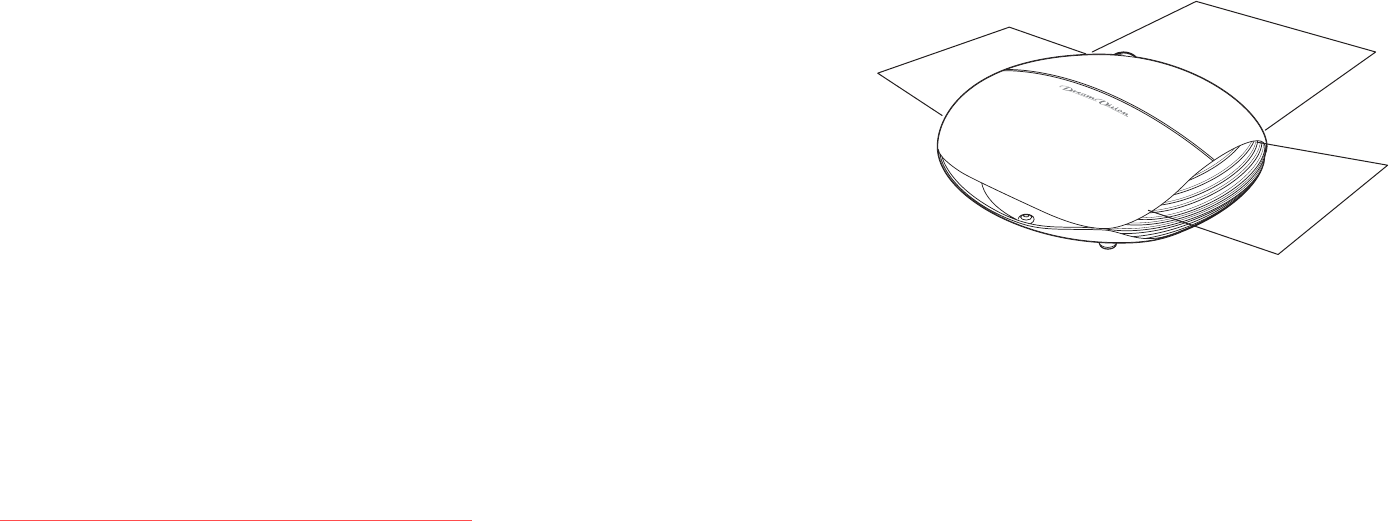
2 ft (.6m)
2 ft (.6m)
2 ft (.6m)
Do not place objects in the areas along the side and in the front of the projector
Do not place objects or people in the 2 feet area (0.6 m) along the front of the
projector. For ceiling mount installationi this area should be 5 feet (1.5 m)
Downloaded From projector-manual.com Dream Vision Manuals