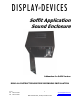
Soffit Application Sound Enclosure Addendum for Soffit Version READ ALL INSTRUCTIONS BEFORE BEGINNING INSTALLATION 01-07 tel: 303.412.0399 fax: 303.412.9346 1 5880 Sheridan Blvd., Arvada, Colorado 80003 www.displaydevices.com tech@displaydevices.
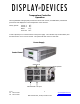
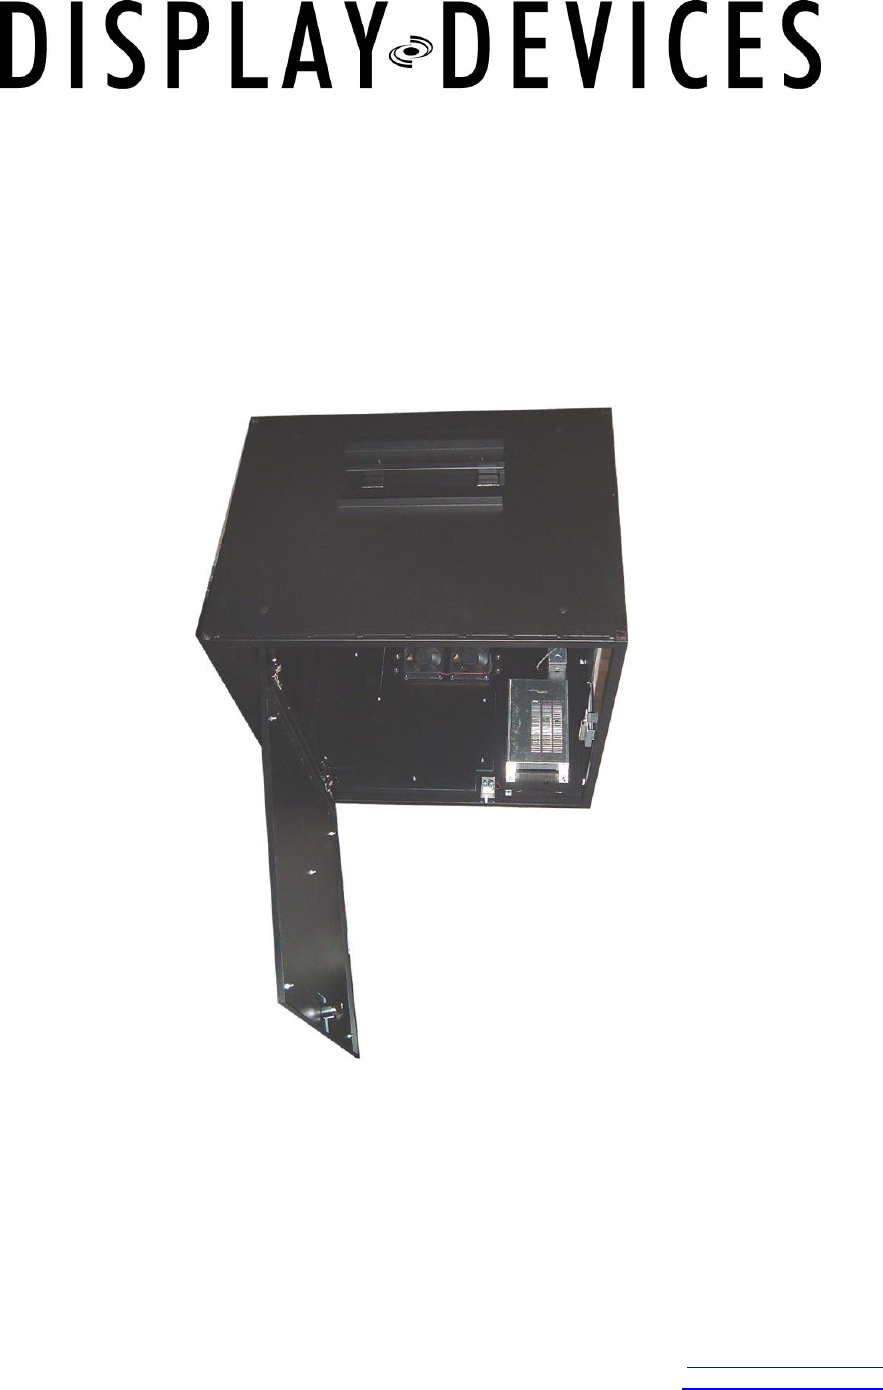
SE-B6/10 Soffit Series Sound Enclosures Thanks for purchasing a Display Devices product. We‟re sure your customer will use this product for years to come. Our products are designed to be maintenance-free saving you future service time. If you experience any difficulties, please contact us at 303-412-0399. Thank you for your support. This Sound Enclosure is designed to be built into a soffit to relocate projector noise to within a ceiling or wall.
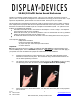
4.) Raise the unit up on a material lift to the appropriate vertical height. Be sure to have a sufficient amount of threaded rod to provide leveling room. Add hardware as follows for leveling: above unit – nut/lock washer/flat washer; underside of unit – washer and nut - do not tighten yet. Threaded rod Nut Split lock washer Flat washer Sound Enclosure Flat washer Nut 5.) Use a bubble level to level the unit front-to-back and side-to-side. Tighten hardware. 6.
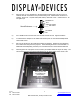
9.) Verify the mount position front-to-back and side-to-side. Adjust the position of the mount if required. Front-to-back: loosen the (4) 3/4” bolts on the “L” brackets in the side Unistrut channels. Move the mount/cross rails to the appropriate position and tighten the hardware in the side channels. (THESE ARE UNISTRUT NUTS AND WILL TURN/UNLOCK WHEN LOOSENED – BE SURE THEY ROTATE WHEN TIGHTENED AND LOCK INTO CHANNEL) 10.
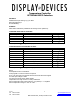
Temperature Controller Operation The Programmable Cooling System provides two levels of fan control, an audible alarm, switched AC power-down and displays the current temperature of the enclosure. Factory presets: Fan set 1: Fan set 2: Alarm: Power off: 80° 90° 111° 120° To start operation, turn on the AC switch on the power supply. The controller may sound an alarm, and the fans will turn on for 10 to 20 seconds. The system will then reset to a start state.
Programming: There are four parameters to program. Each is programmed in the same sequence. The control panel has four pushbuttons labeled SELECT MENU, Cursor UP, Cursor DOWN and SAVE. The associated Power Supply is provided with an IEC AC power cord and On / Off switch. LED Display: The LED display provides two rows of text. When the system is powered up, the LED display will read “Display Devices” and “Current Temp (number).” The twodigit number indicates the current temperature.
Temperature Controller OPTIONAL RS232 Interface Hardware Standard three pin hookup, 2,3,5, on DB9. Baud rate 9600,N,8,1. No handshaking. Software ASCII letters followed by a delimiter and carriage return (ASCII 13).
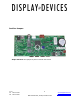
Dual Fan Jumpers Jumper #J3 & J4: leave jumpers in place for dual fan level control 01-07 tel: 303.412.0399 fax: 303.412.9346 8 5880 Sheridan Blvd., Arvada, Colorado 80003 www.displaydevices.com tech@displaydevices.