
User's Manual


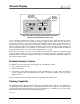
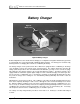
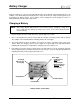
Table Of Contents
- Mark III Directional Drilling Locating System
- Table of Contents
- Table of Contents (Cont.)
- Table of Contents (Cont.)
- Safety Precautions and Warnings
- Safety Precautions and Warnings (Continued)
- Dear Customer:
- 3-3000-00b-F.pdf
- 3-3000-00c-F.pdf
- Receiver
- Display Window Icons
- On/Off
- Receiving the Transmitter’s Signals
- Clicking vs. Holding the Trigger
- Changing the Receiver’s Channel Setting
- Changing the Depth Measurement Units (English vs. Metric)
- Battery Status Display for Receiver and Transmitter
- Warning Tones for Transmitter Overheat
- Ultrasonic Function
- Calibrating the Receiver
- Using Depth Antenna Plumb Line to Mark Locate Points
- Finding Firmware Version
- 5.0 Series Firmware Functions
- Receiver
- 3-3000-00d-F.pdf
- 3-3000-00e-F.pdf
- 3-3000-00f-F.pdf
- 3-3000-00g-F.pdf
- 3-3000-00h-F.pdf
- 3-3000-00i-F.pdf
- 3-3000-00j-F.pdf
- Locating
- Locating Mode
- Locate Points (FNLP & RNLP) and Locate Line (PLL)
- Handling the Receiver
- Distance Between FNLP and RNLP Due to Depth, Pitch, and Topography
- Using Plus/Minus Indicators for Locating
- Locating the Transmitter from the Drill
- Locating the Transmitter from the Front
- Method for Confirming Position
- Locating on the Fly
- Off-Track Locating
- Splitting the Front and Rear Negative Locate Points
- Four-Turn Technique
- Calculating Depth Based on Distance Between FNLP & RNLP
- Running off Pitch or Calculating Depth from Pitch
- Transmitter’s Signal Shape
- Antenna Configuration
- Signal Reception
- Front and Rear Negative Locate Points
- Positive Locate Line Above Transmitter
- Locating
- 3-3000-00k-F.pdf
- 3-3000-00l-F.pdf
- 3-3000-00m-F.pdf
- 3-3000-00n-F.pdf
- 3-3000-00o-F.pdf
- 3-3000-00p-F.pdf
®
Battery Charger
Conditioning a Battery in the Charger
1. Place the battery into the charger.
2. Press the right button on the charger (marked with a curved arrow). The red light on the left will go
out and the green light on the right will start to blink. This indicates that the battery is being condi-
tioned. The conditioning cycle may last for up to 7 hours, depending on the remaining charge in the
battery.
3. When the conditioning cycle is completed, a charging cycle will automatically start, indicated by the
red light turning on and the flashing green light going out. The battery is discharged to 12V before
charging begins.
4. When the battery has reached full charge, the green light will illuminate indicating a fully charged
battery is ready.
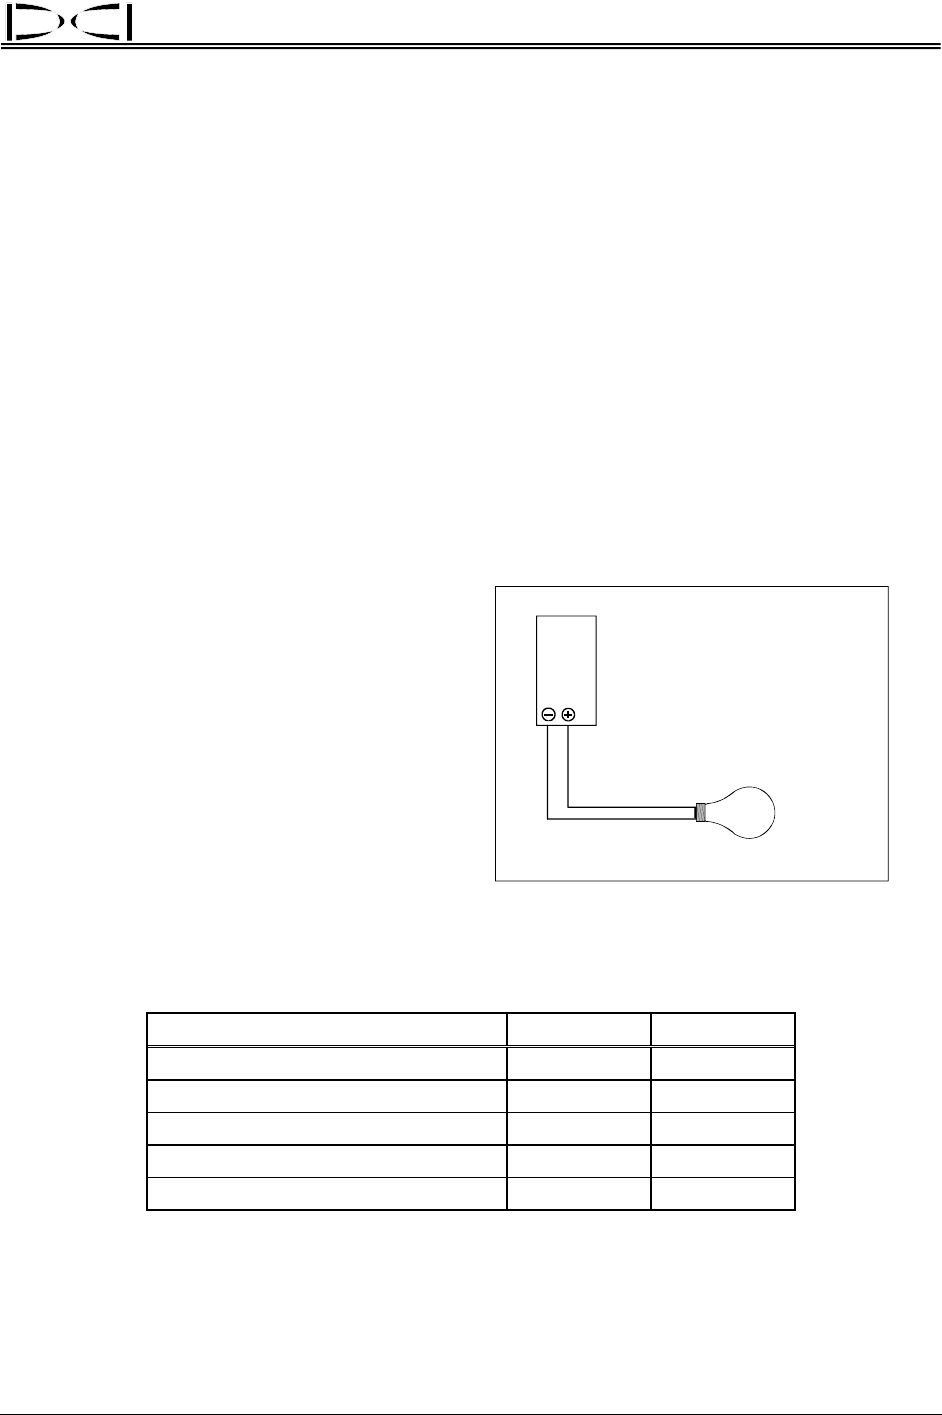
Conditioning a Battery Manually
To condition a DCI battery pack, you simply
need a low-wattage 12V light (such as a small
automotive side light or an interior light bulb)
and electrical wires to connect the battery pack
to the light as shown.
DCI
Battery
Pack
12-Volt
Backup
Light
Setup for Discharging a Battery Manually
The length of time required to condition a
NiCad battery manually can range from 1 to 7
hours. The battery should not be discharged
beyond 12V. Measure the voltage across the
light to confirm the battery is discharged to no
lower than 12V.
Indicator Lights and Meanings
Action / Meaning Red Light Green Light
Unit is off or no battery is in unit Off Off
Unit is charging a battery On Off
Battery is charged Off On
Unit is discharging a battery Off Blinking
Unit is malfunctioning Blinking Off
NOTE: If a battery is left in the charger during a power interruption, the red or green light may flash and
the battery will begin to discharge on its own. Simply remove and replace the battery pack after the
power has resumed.
DigiTrak
®
Mark III Operator’s Manual 31