
User's Manual


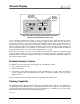
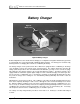
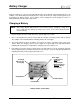
Table Of Contents
- Mark III Directional Drilling Locating System
- Table of Contents
- Table of Contents (Cont.)
- Table of Contents (Cont.)
- Safety Precautions and Warnings
- Safety Precautions and Warnings (Continued)
- Dear Customer:
- 3-3000-00b-F.pdf
- 3-3000-00c-F.pdf
- Receiver
- Display Window Icons
- On/Off
- Receiving the Transmitter’s Signals
- Clicking vs. Holding the Trigger
- Changing the Receiver’s Channel Setting
- Changing the Depth Measurement Units (English vs. Metric)
- Battery Status Display for Receiver and Transmitter
- Warning Tones for Transmitter Overheat
- Ultrasonic Function
- Calibrating the Receiver
- Using Depth Antenna Plumb Line to Mark Locate Points
- Finding Firmware Version
- 5.0 Series Firmware Functions
- Receiver
- 3-3000-00d-F.pdf
- 3-3000-00e-F.pdf
- 3-3000-00f-F.pdf
- 3-3000-00g-F.pdf
- 3-3000-00h-F.pdf
- 3-3000-00i-F.pdf
- 3-3000-00j-F.pdf
- Locating
- Locating Mode
- Locate Points (FNLP & RNLP) and Locate Line (PLL)
- Handling the Receiver
- Distance Between FNLP and RNLP Due to Depth, Pitch, and Topography
- Using Plus/Minus Indicators for Locating
- Locating the Transmitter from the Drill
- Locating the Transmitter from the Front
- Method for Confirming Position
- Locating on the Fly
- Off-Track Locating
- Splitting the Front and Rear Negative Locate Points
- Four-Turn Technique
- Calculating Depth Based on Distance Between FNLP & RNLP
- Running off Pitch or Calculating Depth from Pitch
- Transmitter’s Signal Shape
- Antenna Configuration
- Signal Reception
- Front and Rear Negative Locate Points
- Positive Locate Line Above Transmitter
- Locating
- 3-3000-00k-F.pdf
- 3-3000-00l-F.pdf
- 3-3000-00m-F.pdf
- 3-3000-00n-F.pdf
- 3-3000-00o-F.pdf
- 3-3000-00p-F.pdf
Battery Charger
®
Only two terminals are exposed on the DCI NiCad battery pack, although a third terminal appears to be
available. If the third terminal accidentally becomes exposed, do not try to charge the battery pack or you
may damage the battery charger. Such a battery can also damage the remote display or receiver. A
damaged battery pack will require replacement.
Charging a Battery
NOTE: Only charge DigiTrak NiCad batteries in the battery charger. Charging or using other
types of batteries may damage the charger, the receiver, or the remote display and will
void the warranty.
1. Plug the charger into either a wall outlet or the cigarette lighter of a vehicle.
2. Place a discharged battery into the charger with the terminal end making contact with the springs.
The red light on the left will illuminate, indicating that the unit is charging.
3. The battery will take between 20 minutes and 2 hours to charge, depending on the extent of dis-
charge. When the charging cycle has been completed, the green light on the right will illuminate,
indicating that the battery has completed the charging cycle and is ready for use.
4. If the battery is left in the charger, a trickle charge cycle will continue to “top off” the battery and main-
tain the optimum battery level while the battery is in the charger. The green light will stay illuminated,
indicating the battery is fully charged and ready for use.
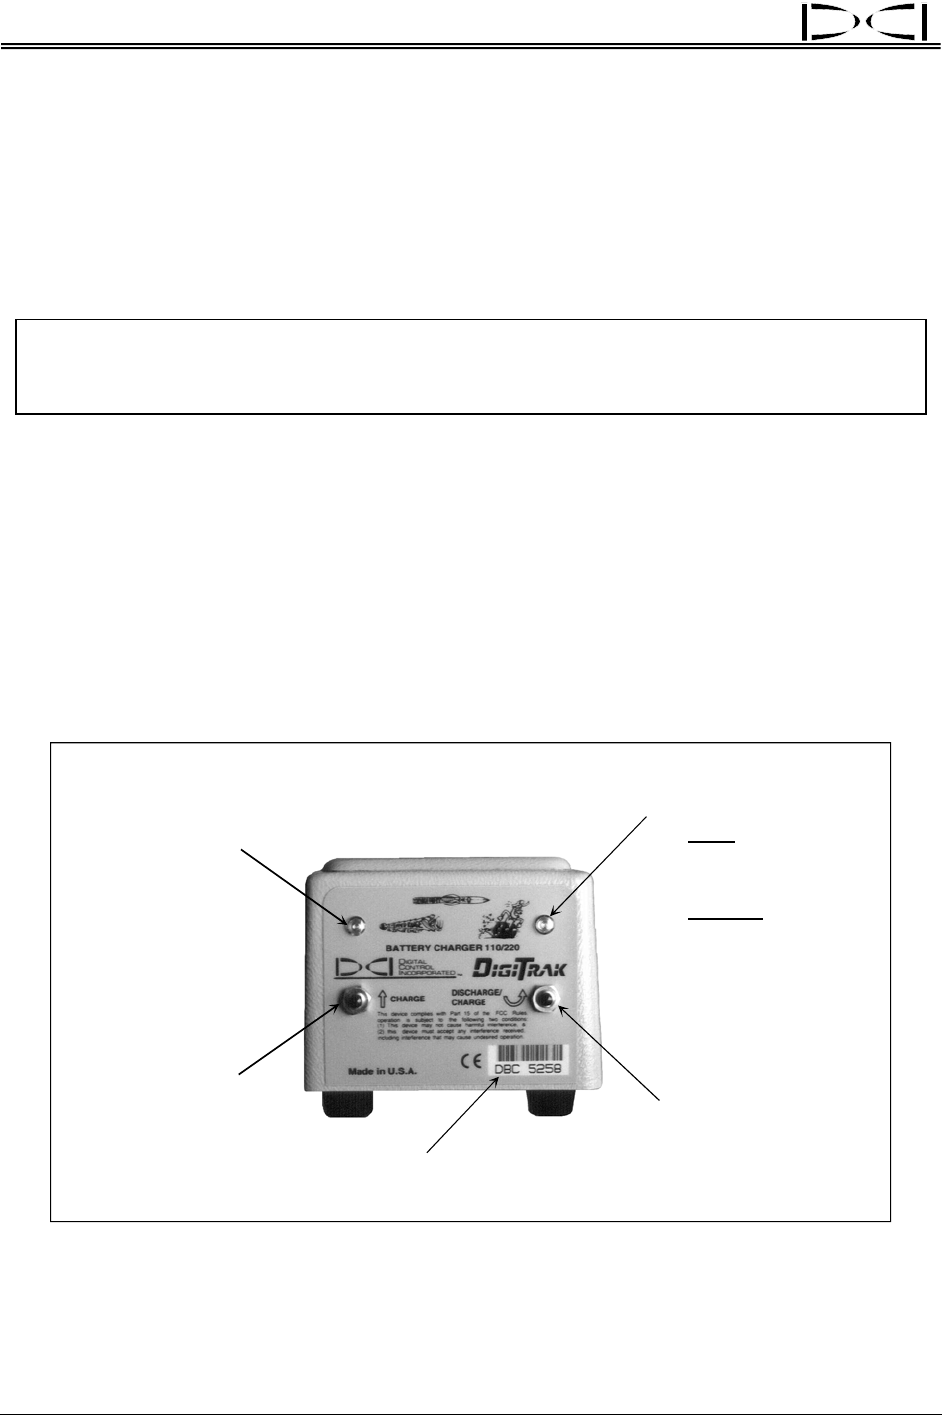
Red Light
Indicates Unit
Is Charging
Charge Button
Green Light :
– Solid
Indicates
Battery Is
Fully Charged
– Blinking
Indicates
Battery Is Being
Conditioned
Condition Button
Serial Number
Battery Charger Control Panel
30 DigiTrak
®
Mark III Operator’s Manual