
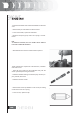
Technical data


168
WALBRO
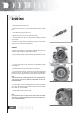
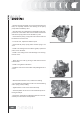
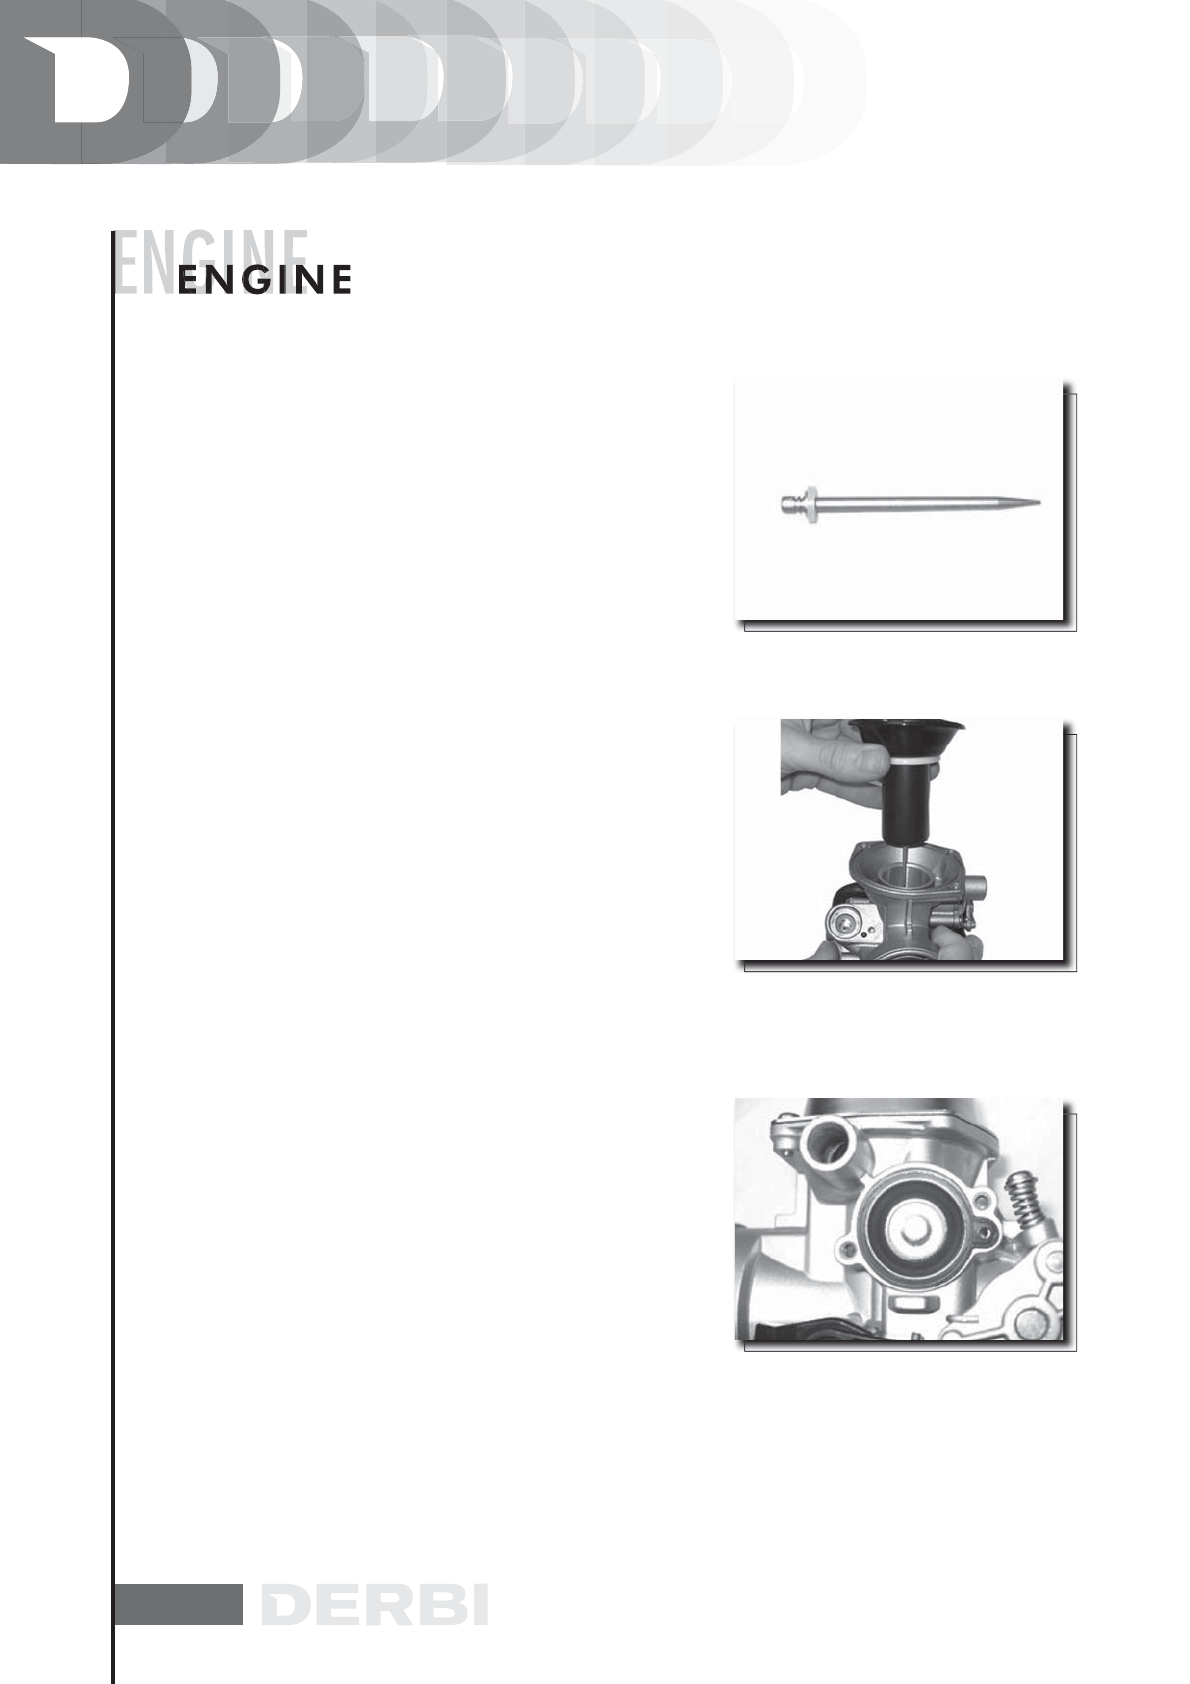
- Check that the pin exhibits no wear and that the lock is in
the third notch out of 3.
- Check that the vacuum valve exhibits no scratches on the
outside diameter.
- Check that the 2 vacuum feeding hole are not clogged.
N.B.
THE 2 HOLES HAVE A DIFFERENT DIAMETER.
- Check that the membrane is not broken or hardened, if not
so, replace it.
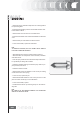
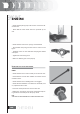
- Replace the conical pin on the vacuum valve.
- Check the correct positioning of the spring on the pin and
the snapping into the relevant seat.
- Install the coupling by turning it by 1/8 turn.
- Replace the vacuum gas valve on the carburettor body be-
ing careful to insert the pin into the spray nozzle.
- Time the vacuum valve rotation inserting the membrane
tail into the relevant seat.
When the membrane is properly assembled to the valve, the
main vacuum feeding hole is in axis with the diffuser, on the
throttle valve side.
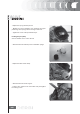
- Replace the spring on the valve.
- Replace the vacuum chamber cover matching the reference
with the membrane orientation reference.
- Tighten the screws at the prescribed torque.
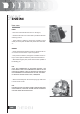
- Check the cut-off valve functionality. Check that the mem-
brane is not broken or hardened. Check the free length of
the spring.
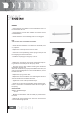
Characteristic
Walbro: Standard length
24 mm
- Replace the membrane with the metal pin positioned on
the valve.
- Replace the spring and the cover. The cover must have the
vacuum inlet facing upwards